Photoshop合成梦幻风格的森林场景【英】
来源: Tutsplus.com 作者:Jenny Le
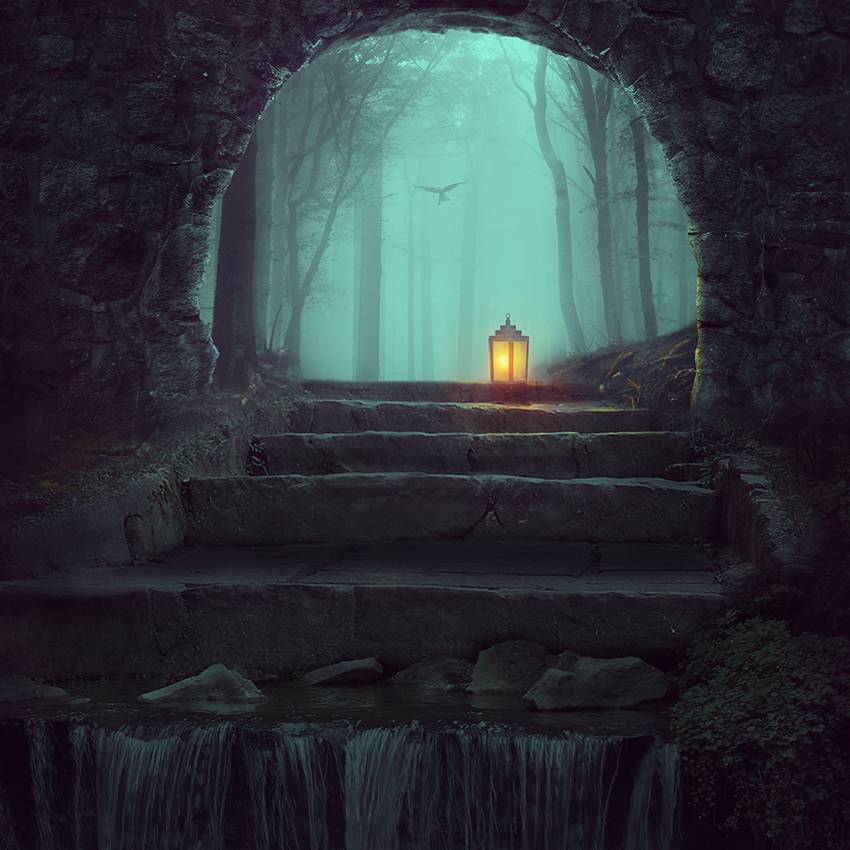
先看看效果图

What You'll Be Creating
In this tutorial I'll show you how to create a dreamy scene featuring a calm forest with a glowing lantern using photo manipulation techniques in Adobe Photoshop.
First we'll build the base scene using an image of stairs and several stock forest images. Later we'll add the stream, bird, arch, and lantern, and we'll blend them together with adjustment layers, masking, and brushes. We'll use several adjustment layers and paint the lamp's light to complete the final effect.
1. How to Build the Base Scene
Step 1
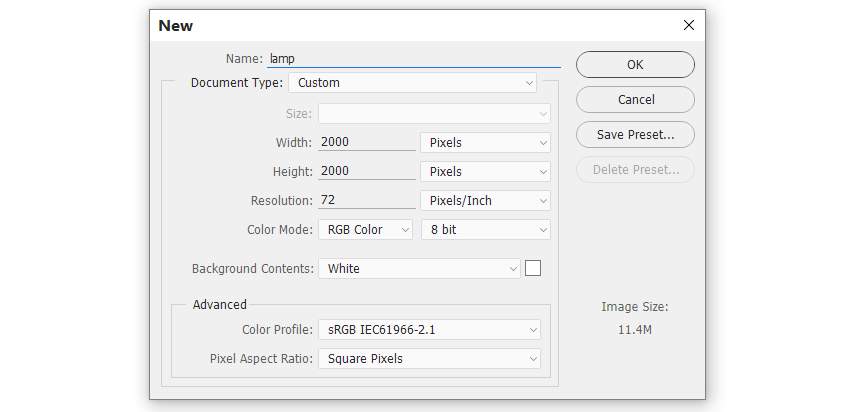
Create a new 2000 x 2000 px document in Photoshop with the given settings:
Step 2
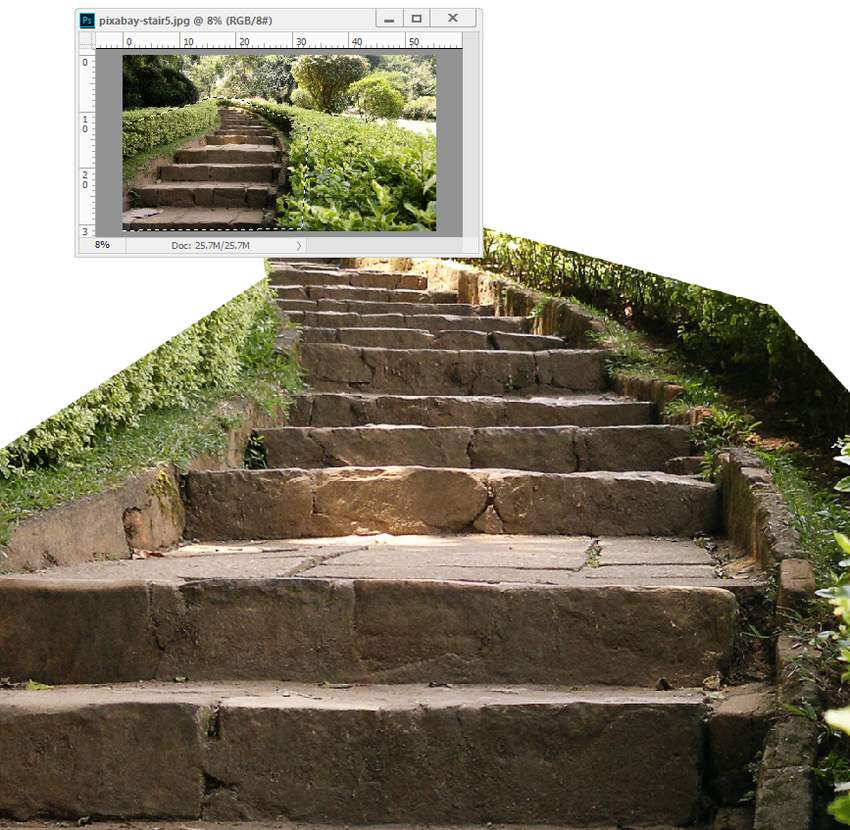
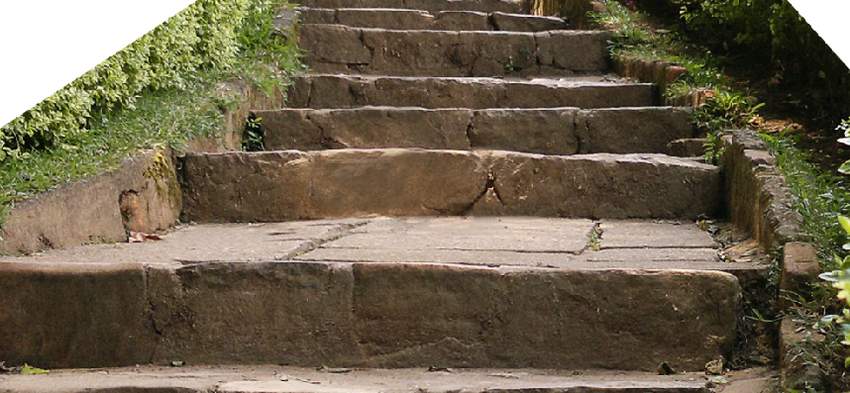
Open the stairs image. Use the Polygonal Lasso Tool (L) to select the stairs area and drag it into the white canvas using the Move Tool (V). Place it in the lower half.
Step 3
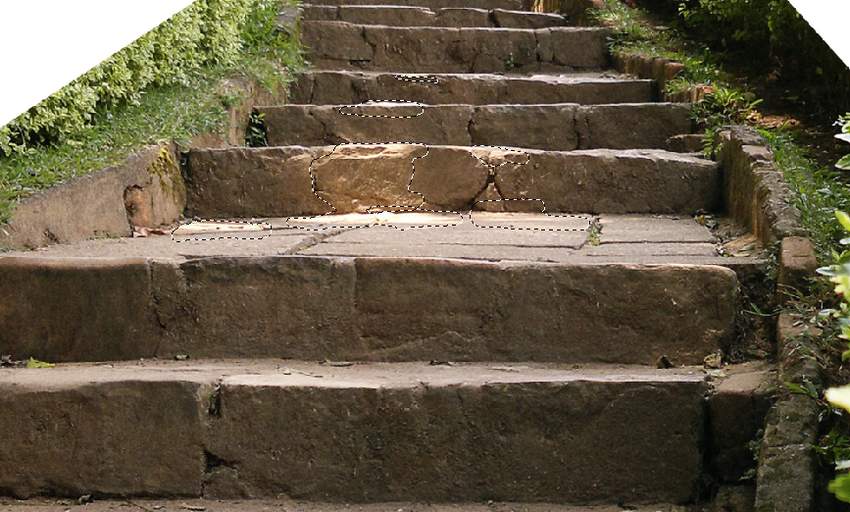
There are some unwanted light areas on the steps. To fix it, create a new layer above the stairs layer and set it as Clipping Mask. Activate the Clone Tool (S) to remove the indicated details.
Step 4
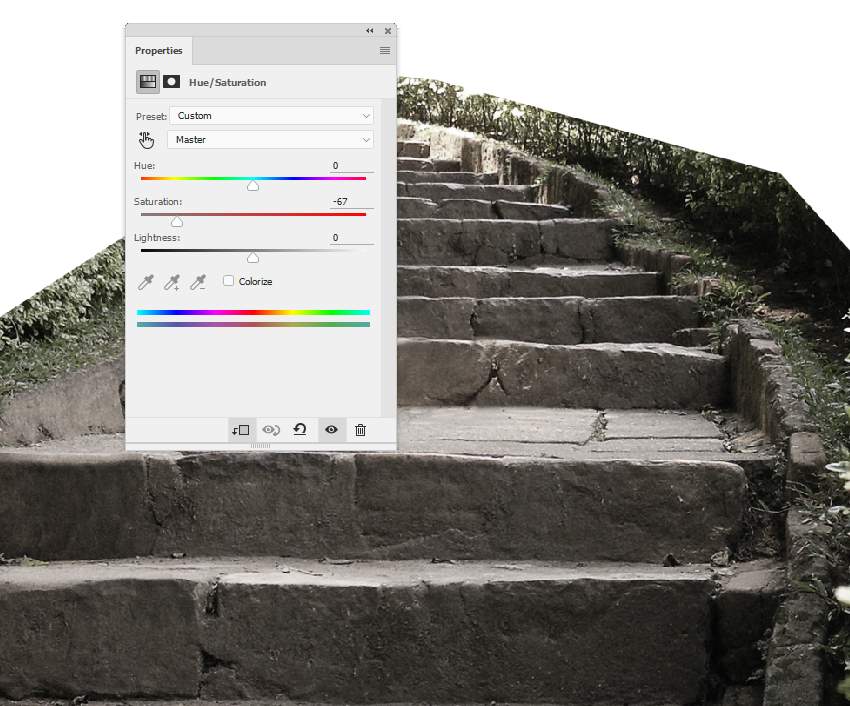
Go to Layer > New Adjustment Layer > Hue/Saturation (set as Clipping Mask). Decrease the Saturationvalue to -67:
Step 5
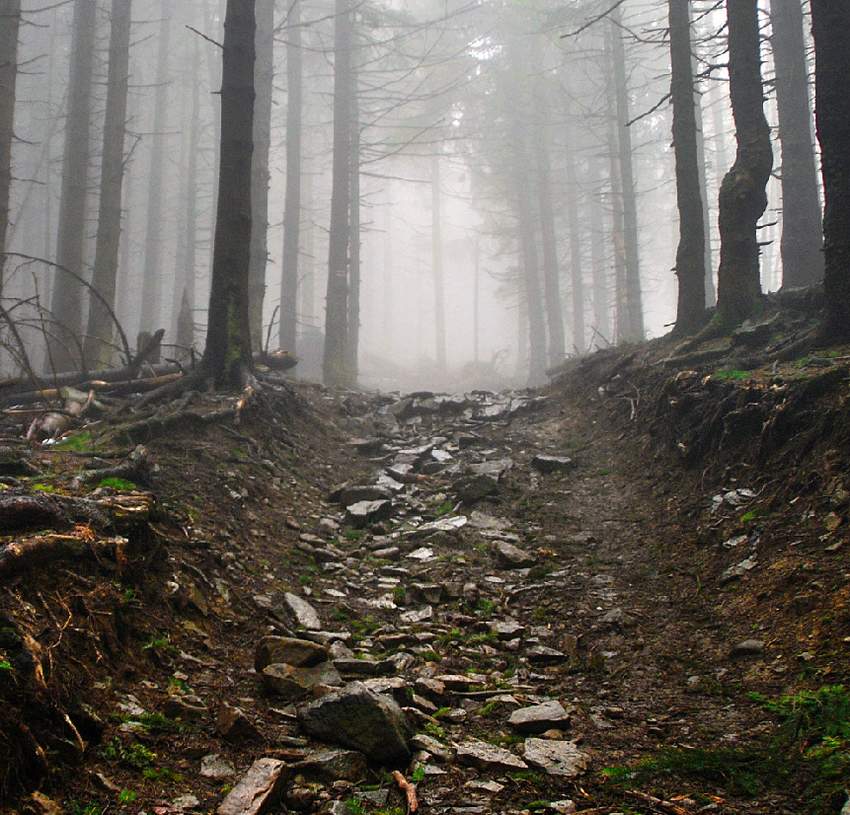
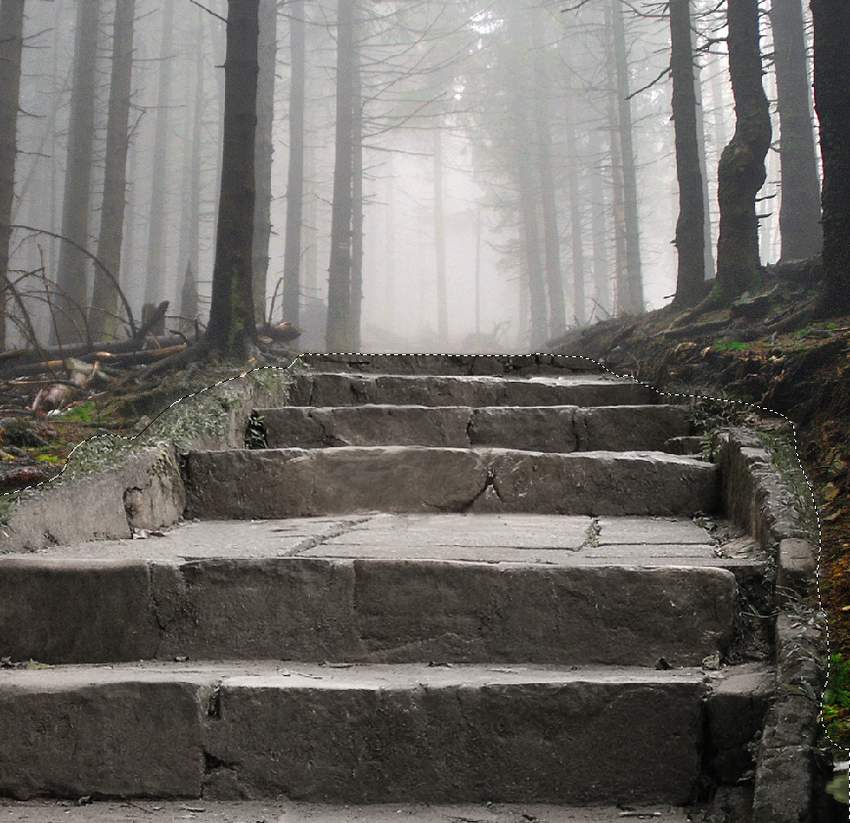
Drag the forest 1 image into our main document using the Move Tool. Click the second icon at the bottom of the Layers panel to add a mask to this layer. Select a soft round brush with black color (soft black brush) to erase the bottom and reveal the steps.
Step 6
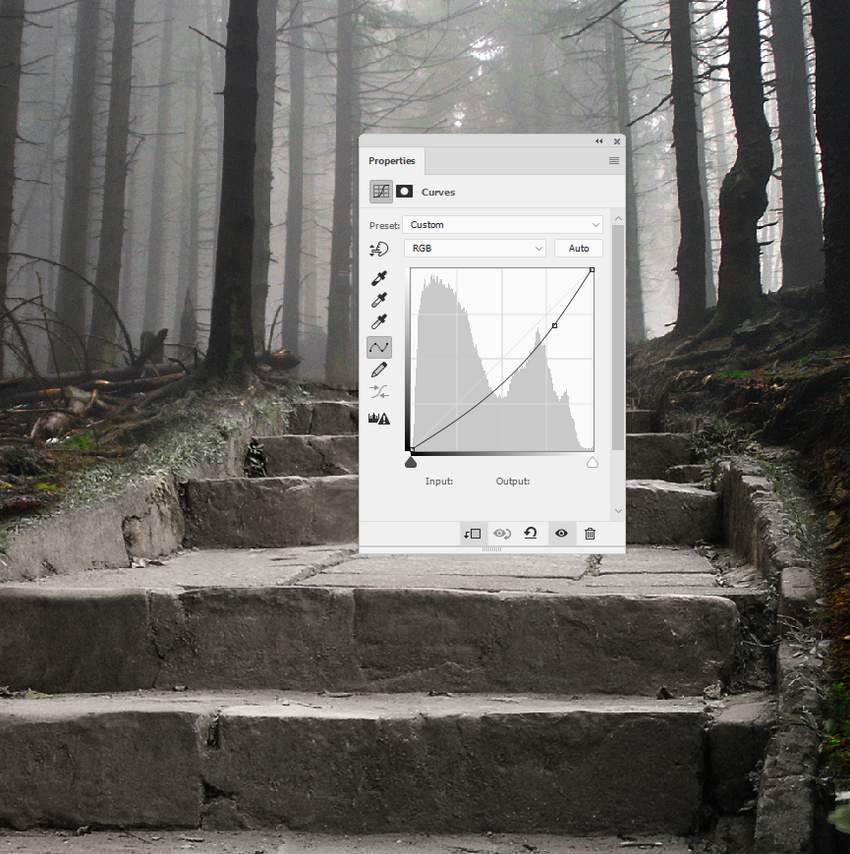
Make a Curves adjustment layer to darken the forest a little.
Step 7
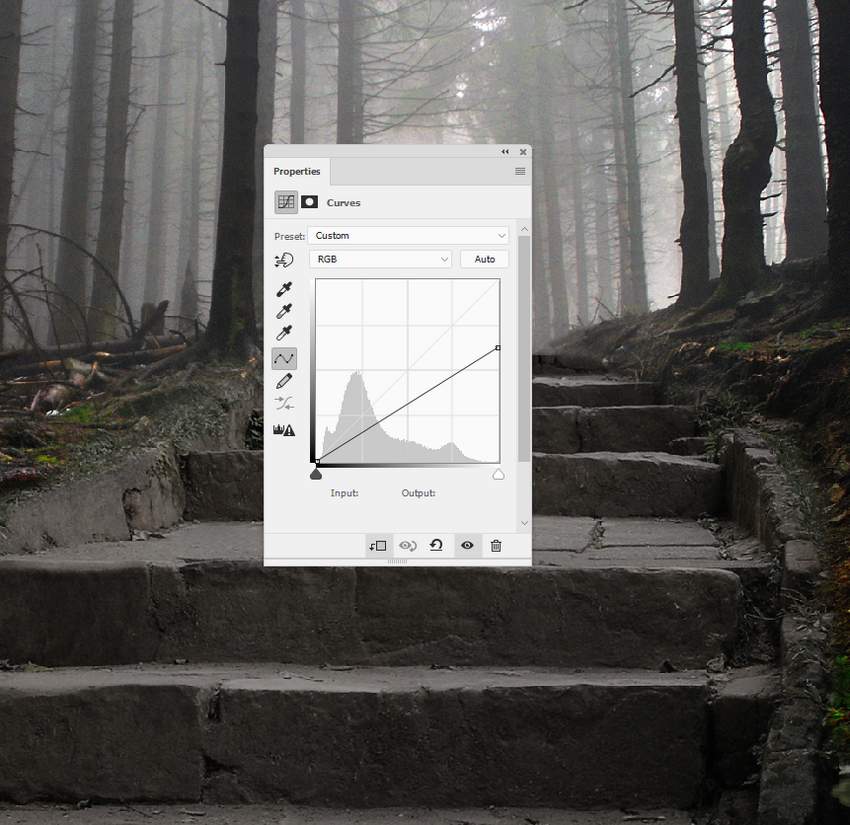
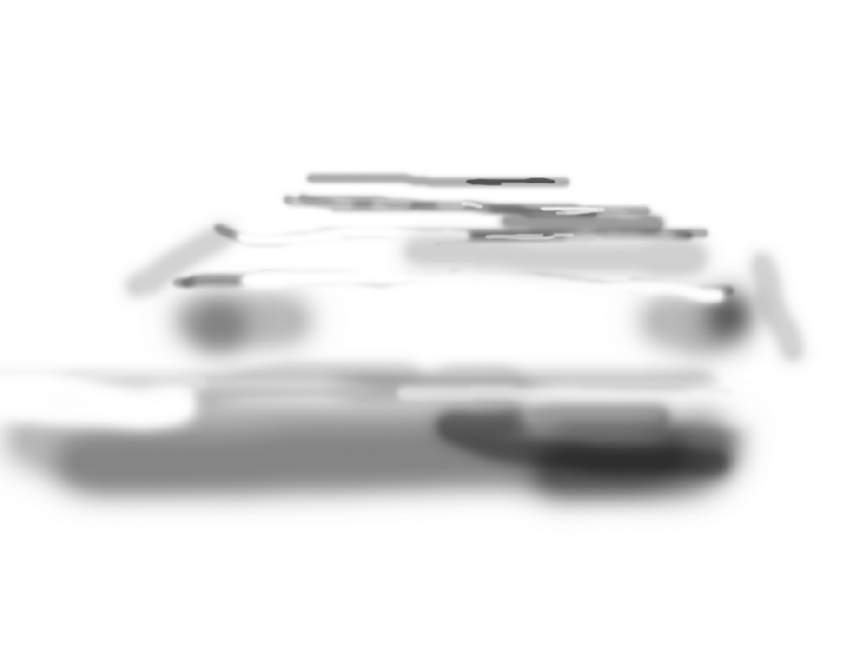
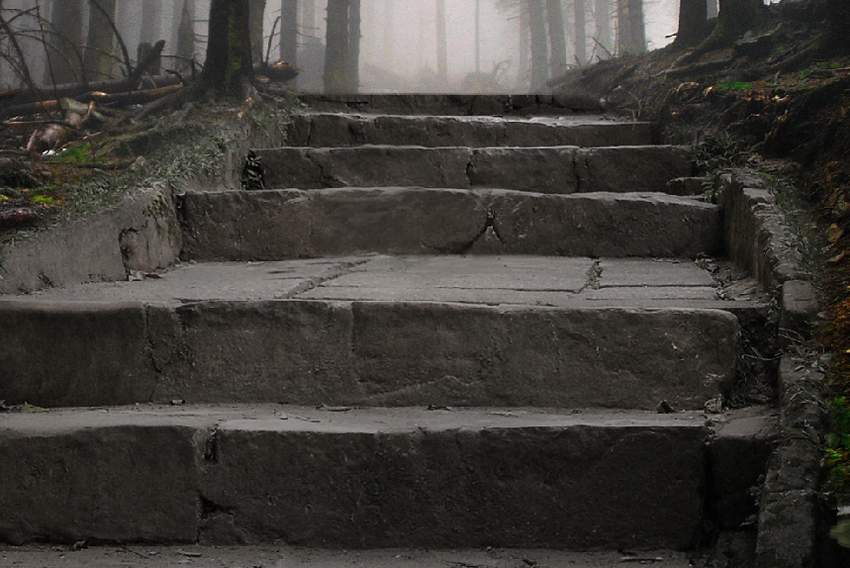
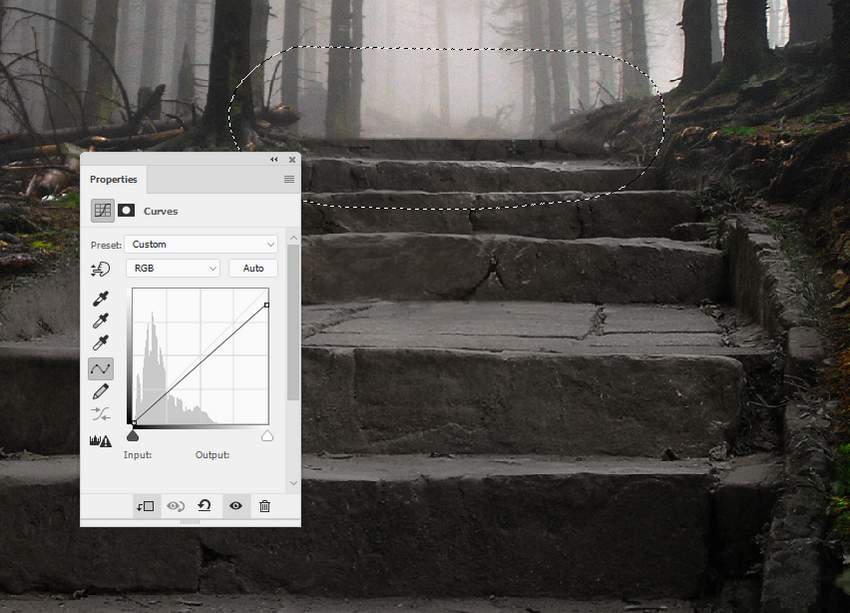
Go back to the stairs and create a Curves adjustment layer above the Hue/Saturation adjustment one. On this layer mask, use a soft black brush with a lowered opacity (about 15-30%) to refine the lightness on the steps. You can see the results on the mask and on the picture.
Step 8
Create another Curves adjustment layer to reduce the light on the stairs again. On the layer mask, paint on the upper steps as they get more light from the background than the lower so should be a bit brighter.
Step 9
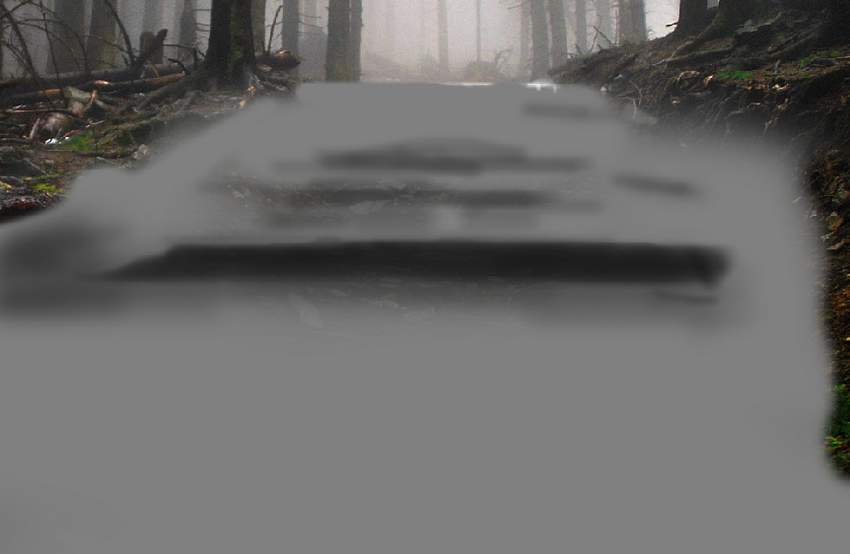
Add a new layer, change the mode to Overlay 100%, and fill with 50% gray.

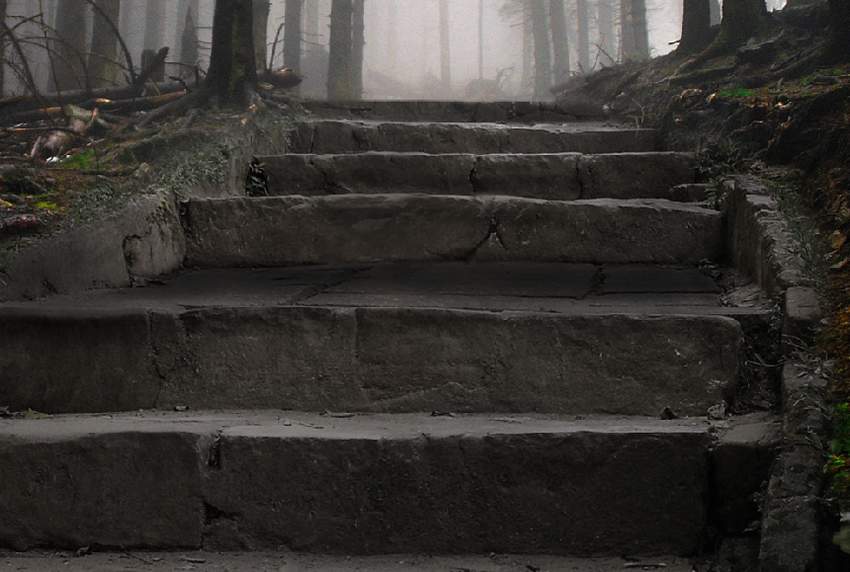
Activate the Dodge and Burn Tool (O) with Midtones Range, Exposure about 15-20% to brighten the highest step and darken the shadow area of the lower ones. Also paint the shadow for one of the lower steps. You can see how I did it with Normal mode and the result with Overlay mode.
2. How to Complete the Forest Background
Step 1
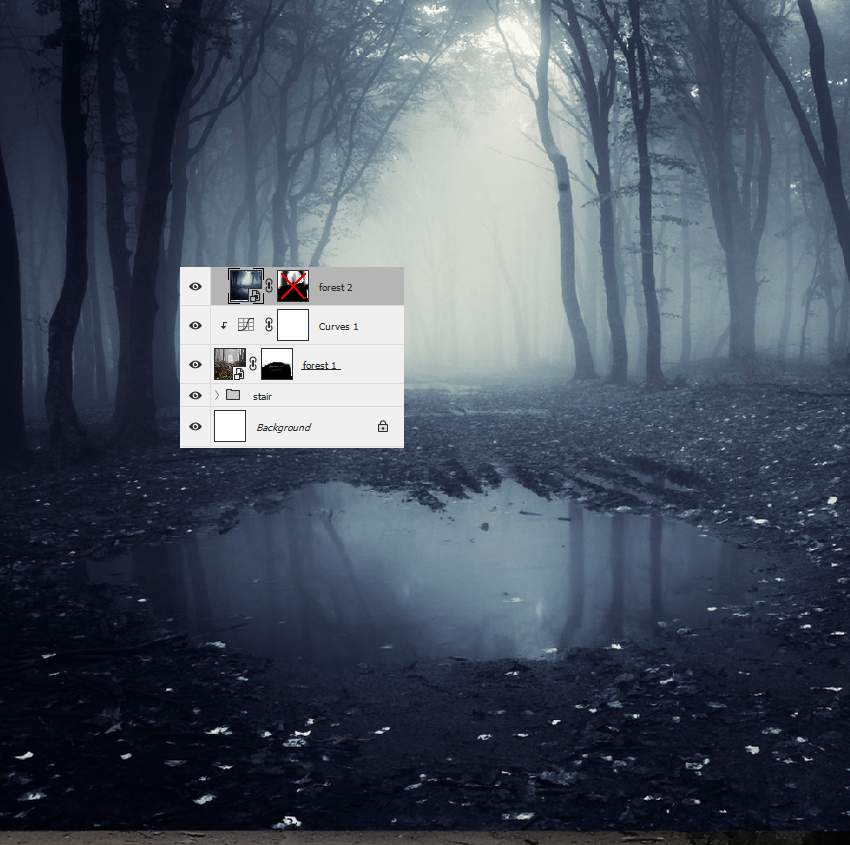
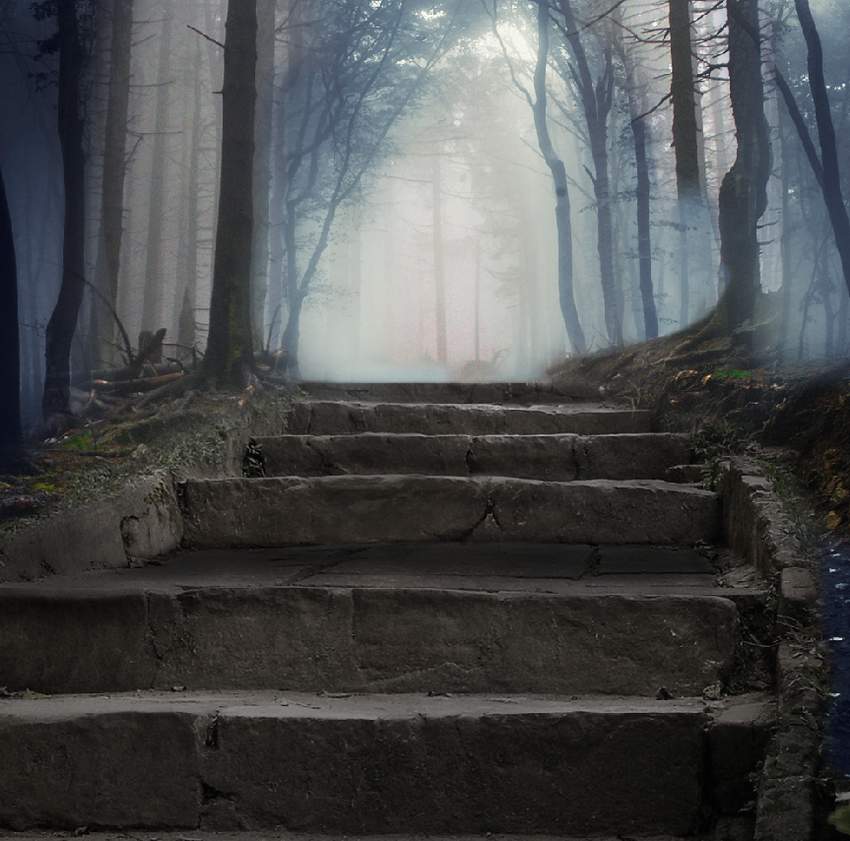
Move the forest 2 image into our main document and add a mask to this layer. Use a soft black brush to remove the lower half, both sides, and the foggy middle area to leave a blended result like below:
Step 2
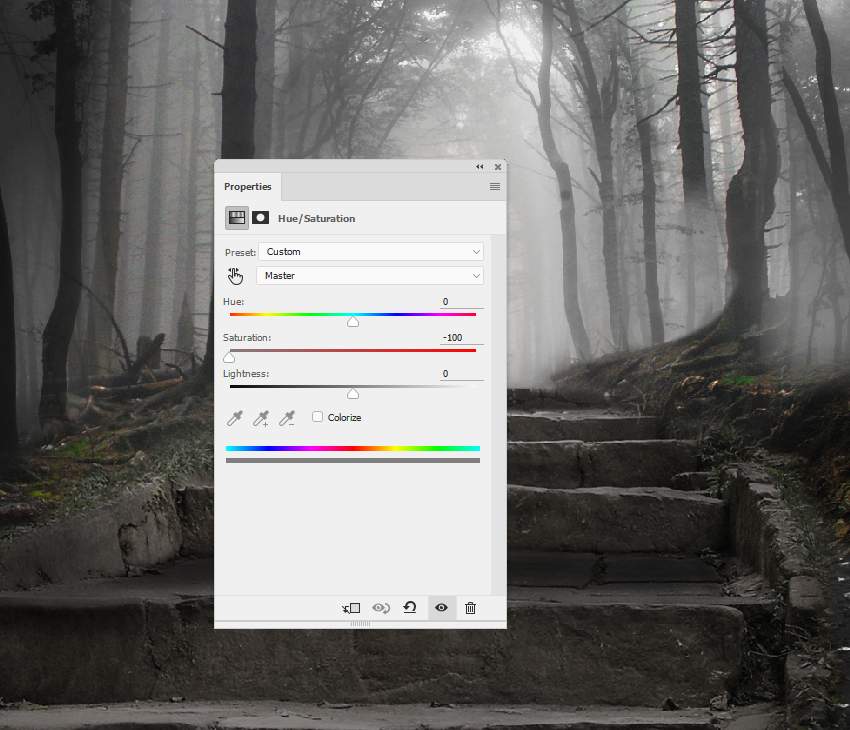
Add a Hue/Saturation adjustment layer and reduce the Saturation value to the maximum.
Step 3
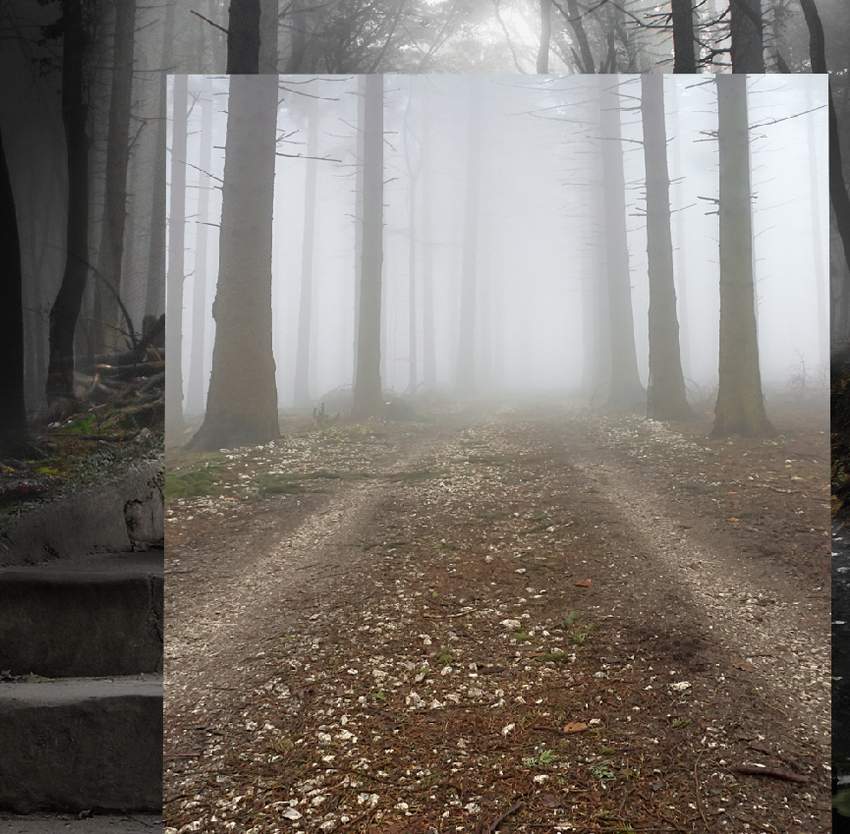
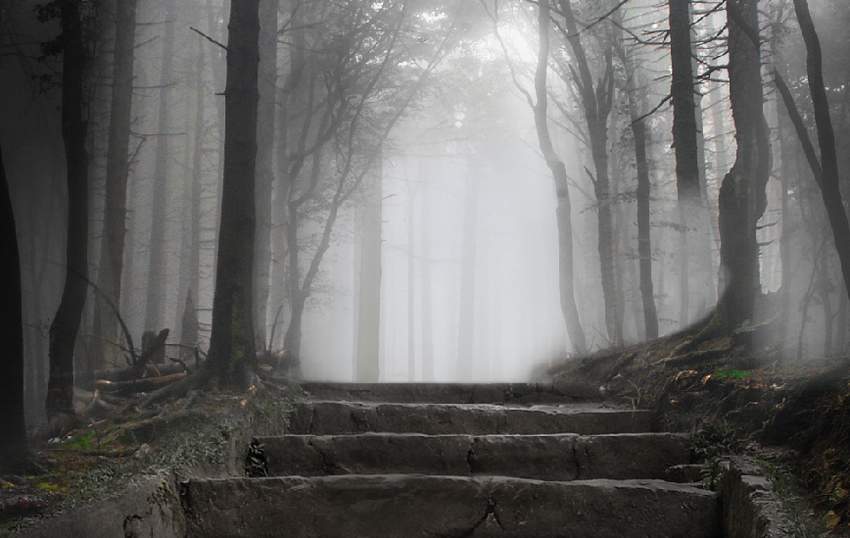
Add the forest 3 image to our canvas and set the far foggy background to the middle section of the existing forest. Use a layer mask to leave only the foggy area visible.
Step 4
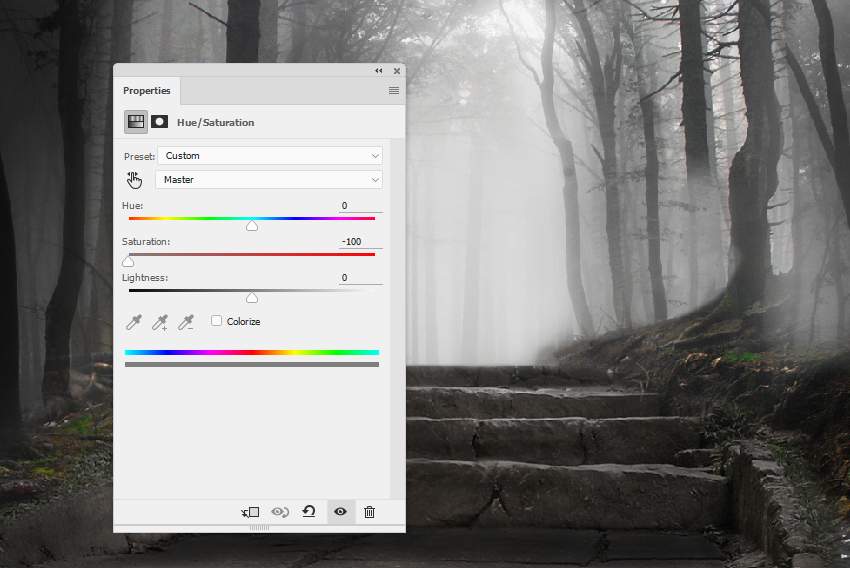
Create a Hue/Saturation adjustment layer and bring the Saturation value down to -100:
Step 5
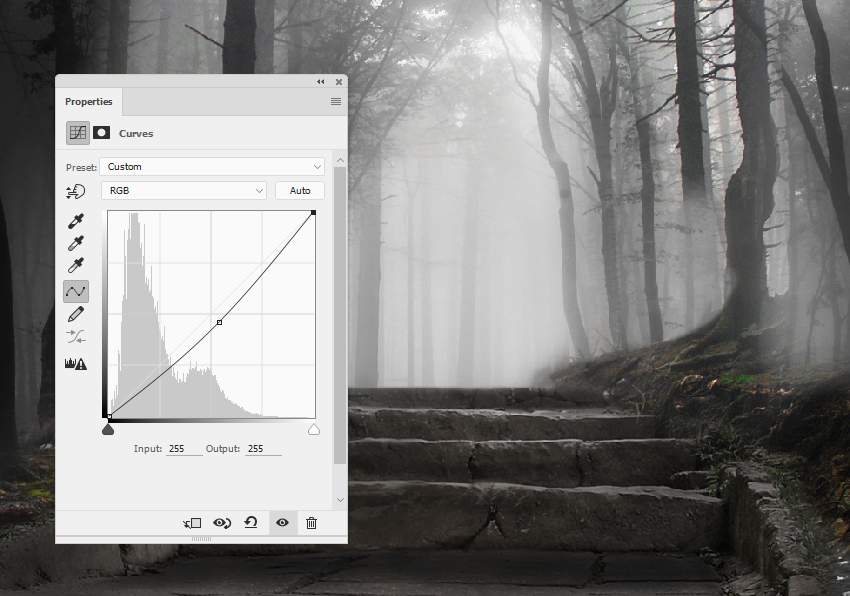
Make a Curves adjustment layer to darken this part of the forest a little.
3. How to Import the Stream
Step 1
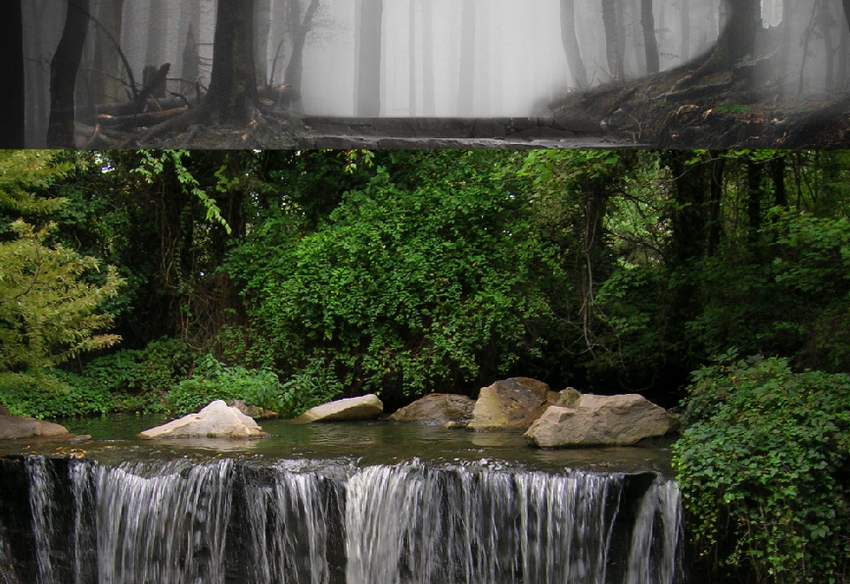
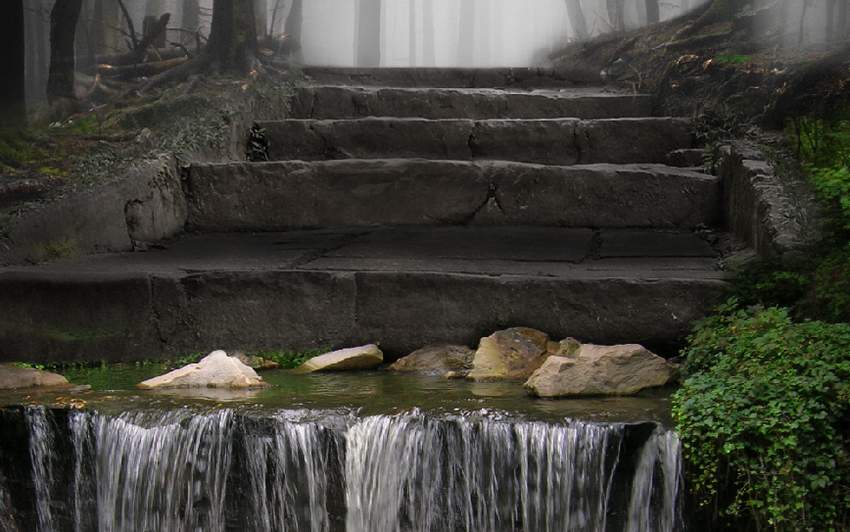
Add the stream image to the lowest area of the scene and flip it horizontally (Edit > Transform > Flip Horizontal). Use a layer mask to mask off the top, leaving the stream with the rocks and lower vines visible.
Step 2
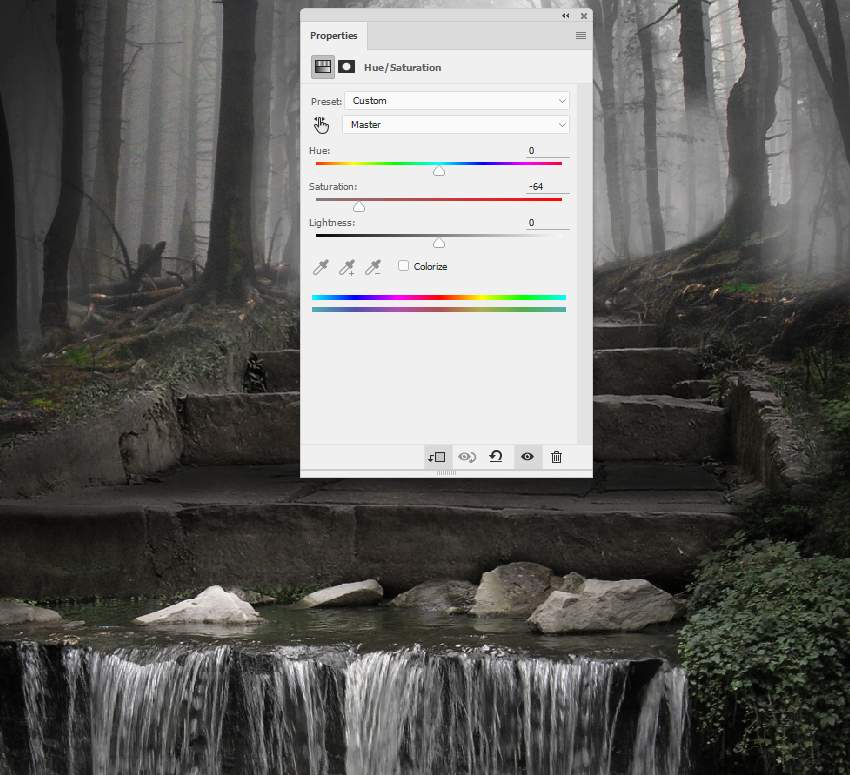
Create a Hue/Saturation adjustment layer to desaturate the stream, rocks, and vines.
Step 3
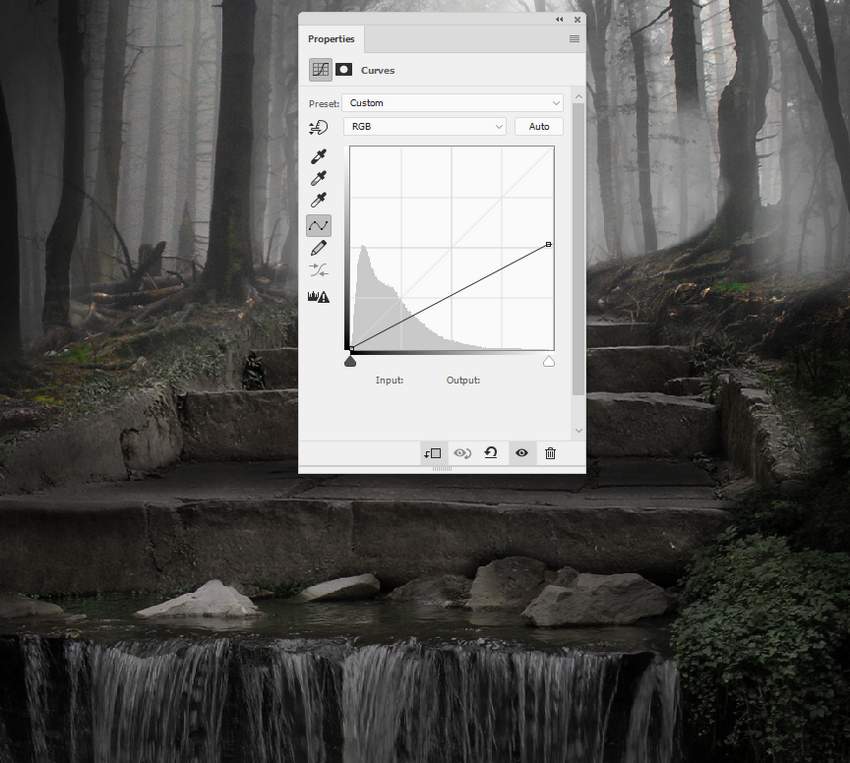
Make a Curves adjustment layer to reduce the lightness of the stream.
Step 4
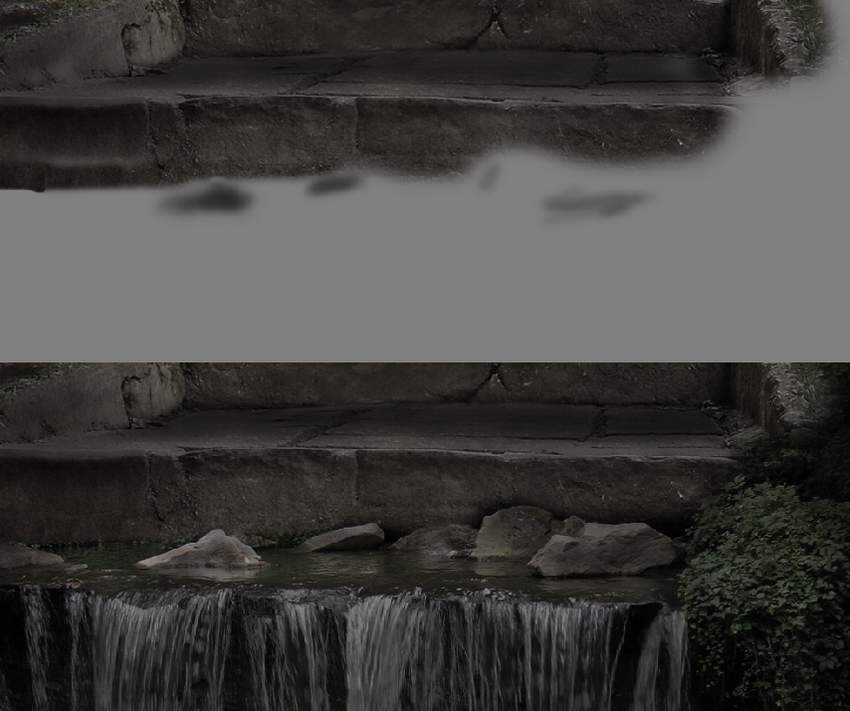
Add a new layer, change the mode to Overlay 100%, and fill with 50% gray. Use the Burn Tool to darken the rocks more.
4. How to Add the Bird
Step 1
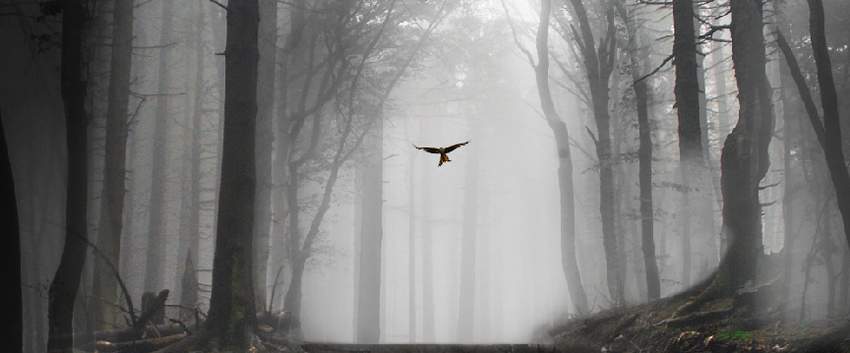
Isolate the bird from the background and add it to the upper middle section. Use the Free Transform Tool (Control-T) to make it much smaller to create an impression of distance.
Step 2
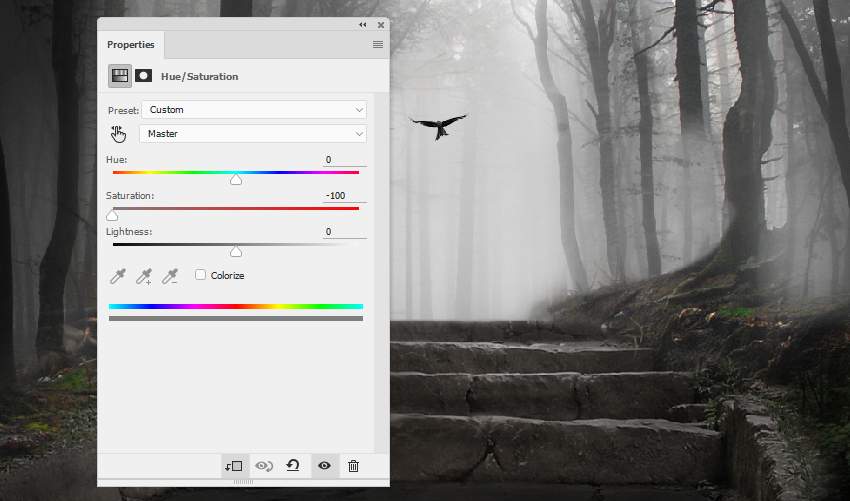
Create a Hue/Saturation adjustment layer to desaturate the bird.
Step 3
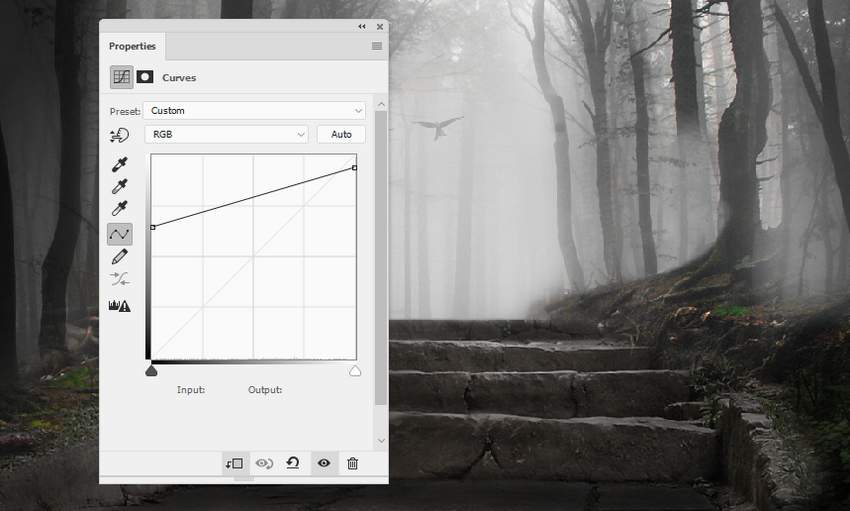
Use a Curves adjustment layer to reduce the bird's visibility, making it fade out into the foggy background.
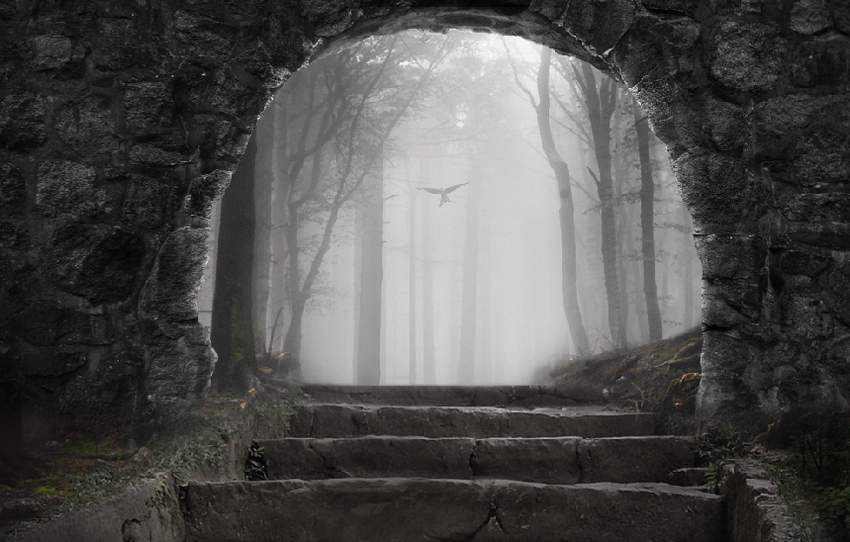
5. How to Retouch the Arch
Step 1
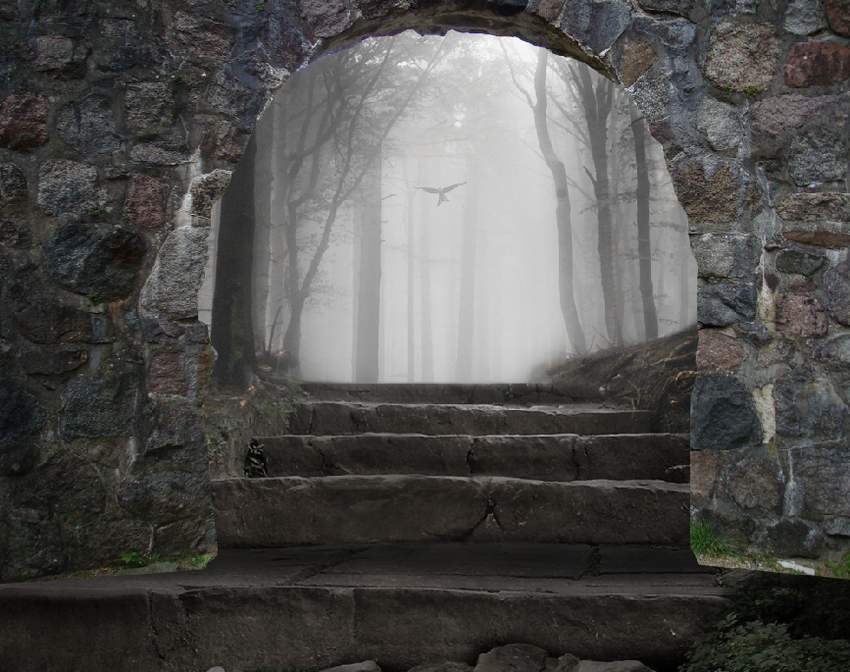
Cut out the arch from the original image and place it above the stairs. Use a layer mask to erase the bottom and blend it with the existing ground.
Step 2
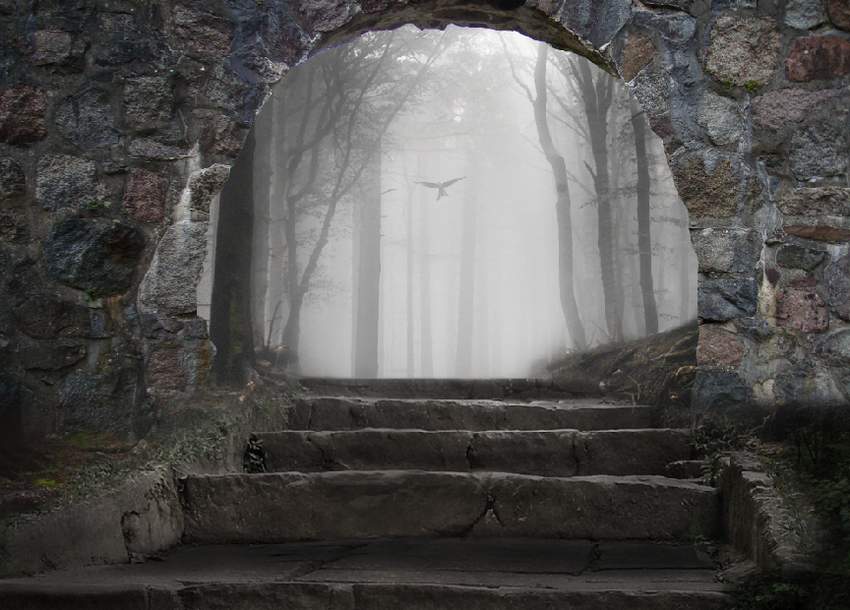
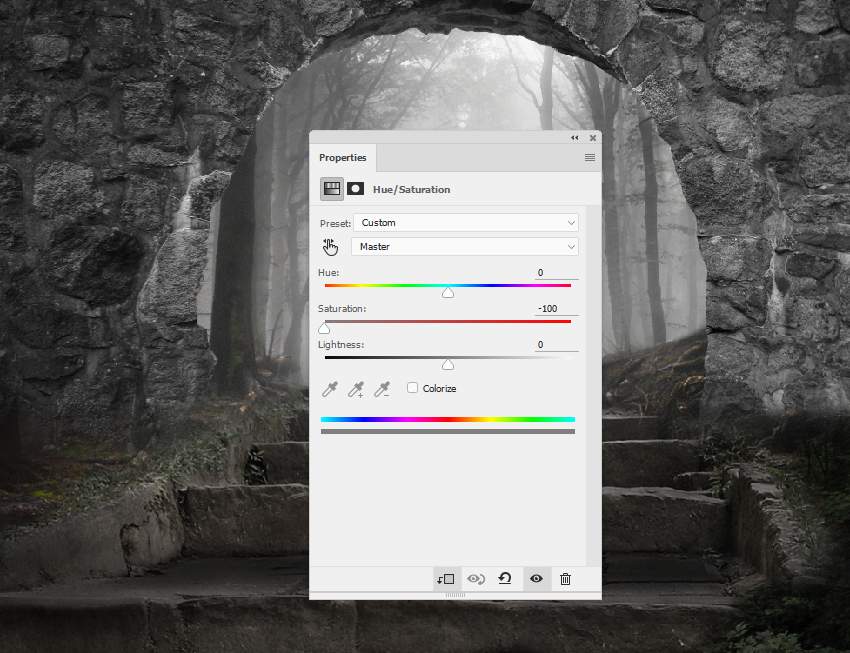
Make a Hue/Saturation and bring the Saturation value down to the minimum.
Step 3
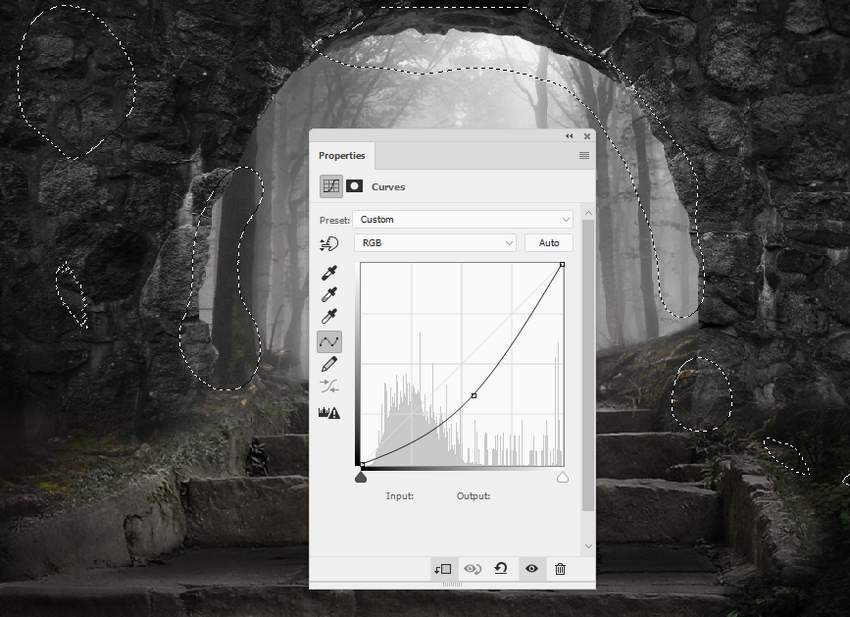
Create a Curves adjustment layer to decrease the light on the arch. On the layer mask, use a soft black brush to erase or reduce the dark effect on the areas which are dark enough.
Step 4
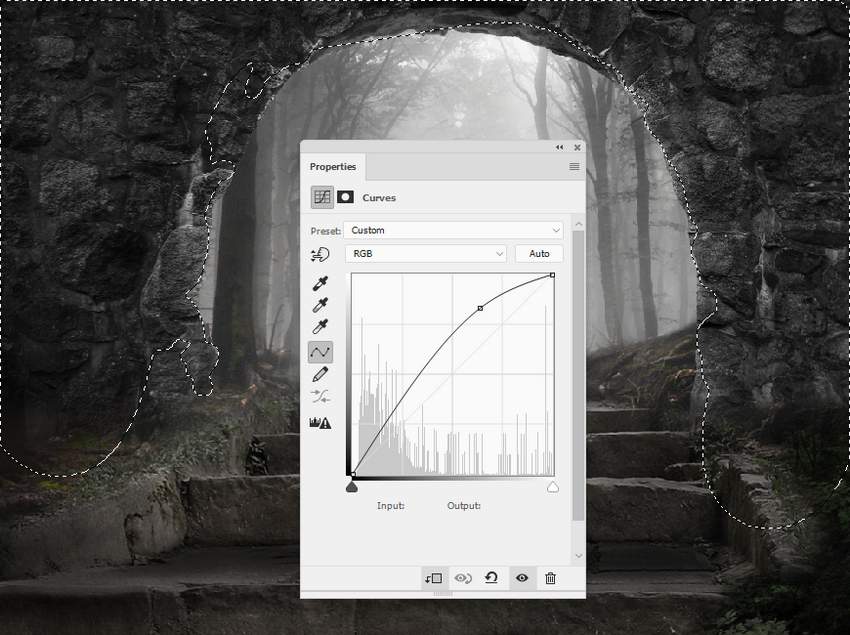
Add another Curves adjustment layer to bring more light to the arch's contour. Paint on the rest so it won't be affected by this adjustment layer.
Step 5
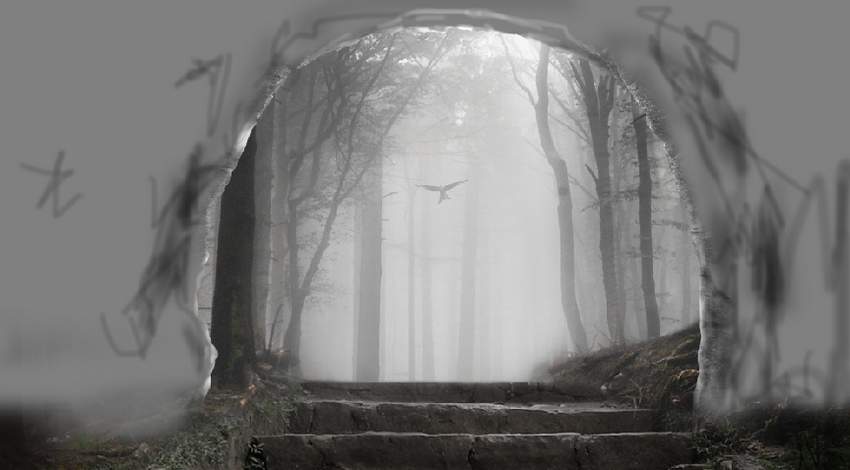
Create a new layer, change the mode to Overlay 100%, and fill with 50% gray. Use the Dodge Tool to paint more light for the contour and the Burn Tool to strengthen the shadow and details within the arch.
6. How to Add the Lantern
Step 1
Isolate the lantern from the background and place it above the stairs.

Step 2
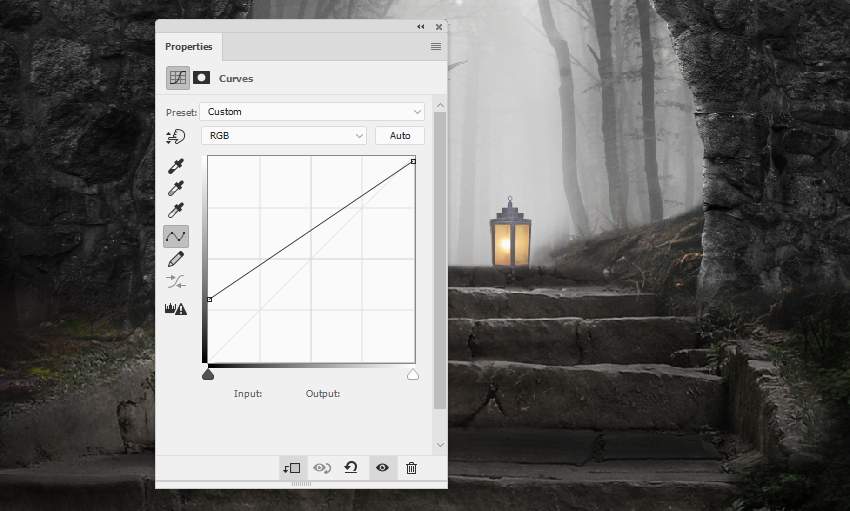
The lantern should be hazier to fit the foggy background. Create a Curves adjustment layer and decrease the contrast of the lamp.
Step 3
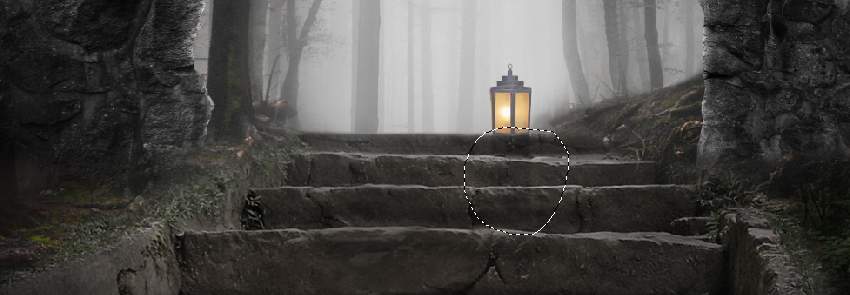
Make a new layer below the lamp layer, change the mode to Overlay 100%, and fill with 50% gray (non-Clipping Mask). Use the Burn Tool to paint a shadow for the lamp on the steps.
7. How to Do the Basic Adjustments
Step 1
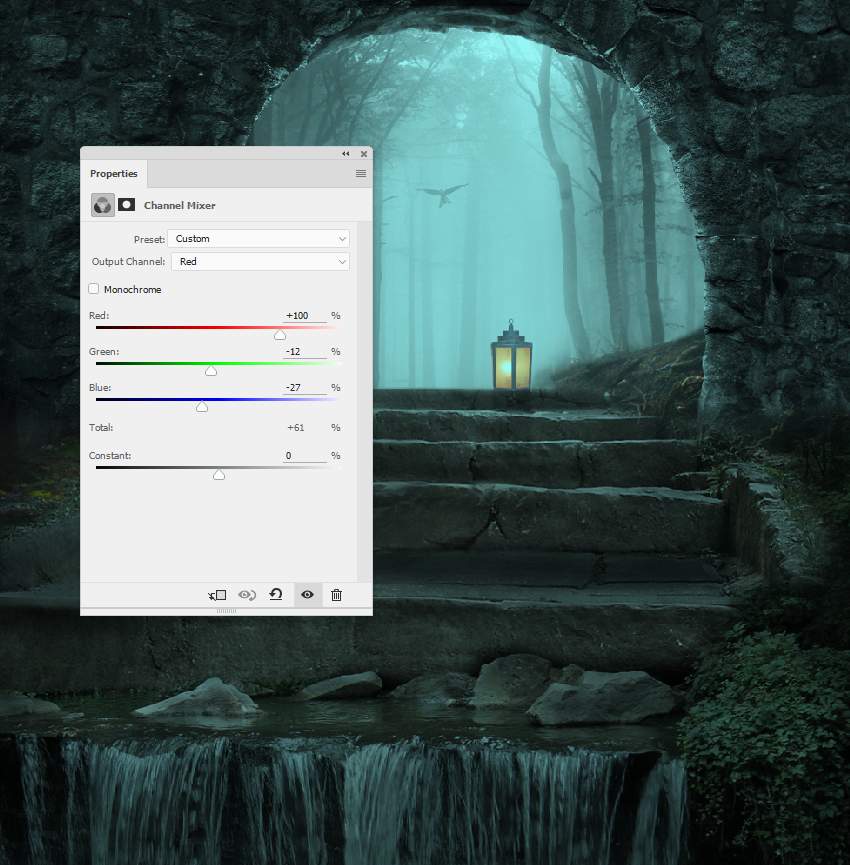
Create a Channel Mixer adjustment layer on top of the layers and change the Red settings:
Step 2
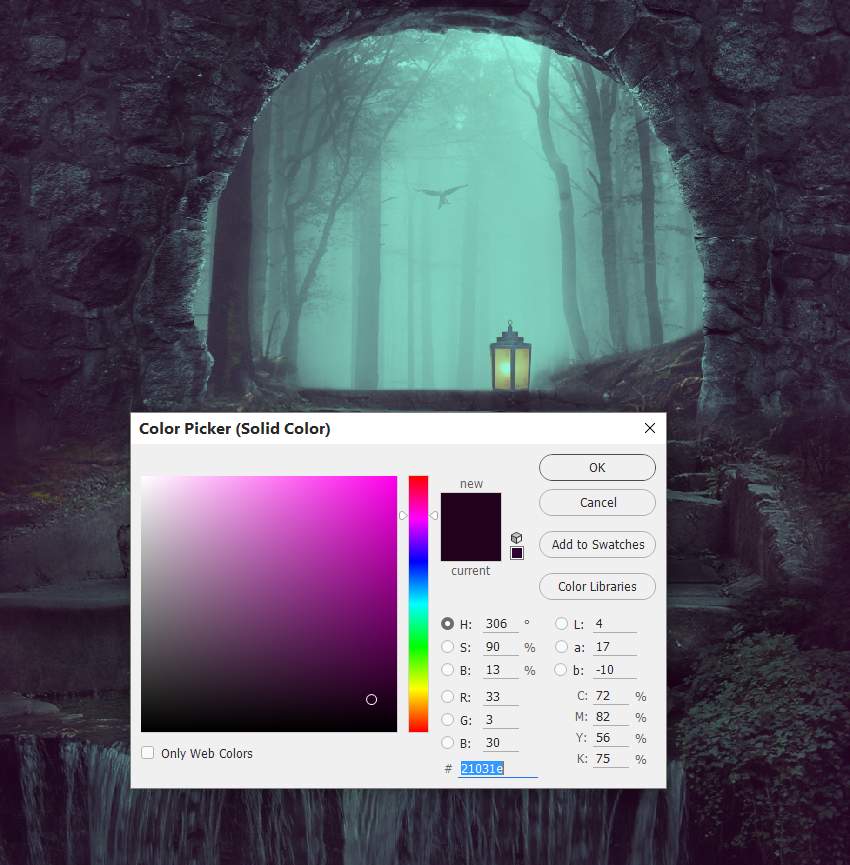
Make a Color Fill layer and pick the color #21031e. Alter this layer mode to Exclusion 100%.
Step 3
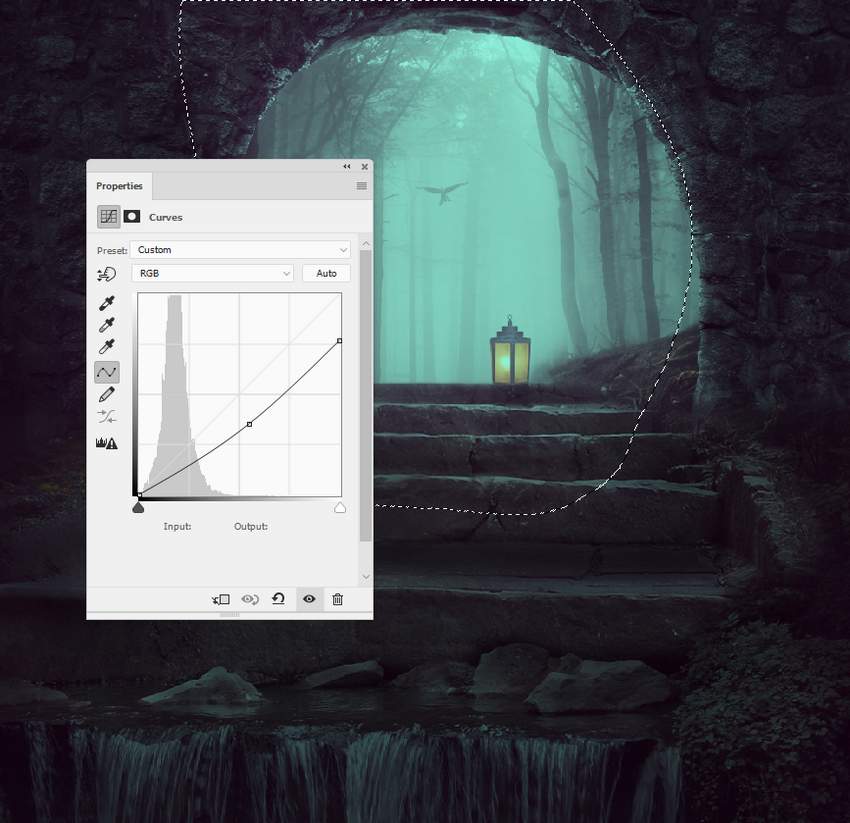
Add a Curves adjustment layer to give the edges and sides a stronger contrast. Paint around the entrance and foggy forest so it won't be darkened by this adjustment layer.
8. How to Paint the Light
Step 1
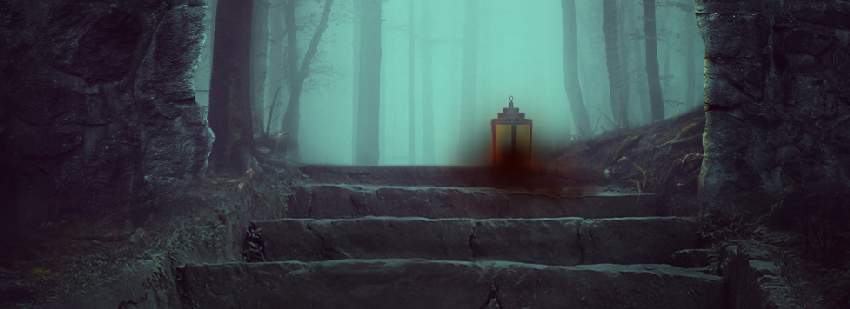
To paint more light for the lamp, create a new layer on top of the layers and use a soft brush with the color #210402 to paint on the lamp and the area around it. Change this layer mode to Linear Dodge 100%.

Step 2
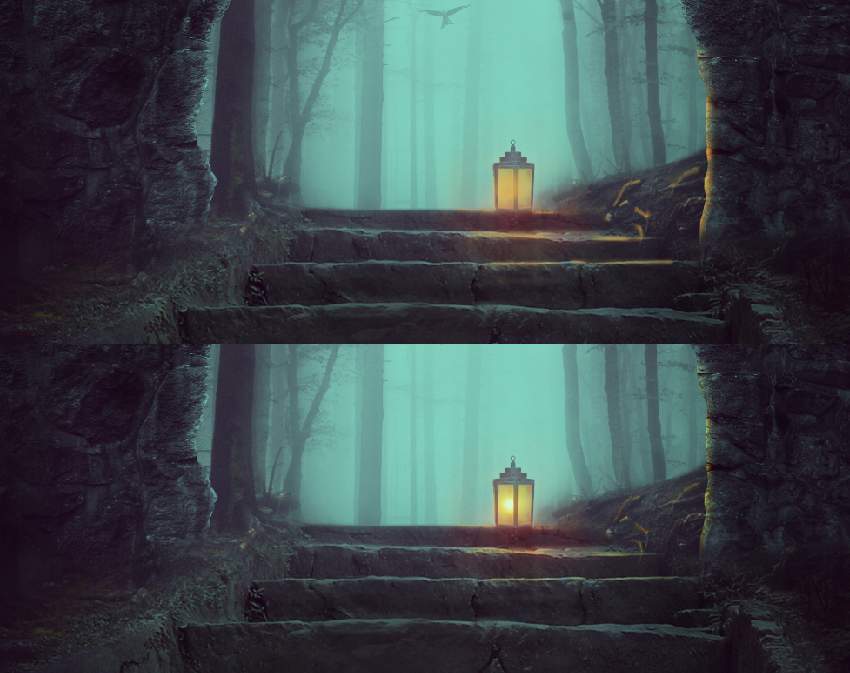
Use a new layer and a soft brush with the color #d7a650 to paint highlights for the lamp, steps, the details on the ground, and the contours of the arch. Alter this layer mode to Overlay 100%.
Advertisement
Step 3
On a new layer, use a soft brush with the color #ee9463 to make the highlight inside the lamp stronger. Set this layer mode to Hard Light 100%.

Congratulations, You're Done!
I hope that you've enjoyed the tutorial and learned something new for your own projects. Feel free to share your results or leave comments in the box below. Enjoy Photoshopping!
