Photoshop合成冰冻特效的金鱼场景【英】
来源: Tutsplus.com 作者: Jenny Le
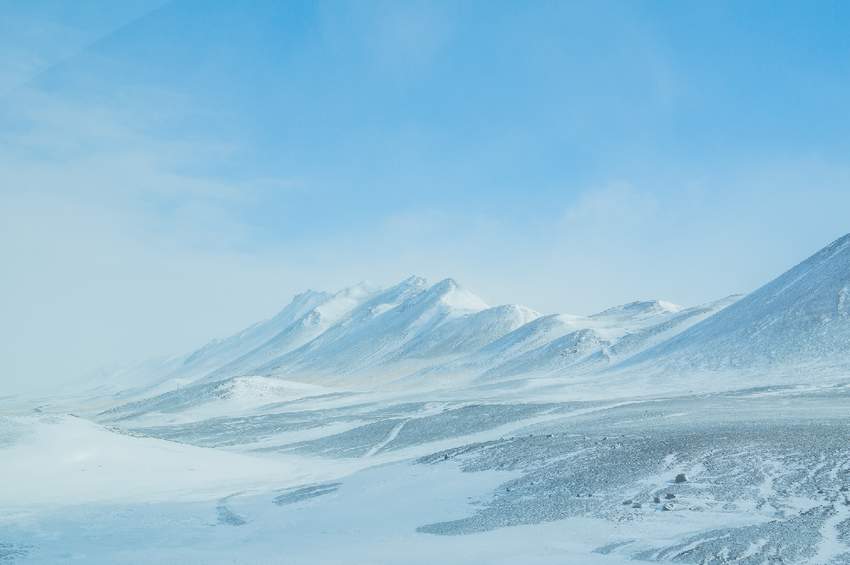
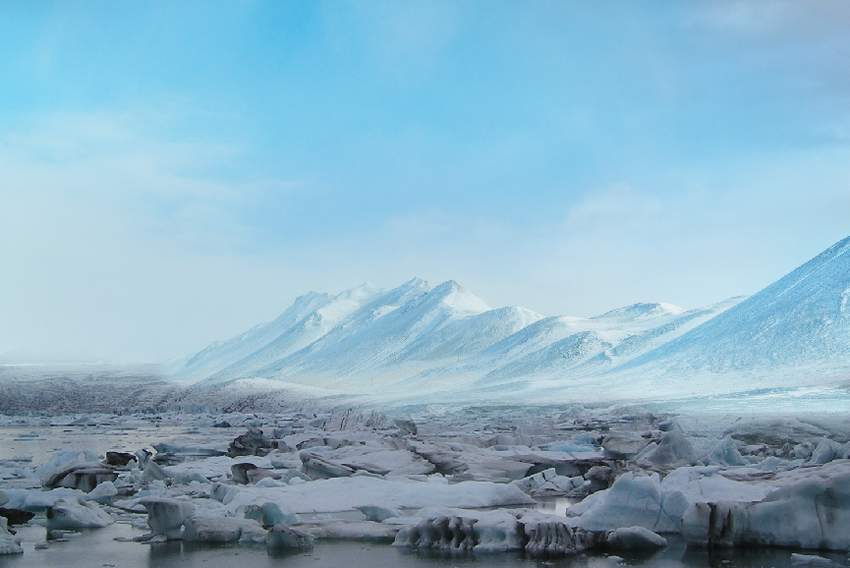
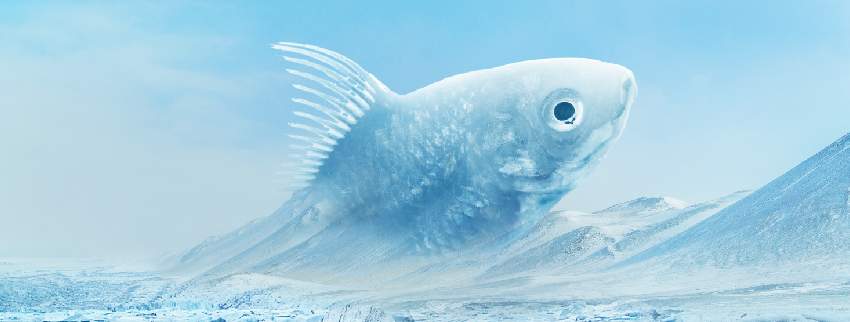
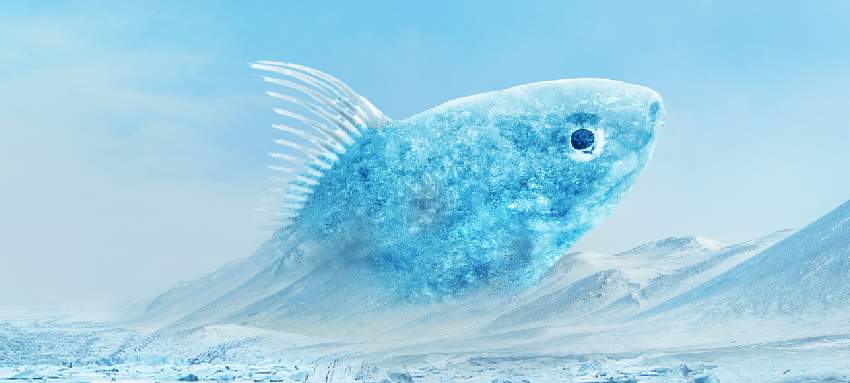
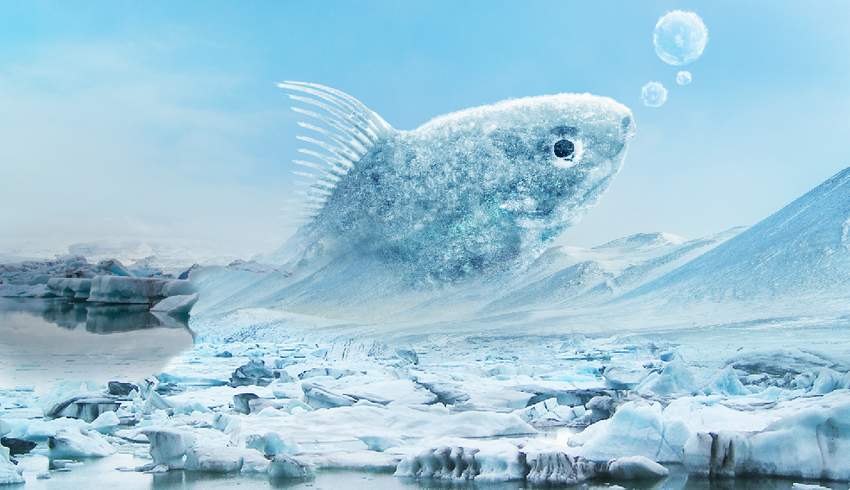
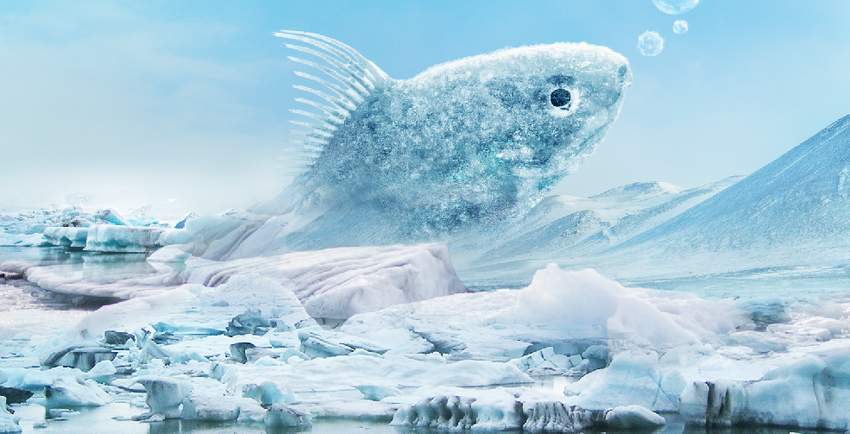
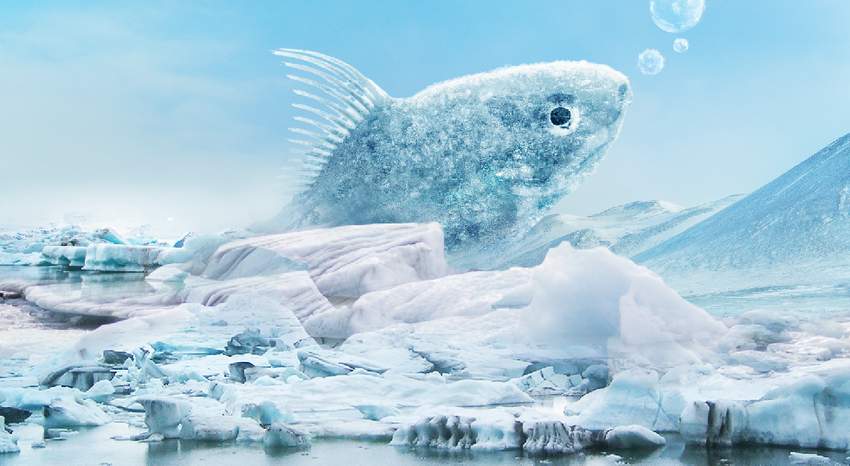
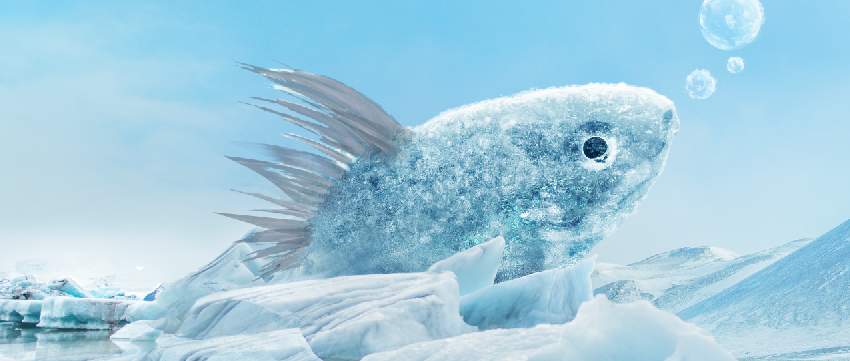
先看看效果图:
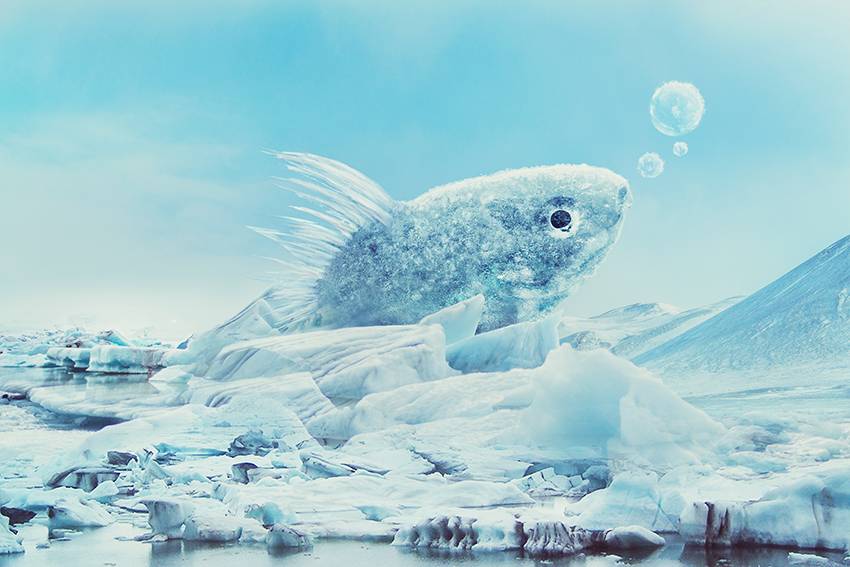
What You'll Be Creating
In this tutorial I'll show you how to use Adobe Photoshop to create an icy fish photo manipulation. You will learn how to create an icy landscape using several stock images, freeze a fish using some ice textures, paint snowy bubbles, make icy fins, and more.
1. How to Build the Base Landscape
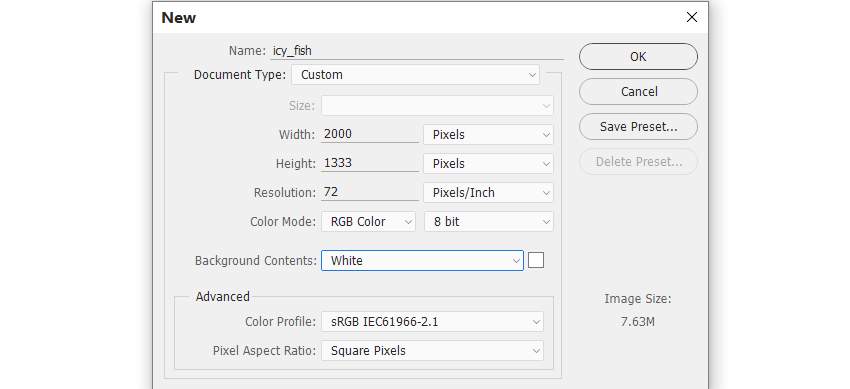
Step 1
Create a new 2000 x 1333 px document in Photoshop with the given settings:
Step 2
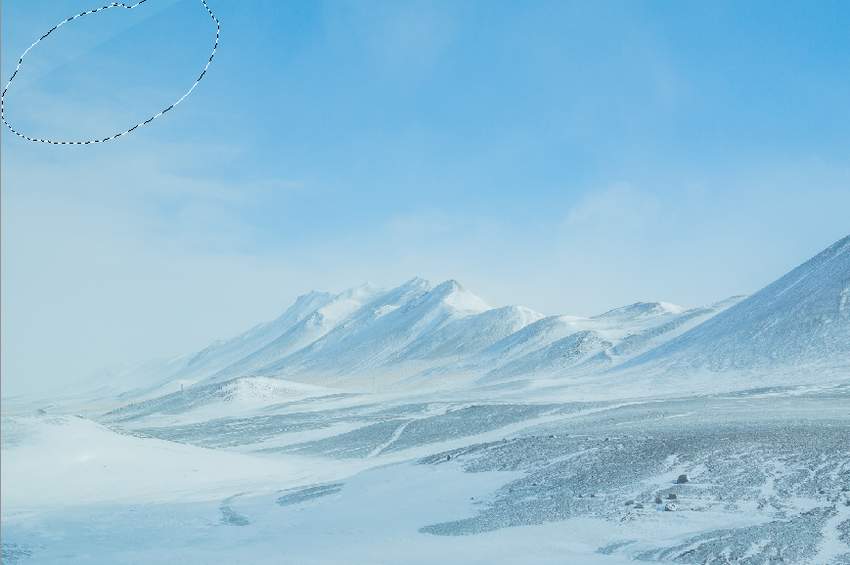
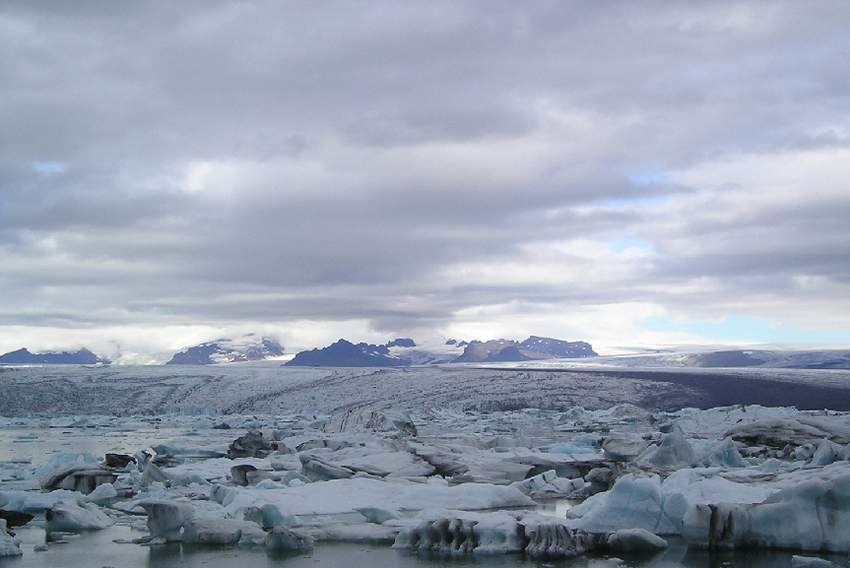
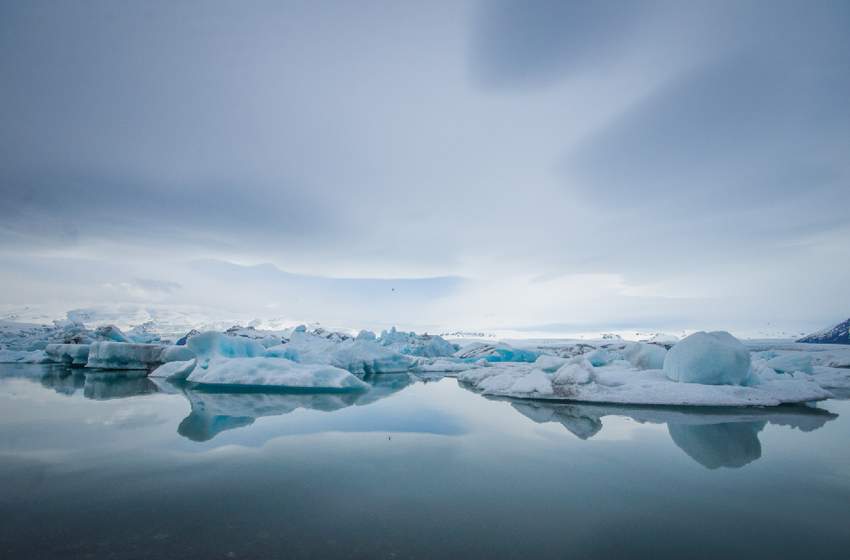
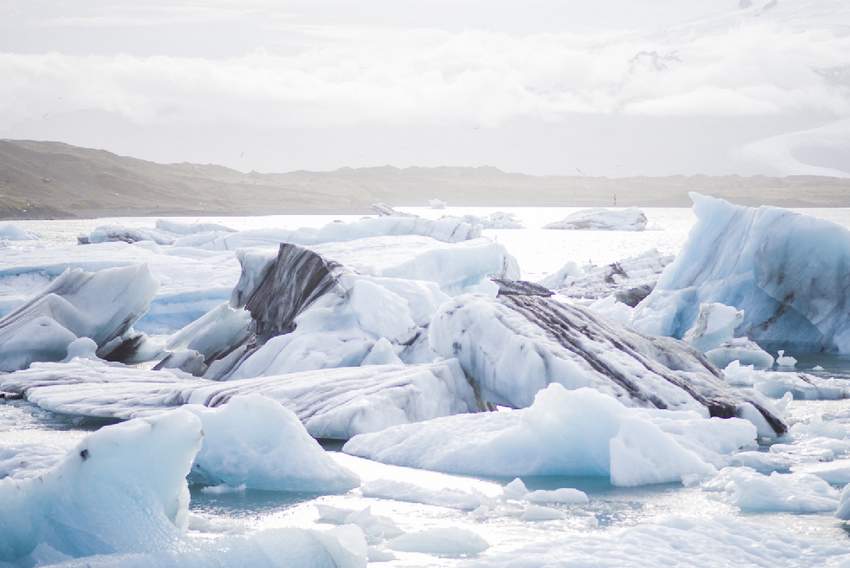
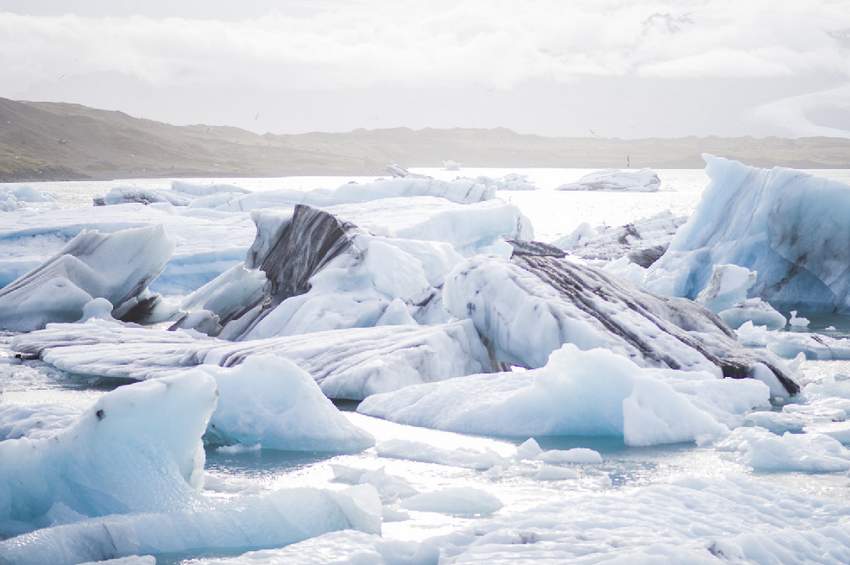
Open the winter landscape image. Drag this image into the white canvas using the Move Tool (V).
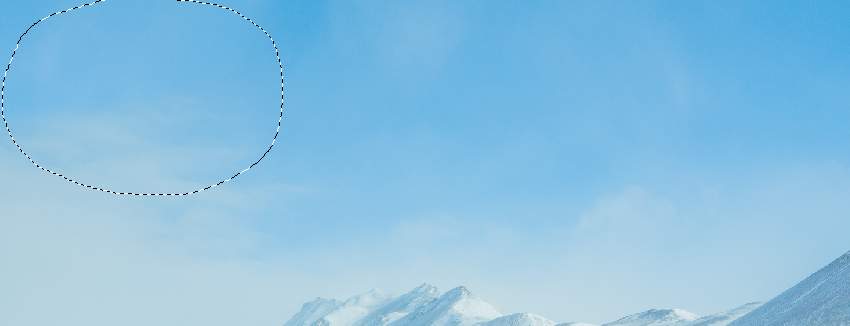
Step 3
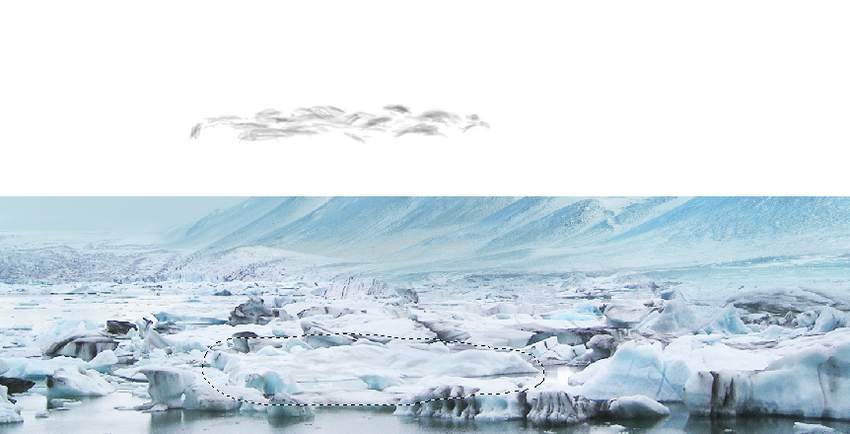
You can see that there are unwanted hard edges on the top left of the sky. To fix it, on the landscape layer, use the Lasso Tool (L) to make a selection on the top right and set the Feather Radius for it to 30:
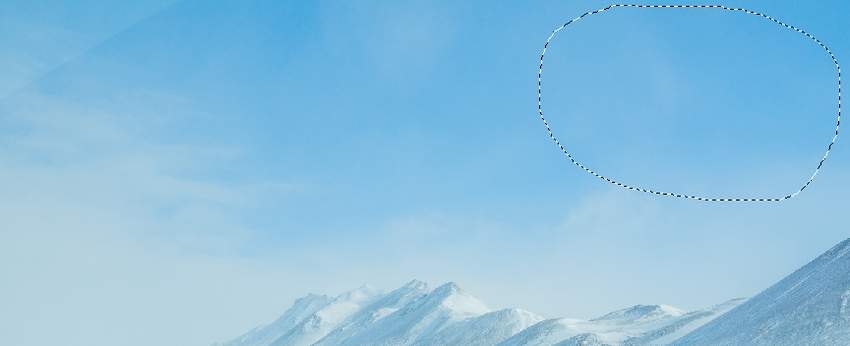
Press Control-J to duplicate this selected part into a new layer and move it to the left to cover the indicated detail. Flip it horizontally by choosing Edit > Transform > Flip Horizontal.
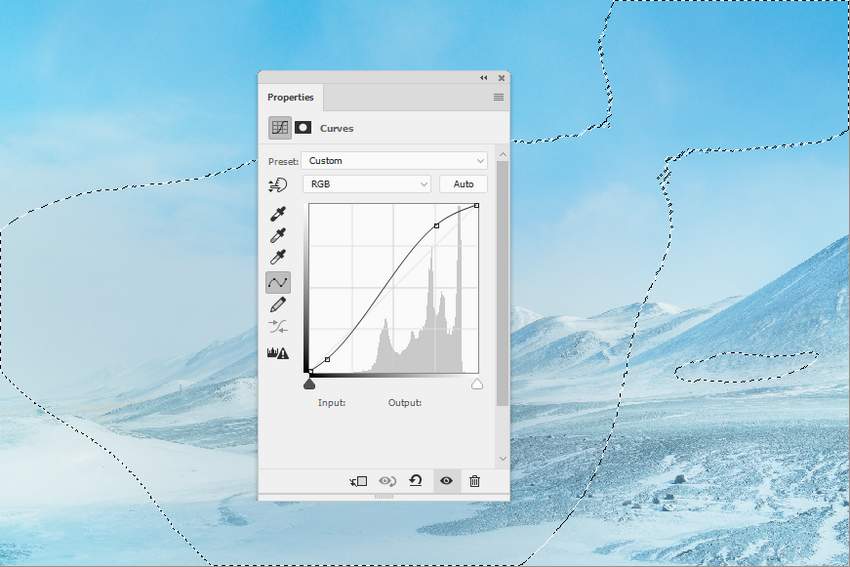
Step 4
Go to Layer > New Adjustment Layer > Curves and increase the lightness and contrast of the landscape. On this layer mask, activate the Brush Tool (B) with a soft round one and black color. Use this brush to paint around the middle so it won't be affected by this adjustment layer.
Step 5
Place the ice 1 image over the main canvas using the Move Tool.
Click the second icon at the bottom of the Layers panel to add a mask to this layer. Use a soft black brush to remove most of the sky and the background, leaving the midground and foreground visible only.
Step 6
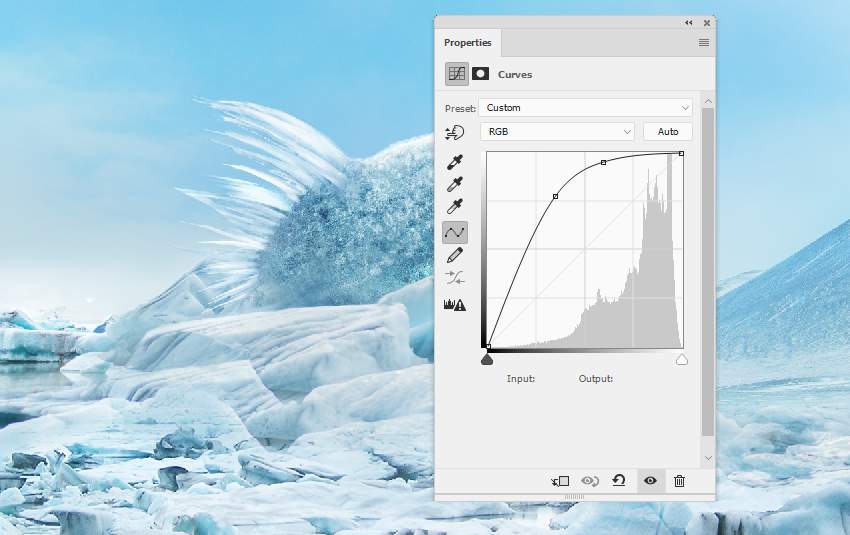
Make a Curves adjustment layer and set it as Clipping Mask. Increase the lightness a lot, and on the layer mask, use a small medium-soft black brush to paint on the ice part near the foreground to show some details and textures.

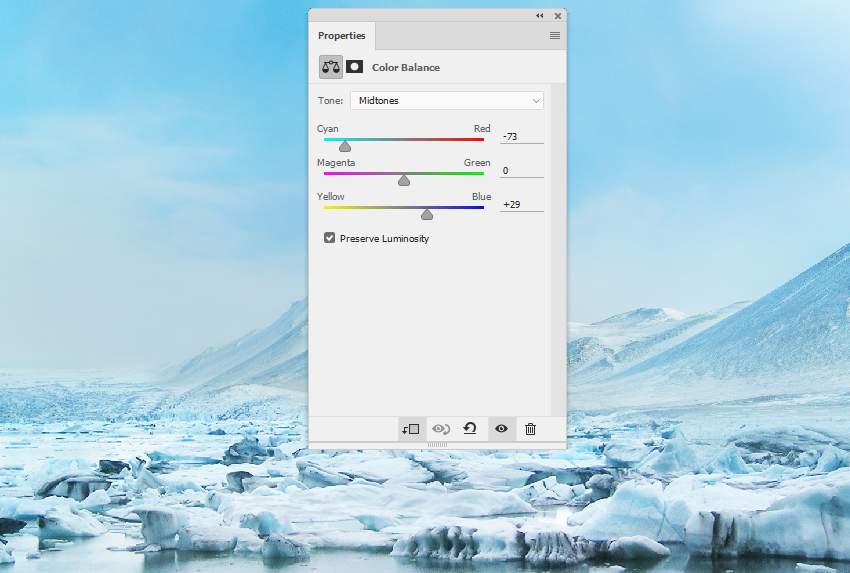
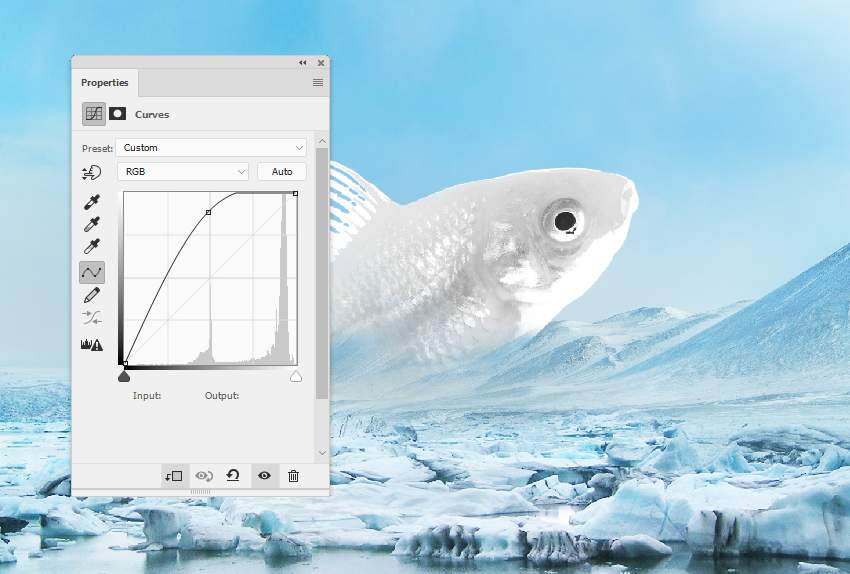
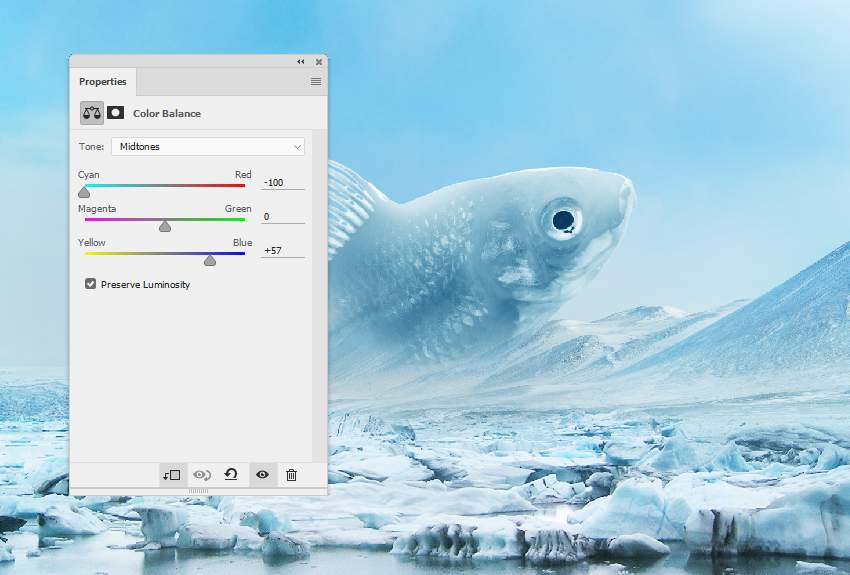
Step 7
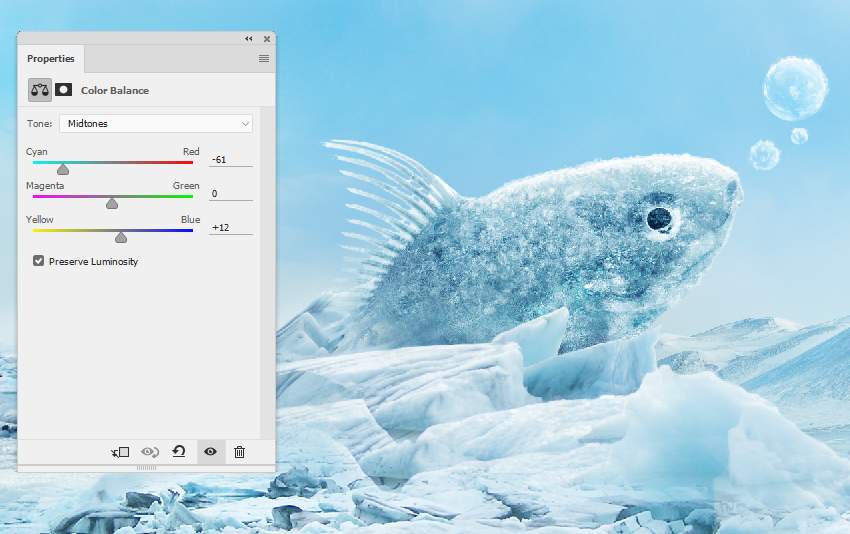
Create a Color Balance adjustment layer and change the Midtones settings:
2. How to Add the Fish
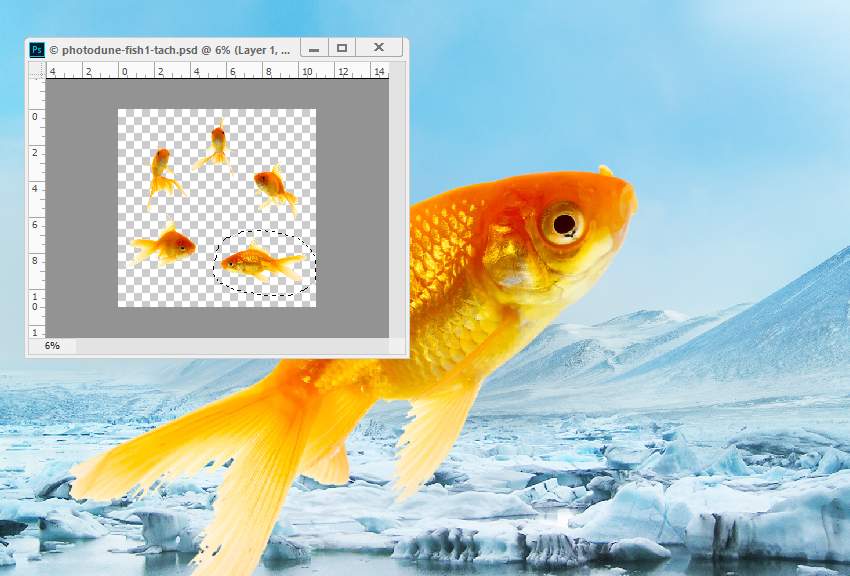
Step 1
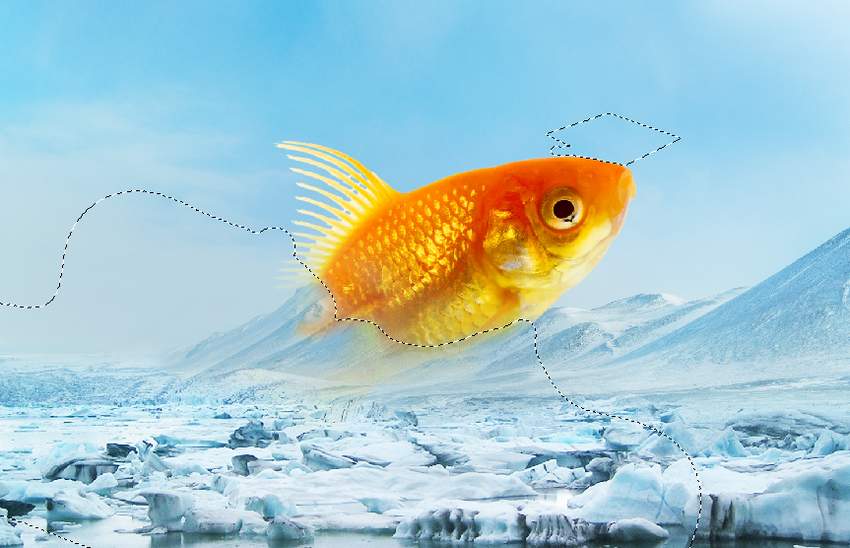
Cut out the fish, and choose the one in the bottom right and place it in the middle of the scene. Flip it horizontally and rotate it to make it look as if it's jumping out of the icy lake.
Use a layer mask to remove its tail, the lower body, and the small details on the head, making it blend with the mountains in the background.
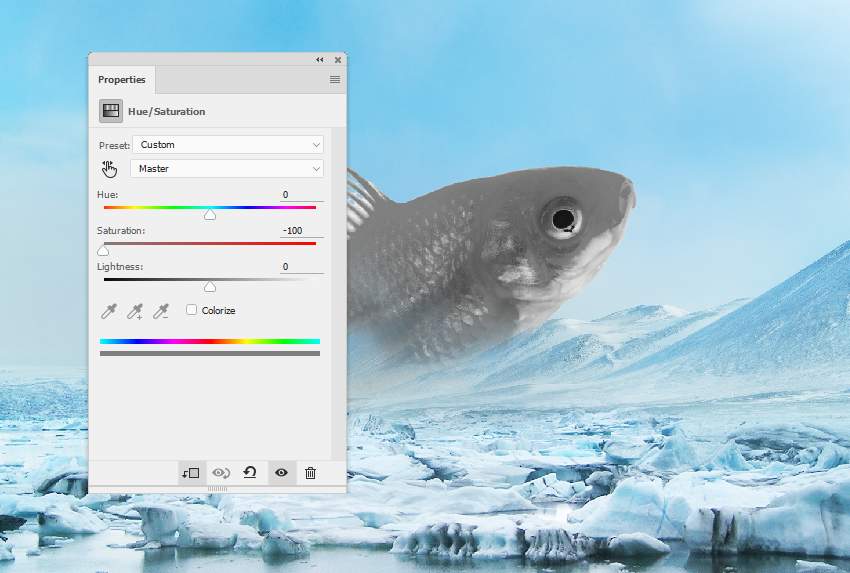
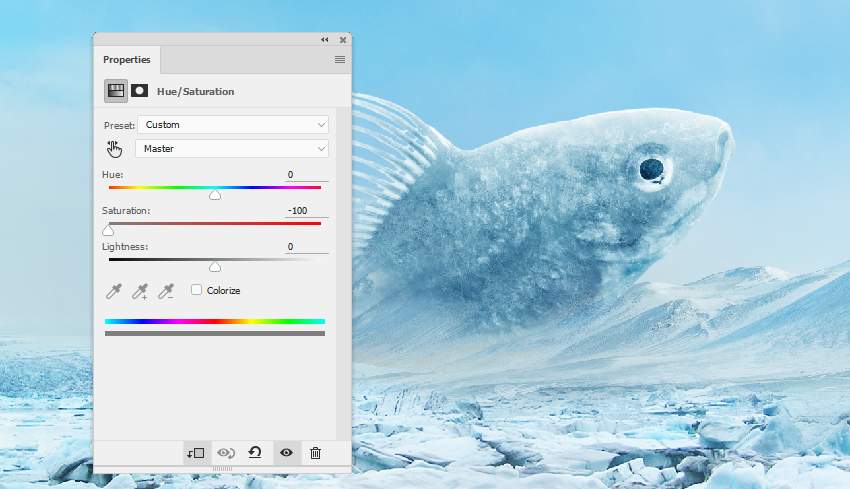
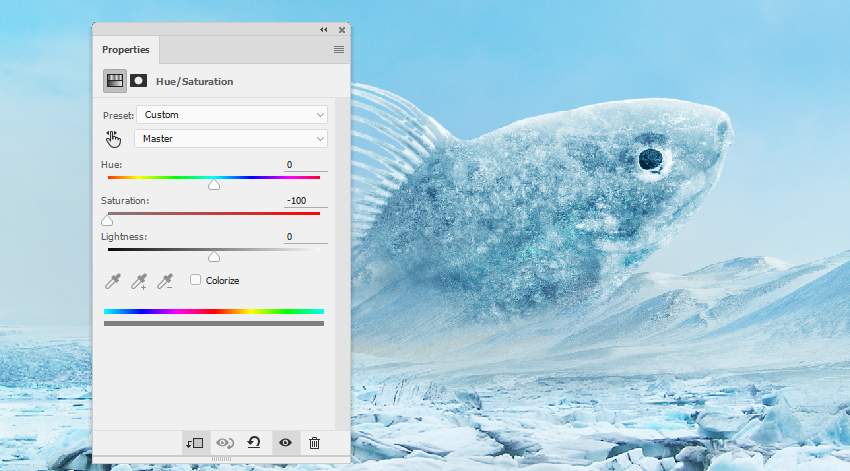
Step 2
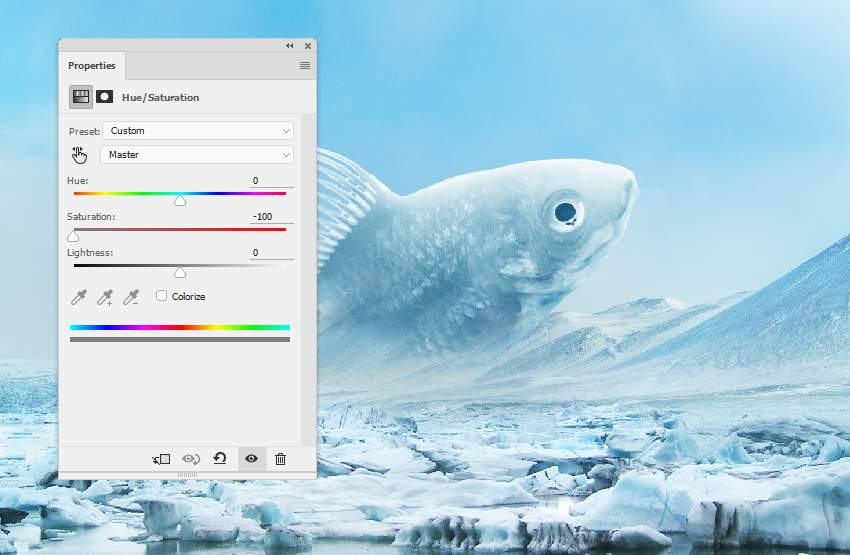
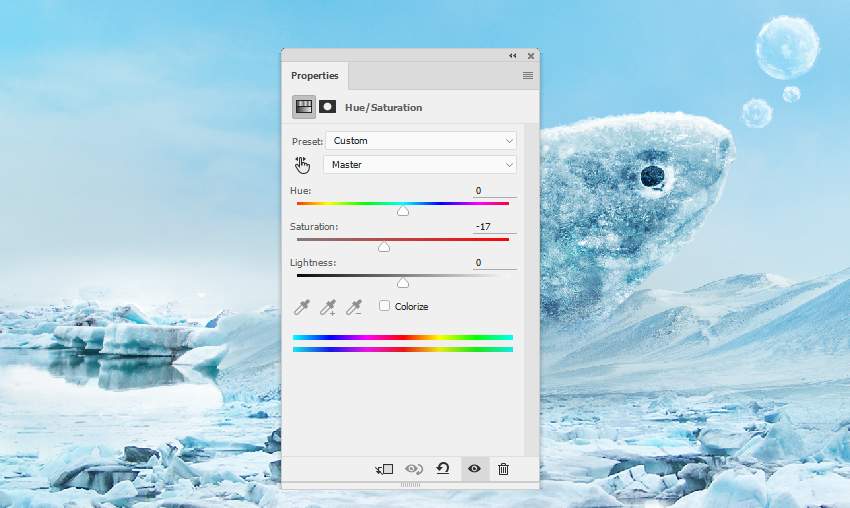
Create a Hue/Saturation adjustment layer (set as Clipping Mask) and reduce the Saturation value to the minimum.
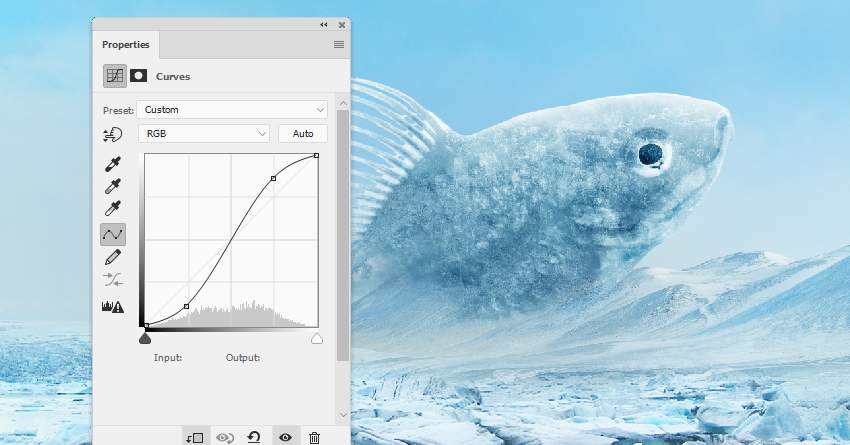
Step 3
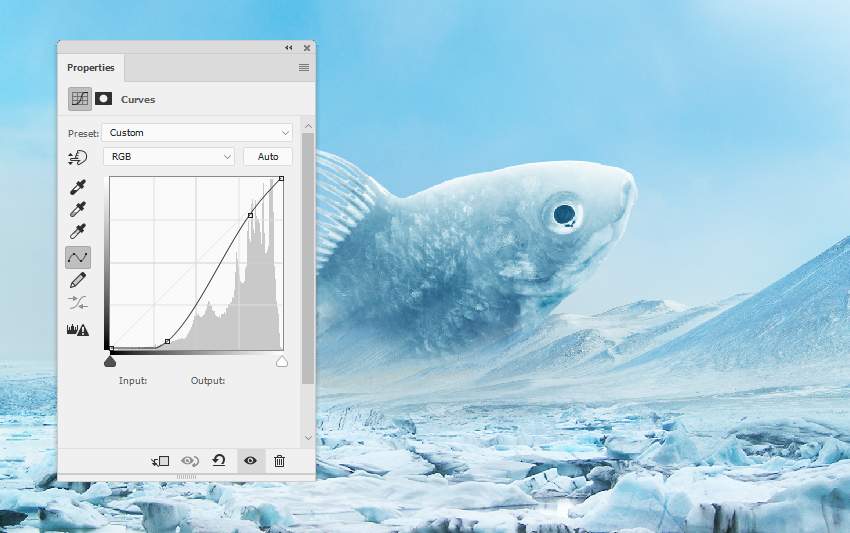
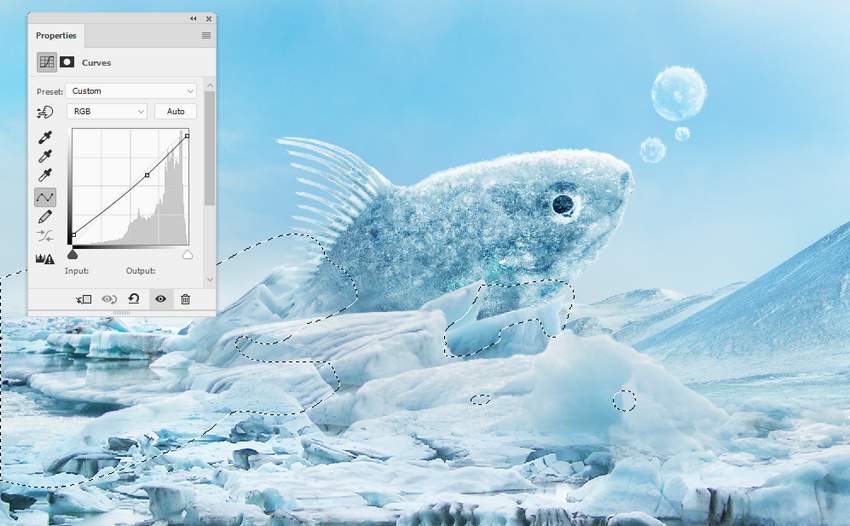
Add a Curves adjustment layer to brighten the fish. On the layer mask, use a soft black brush to erase the bottom, leaving the light visible on the upper section.

Step 4
Create a Color Balance adjustment layer to make the fish's color fit the background.
Step 5
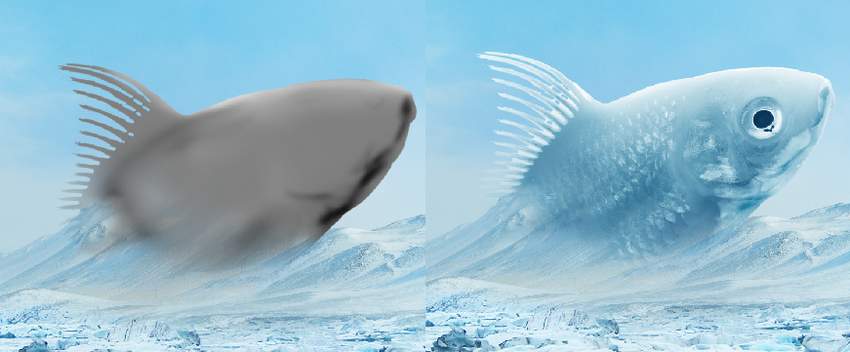
Make a new layer, change the mode to Overlay 100%, and fill with 50% gray.

Activate the Dodge and Burn Tool (O) with Midtones Range, Exposure about 10-20% to refine some light and shadow on the fish. You can see how I did it with Normal mode and the result with Overlay mode.
3. How to Make the Frozen Effect
Step 1
Place ice texture 1 over the fish and change this layer mode to Soft Light 100%.
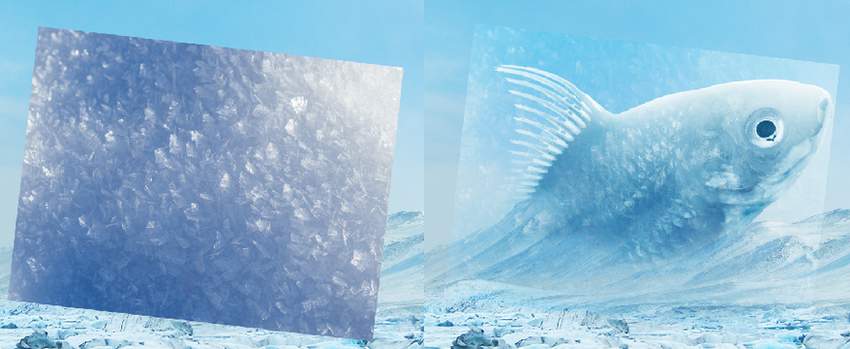
Use a layer mask to remove the part outside the fish.
Step 2
Add a Hue/Saturation adjustment layer to desaturate the effect's color.
Step 3
Use a Curves adjustment layer to increase the contrast of the effect.
Step 4
Add ice texture 2 using the same method.
Step 5
Place ice texture 3 onto the fish and change the mode to Overlay 100%. Apply a layer mask to clean any unwanted parts outside the fish.
Step 6
Make a Hue/Saturation and Curves adjustment layers to match the color and contrast of the effect with the existing one.

4. How to Paint the Icy Bubbles
Step 1
Create a new layer on top of the layers and use the Elliptical Marquee Tool (M) to grab three circles with different sizes above the fish's right. After this, fill them with the color #fbfcfc and lower the opacity of this layer to 60%.
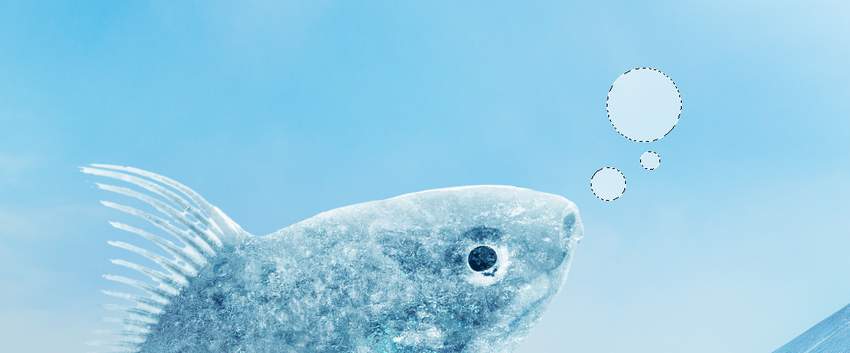
Add a mask to this layer and use a small medium-soft black brush to paint inside the circles, revealing some transparency so they look like bubbles.

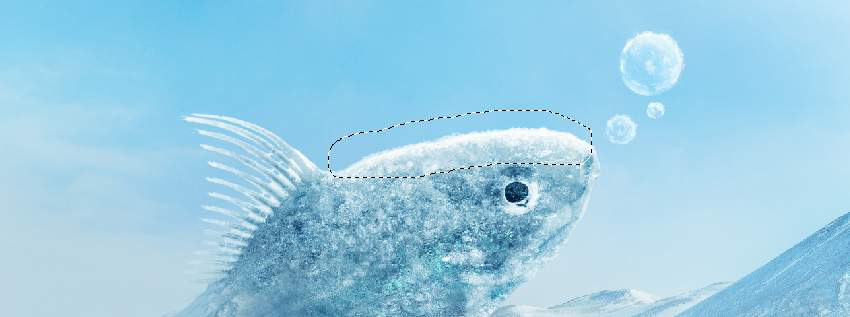
Step 2
Make a new layer and use a small soft brush with the color #fbfcfc to paint more snowy effects inside and outside the bubbles, as well as on the top of the fish.
5. How to Complete the Icy Ground
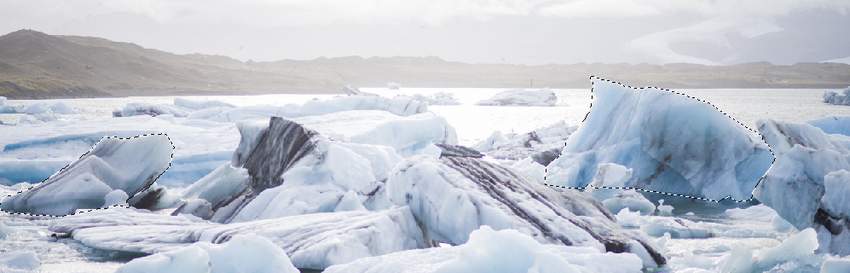
Step 1
Move the ice 2 image to our working document and mask it off to show a part of the left corner only.
Step 2
Use a Curves adjustment layer to bring more light to this area.
Step 3
Add a Hue/Saturation adjustment layer to desaturate the ice's color a little.
Step 4
Place the ice 3 image over the main document and use a layer mask with a medium-hard black brush to remove the foreground and background, leaving some ice visible around the fish and the midground.
Step 5
Duplicate this layer and resize it to be larger. Move it up a bit and use a layer mask to show some bigger ice around the fish.

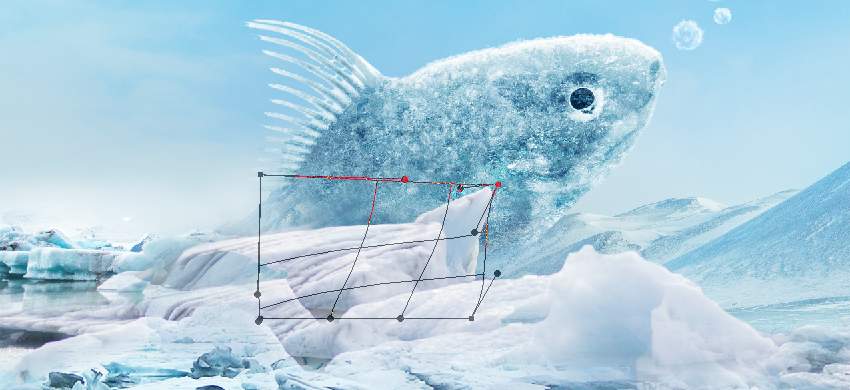
Step 6
Select an ice part from the original image and add it near the fish. Use the Free Transform Tool (Control-T)with the Warp mode to tweak it a little. Set this layer below the two previous ones.

Step 7
Take other ice parts to add around the fish. Use a layer mask for each of these layers to remove the hard edges and blend them with the existing ground. Mask off the one on the fish's tail so it appears behind the fish.
Step 8
Select all ice layers and hit Control-G to make a group for them. Change the group's mode to Normal 100%and use a Color Balance adjustment layer within the group to change the ice's color.
Step 9
Create a Curves adjustment layer to reduce the highlights on the ice a little. Paint on the shadow areas or back details so they won't be affected or will be less affected by this adjustment layer. Lower the brush's opacity if needed on the areas which are bright enough.
6. How to Create the Icy Fins
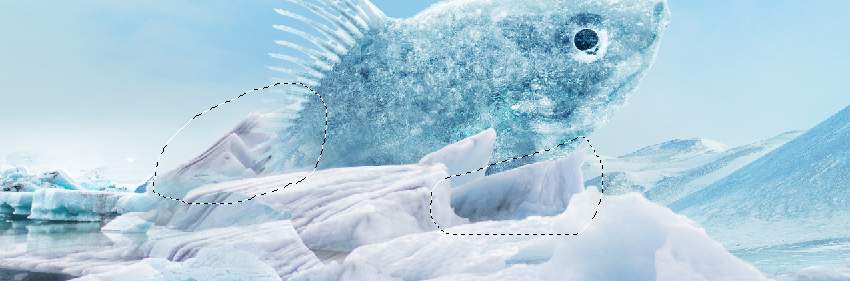
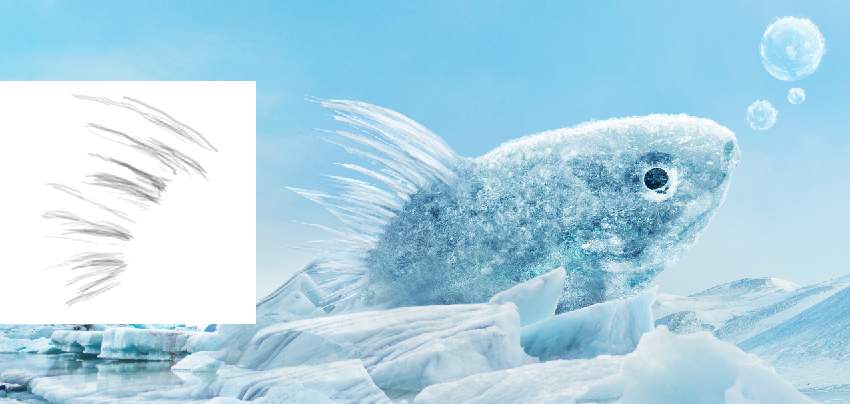
Step 1
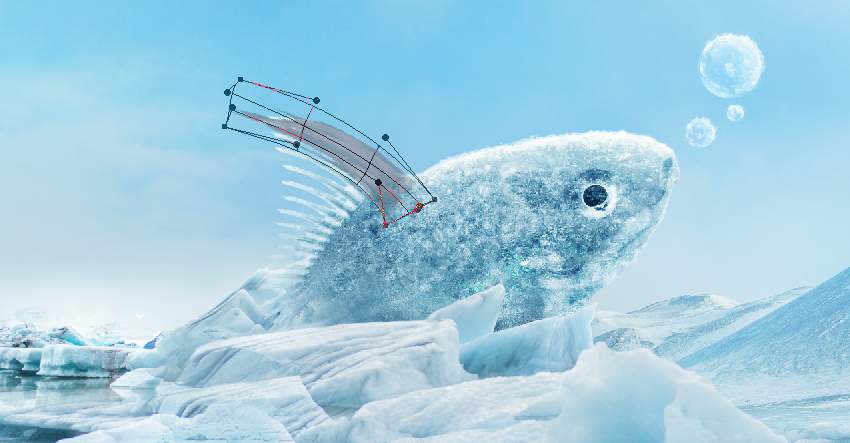
Open the icicles image. Isolate the icicles from the dark background. Select a part using the Polygonal Lasso Tool and add it to the fish's fins. Tweak this part using Control-T with the Warp mode, following the form of the original fins.
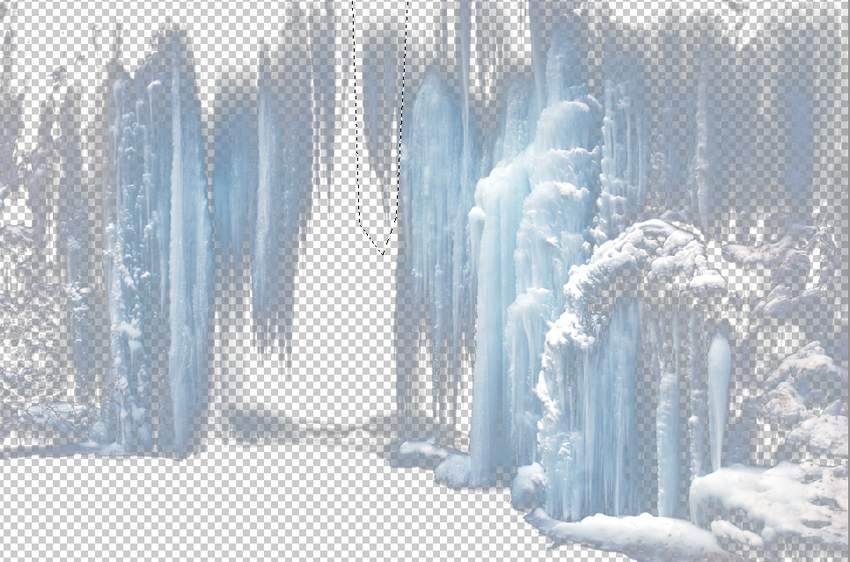
Step 2
Take other parts from the original image to cover the fins' area. Use a layer mask if needed to blend the icicles better with the fish's body.
Step 3
Create a group for the icicles layers and use a Color Balance adjustment layer to change their color.
Step 4
Make a Curves adjustment layer to brighten the icicles. Use a layer mask to reveal some shadows of the icicles to avoid a flat look.
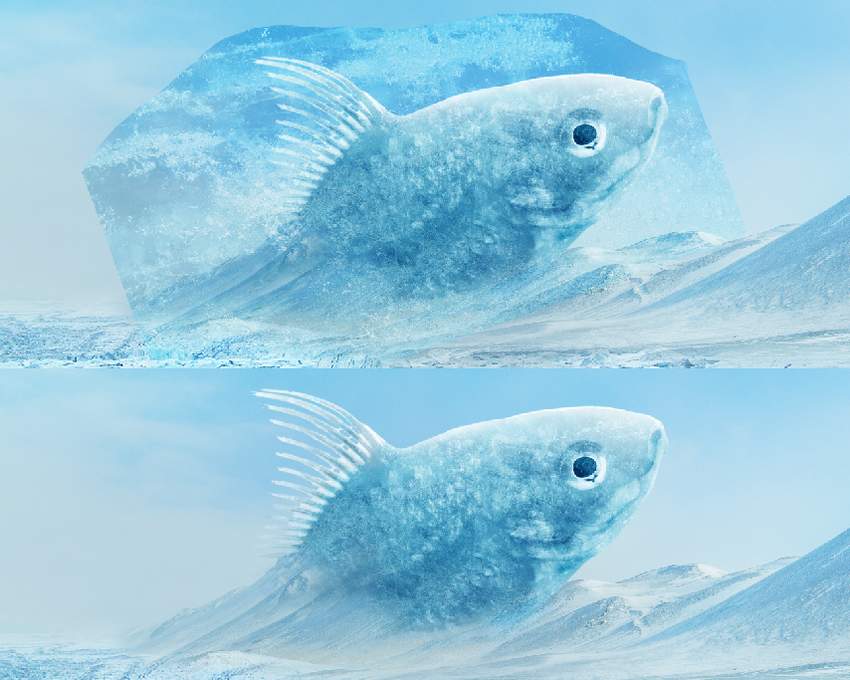
7. How to Make the Final Adjustments
Step 1
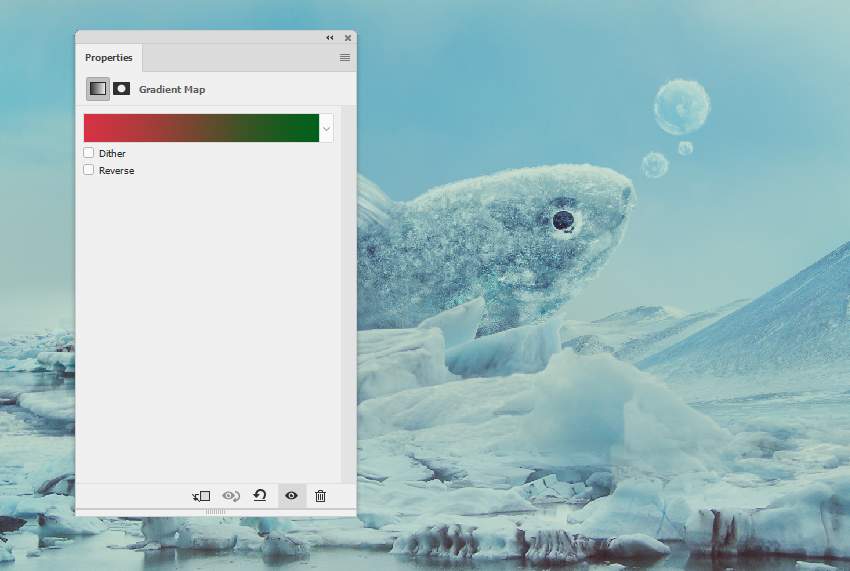
Create a Gradient Map adjustment layer on top of the layers and pick the colors #d63244 and #00601b. Lower the opacity of this layer to 20%.
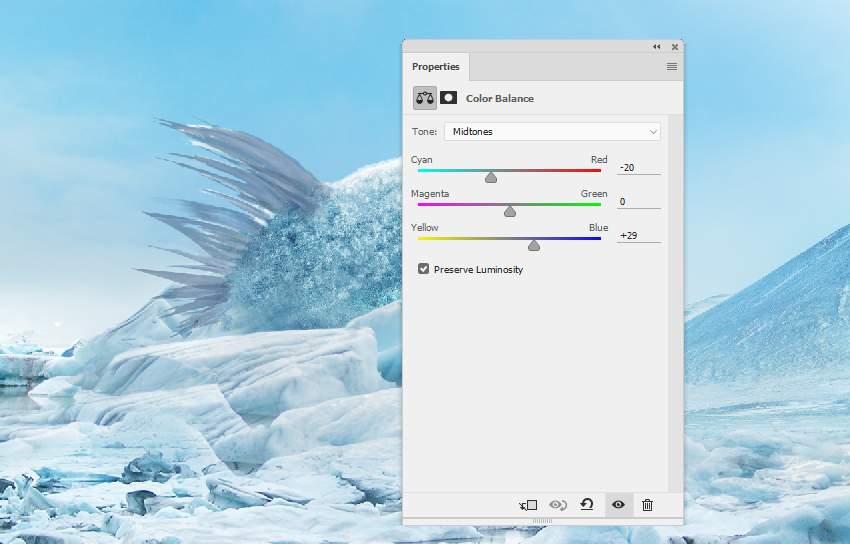
Step 2
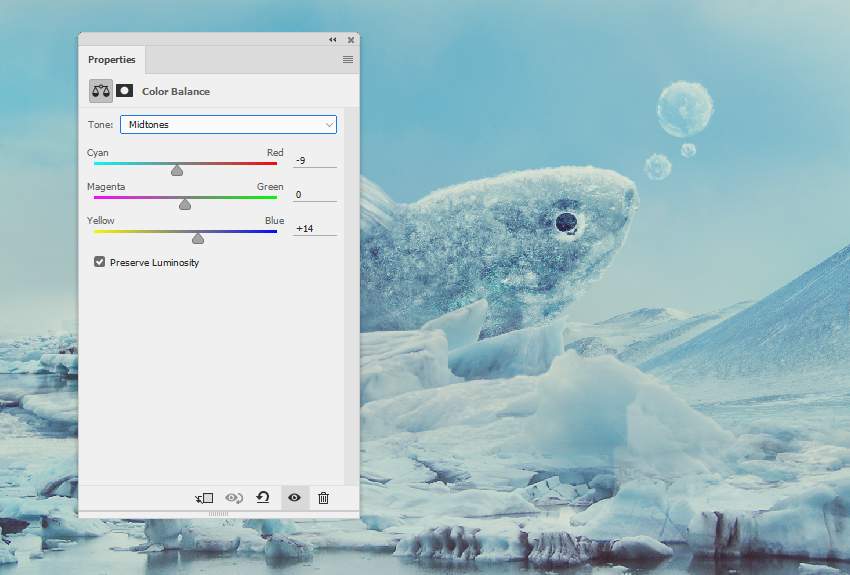
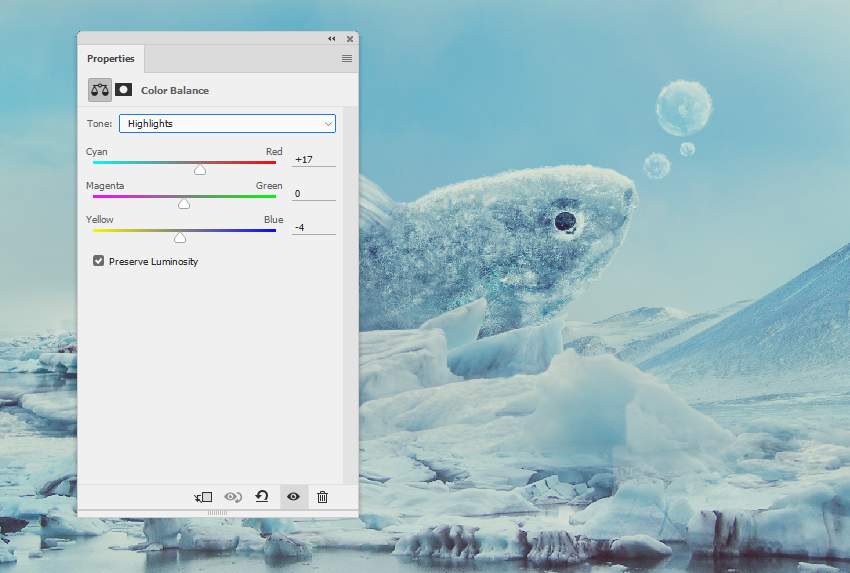
Make a Color Balance adjustment layer and alter the Midtones and Highlights settings:
Step 3
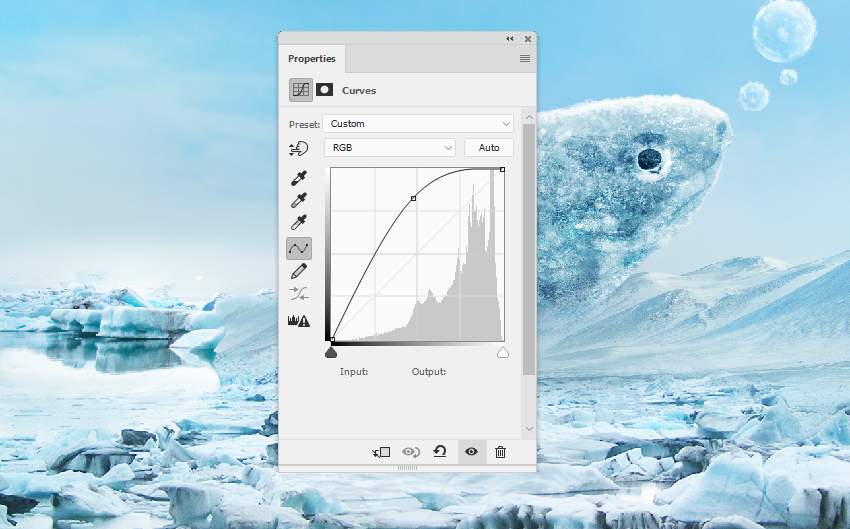
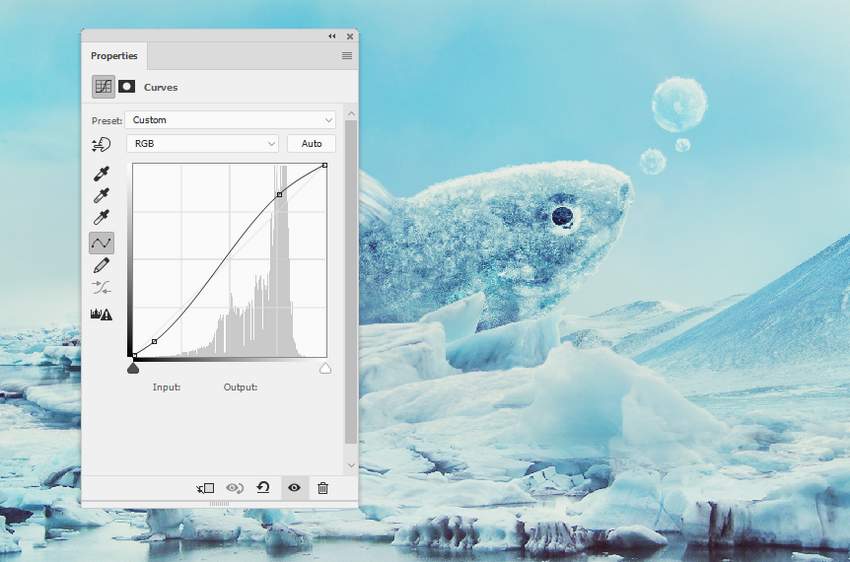
Add a Curves adjustment layer to increase the whole scene's contrast.
Advertisement
Step 4
Create a new layer, change the mode to Overlay 100%, and fill with 50% gray. Use the Dodge and Burn Tool to refine some details on the fish's tail and body and lighten the shadow of the ice part beside it.

Congratulations, You're Done!
I hope that you've enjoyed the tutorial and learned something new for your own projects. Feel free to share your results or leave comments in the box below. Enjoy Photoshopping!