Photoshop制作复古双重曝光字体

来源: Tutsplus.com 作者:Rose
Use a texture image and a gradient map, with some adjustment layers and filters, to create a super quick and easy duotone text effect. Let's get started!
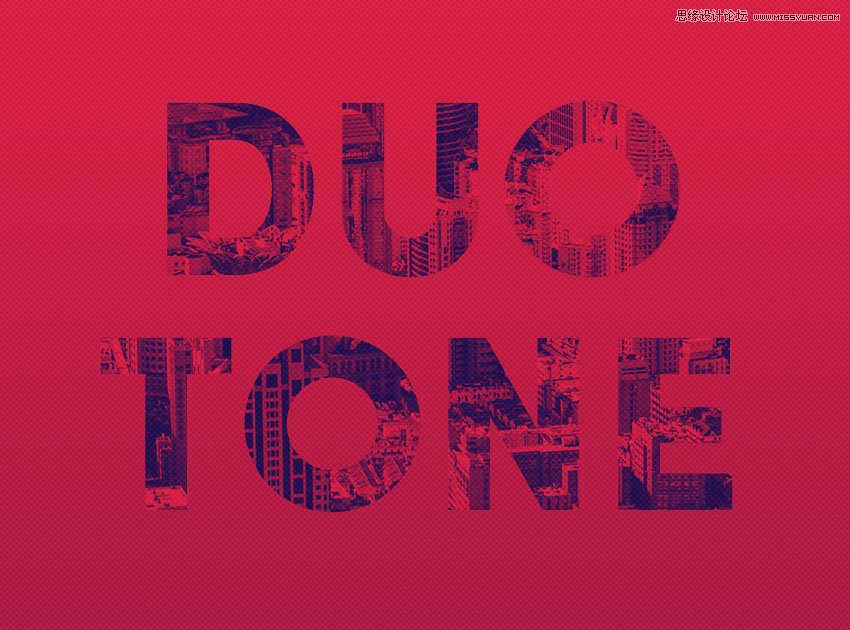
先看看效果图
1. How to Create the Background and Text Layers
Step 1
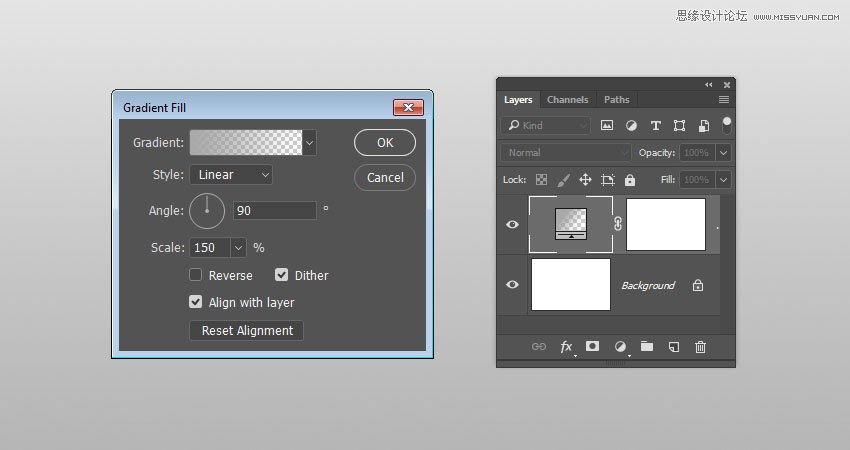
Create a new 1000 x 650 px document with a White Background. Click the Create new fill or adjustment layer icon at the bottom of the Layers panel, and choose Gradient.
Create a Fill Color to Transparent gradient fill using the Colors #a9a9a9 to the left and #868686 to the right.
Change the Scale to 150% and check the Dither box.
Step 2
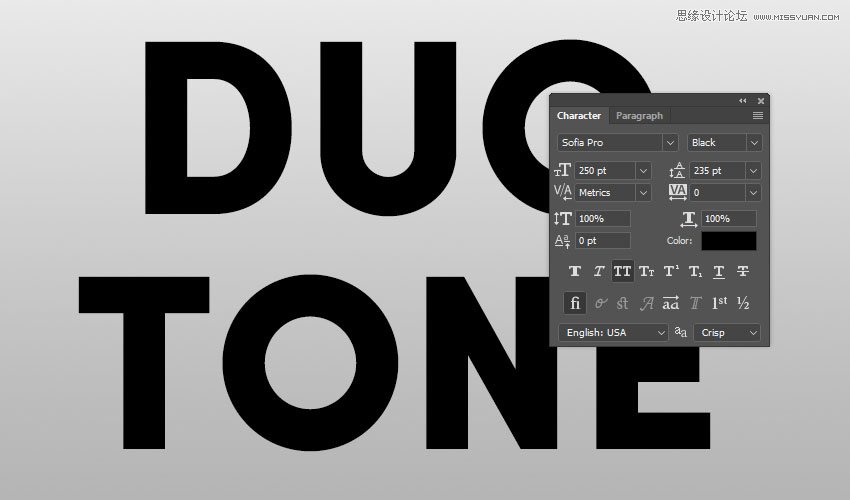
Create the text in All Caps using the font Sofia Pro Black. Set the Size to 250 pt, and if you have more than one line of text, set the Leading to 235.
2. How to Create a Duotone Effect
Step 1
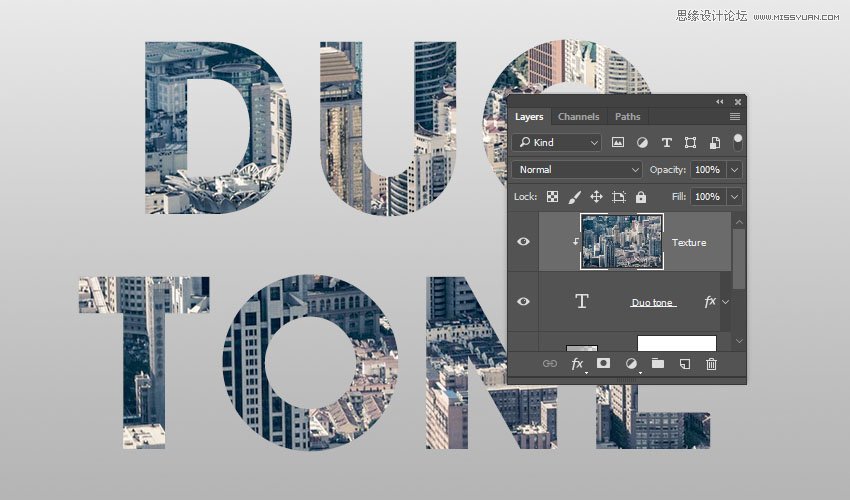
Place the Image Texture on top of the text layer, rename its layer to Texture, and right-click it to choose Create Clipping Mask.
You can try using different images if you like, but it's important that the image has some details to get a nice duotone effect.
Step 2
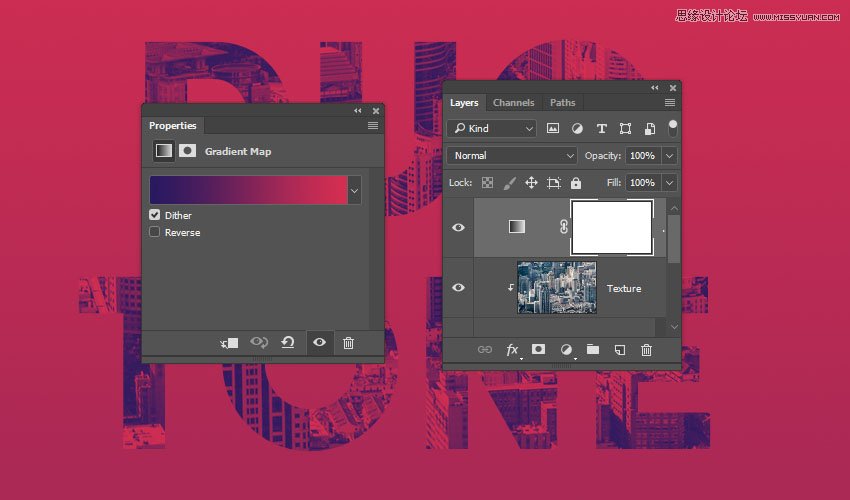
Click the Create new fill or adjustment layer icon at the bottom of the Layers panel, and choose Gradient Map.
Check the Dither box, and click the gradient fill box to create the gradient using the Colors #281960 to the left and #d52e51 to the right.
What the Gradient Map does is it maps the equivalent grayscale range of an image to the colors of the gradient fill you create. So the left endpoint of the gradient fill replaces the shadows in the image, and the right endpoint replaces the highlights.
You can try different colors for each endpoint to get different results.
3. How to Add Global Adjustments
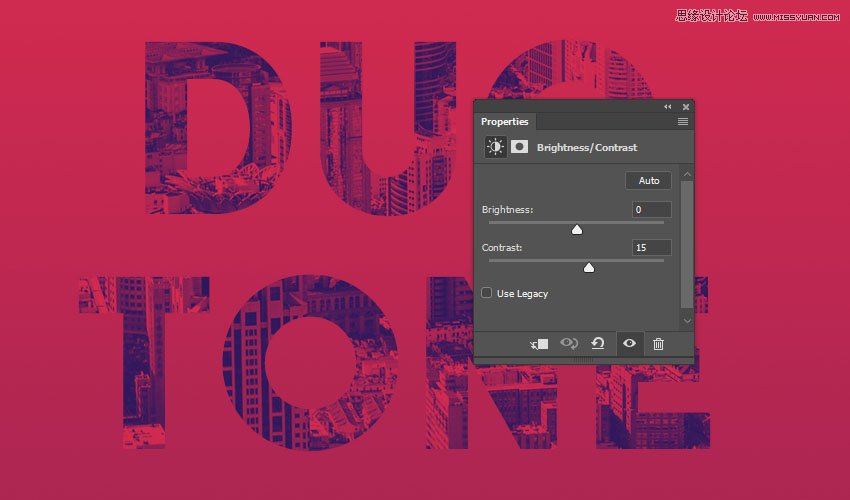
Step 1
Add a Brightness/Contrast adjustment layer, and change the Contrast value to 15, or any value that suits your image.
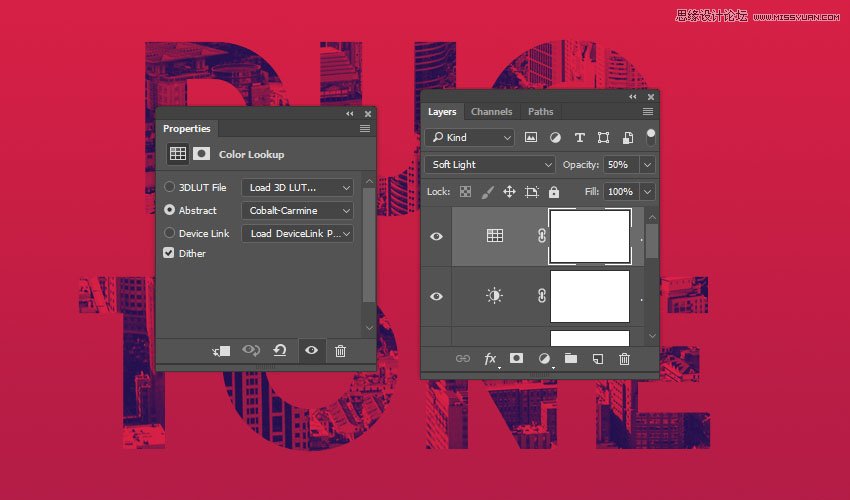
Step 2
Add a Color Lookup adjustment layer, and choose the Cobalt-Carmine table from the Abstract menu.
Change the Color Lookup layer's Blend Mode to Soft Light and its Opacity to 50%.
4. How to Create a Halftone Texture Overlay
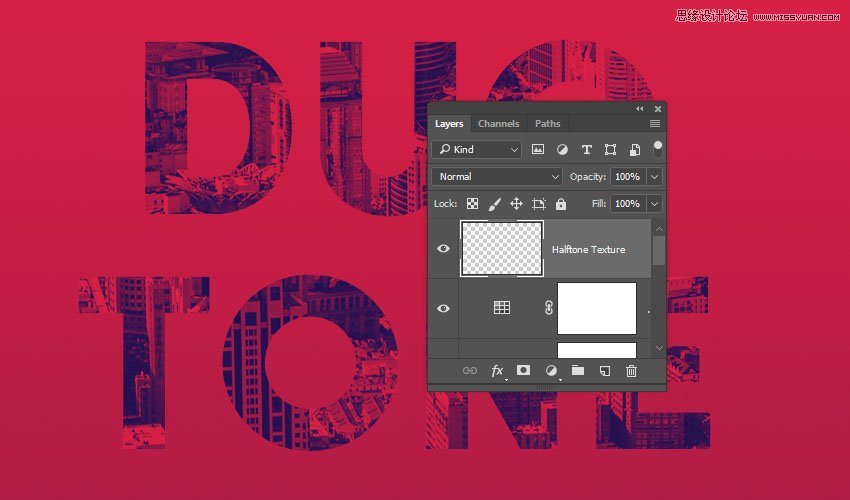
Step 1
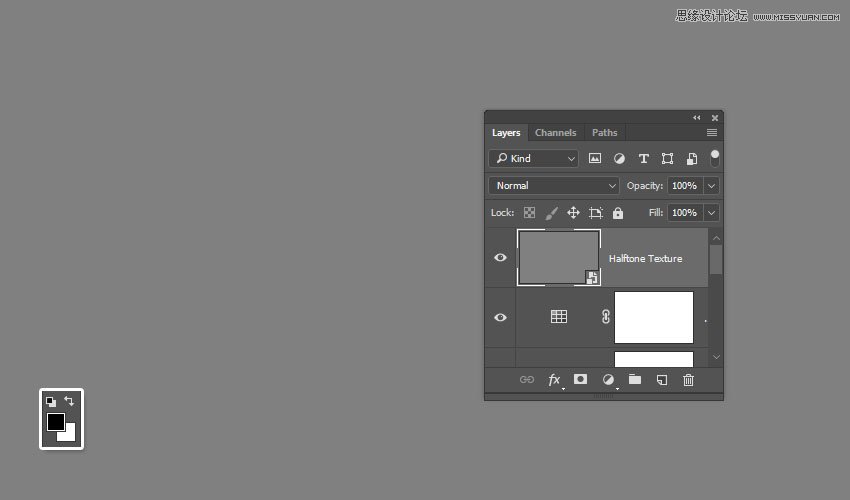
Create a new layer on top of all layers and name it Halftone Texture.
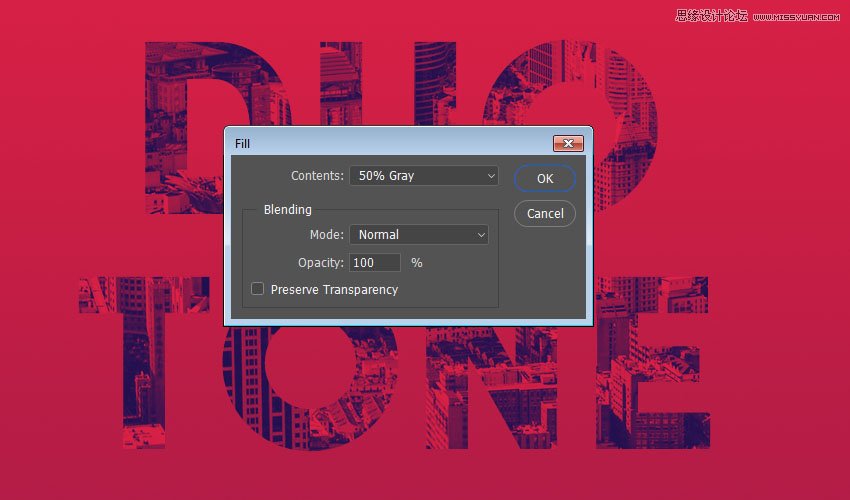
Step 2
Go to Edit > Fill, and set the Contents to 50% Gray.
Step 3
Right-click the Halftone Texture layer and choose Convert to Smart Object, and set the Foreground and Background Colors to Black and White.
Step 4
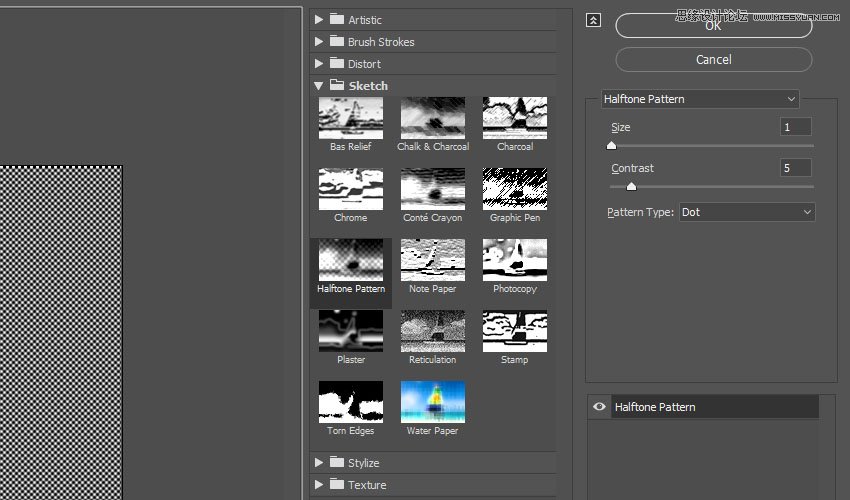
Go to Filter > Filter Gallery > Sketch > Halftone Pattern, and use these settings:
Size: 1
Contrast: 5
Pattern Type: Dot
Advertisement
Step 5
Change the Halftone Texture layer's Blend Mode to Soft Light and its Opacity to 20%.
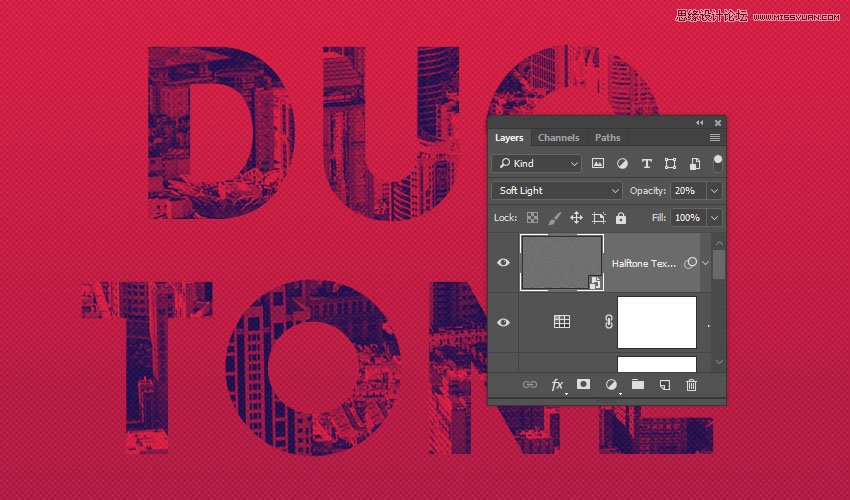
Congratulations, You're Done!
In this tutorial, we created a simple gradient background and added some text.
Then, we clipped an image texture to the text, and created the duotone effect using a gradient map.
Finally, we added some more adjustment layers to enhance the final result, and applied a halftone texture overlay.
Please feel free to leave your comments, suggestions, and outcomes below.