Photoshop制作木地板LOGO刻印效果【英】
来源:Tutsplus 作者: Tom Piccarreda
Learn how to take advantage of Photoshop's Smart Objects to mock up your logo with photorealistic results. Thanks to the use of multiple layer styles, we'll carve your logo into wood!
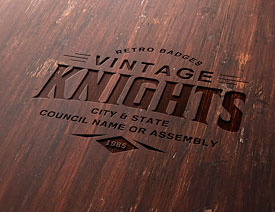
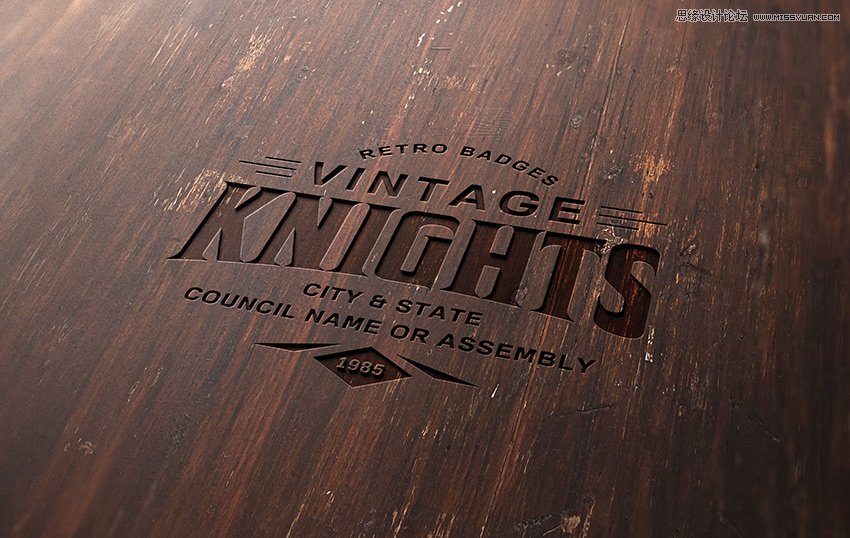
先看看效果图
1. How to Create a Smart Object With the Right Perspective
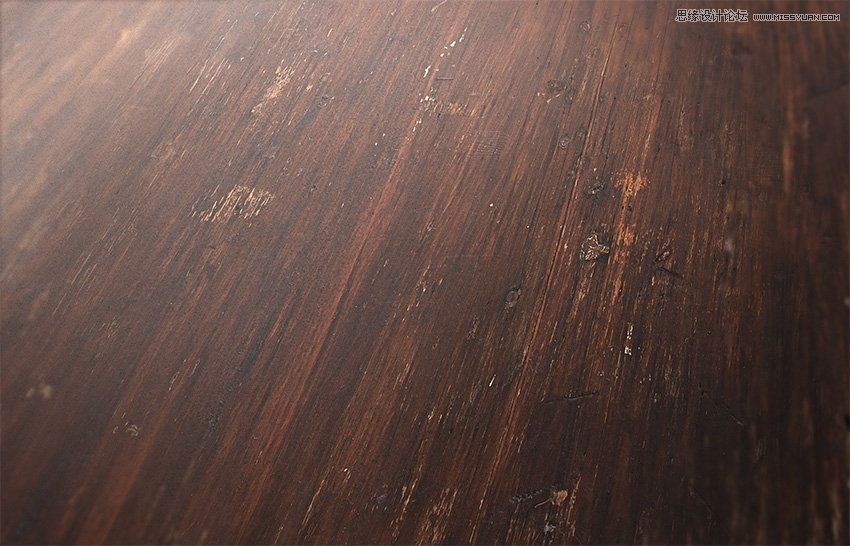
Step 1
Download the Wood Texture and open it with Photoshop.
Step 2
Download the Perspective Image and open it with Photoshop.
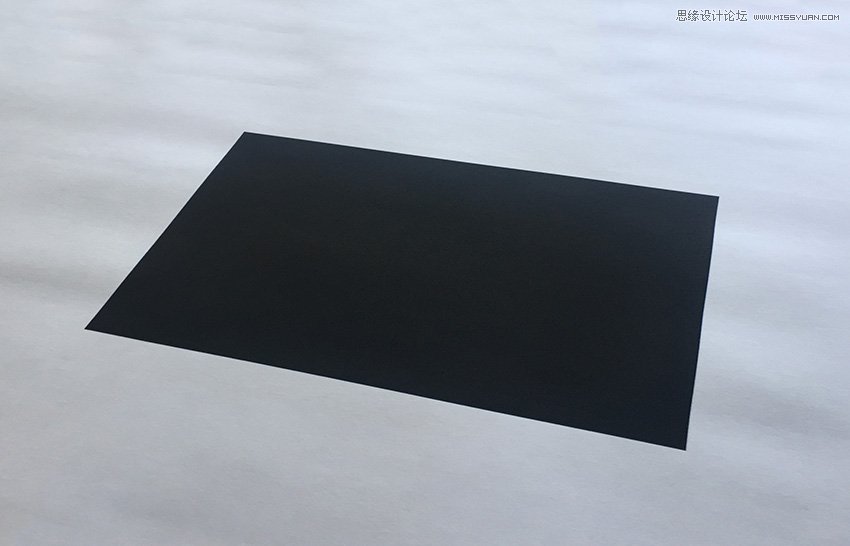
Step 3
In the top menu, choose Select > All and then Edit > Copy to copy the selection to the clipboard.
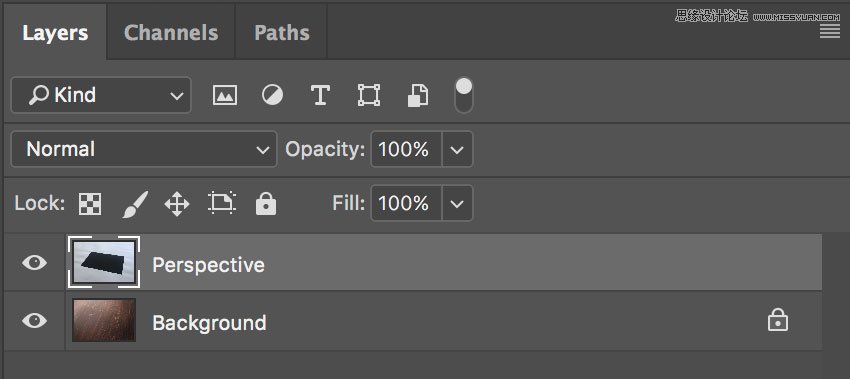
Go back to the background document and choose, in the top menu, Edit > Paste to paste the perspective image over the background.
Rename the layer by double-clicking directly on the layer's name in the Layers panel and changing it to "Perspective".
Step 4
Set the foreground color to yellow (any color different from black is good).
Then choose the Rectangle Tool, move the cursor over the canvas, and click. You’ll open a small dialog box that allows you to enter precise dimensions for your new shape. Type 1267 x 814 px and then click the OK button.
Rename the layer by double-clicking directly on the layer's name in the Layers panel and changing it to "Smart Object".
With the "Smart Object" layer selected, choose, in the top menu, Layer > Smart Object > Convert to Smart Object.
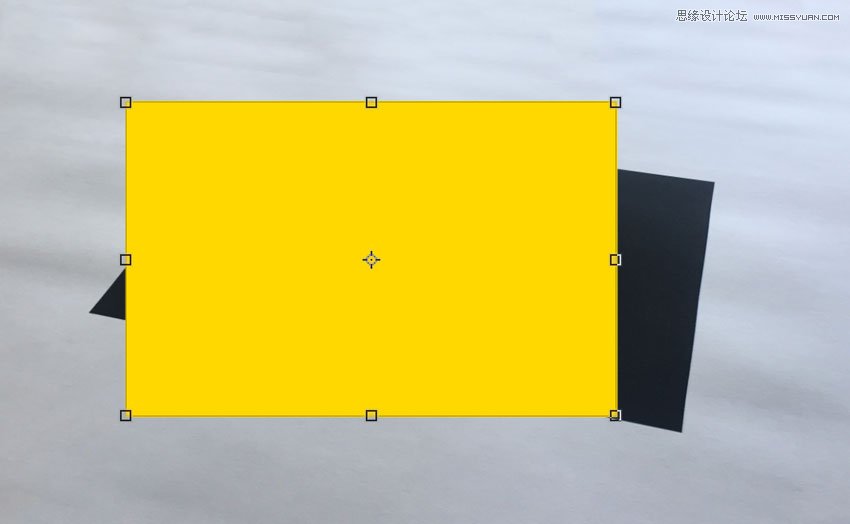
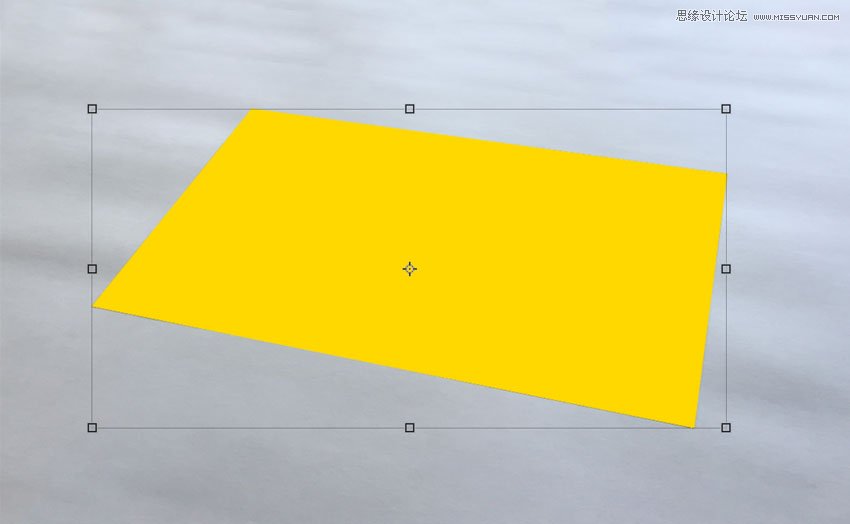
Step 5
Choose Edit > Transform > Distort and move the top right corner point to align it with the top right corner of the black rectangle
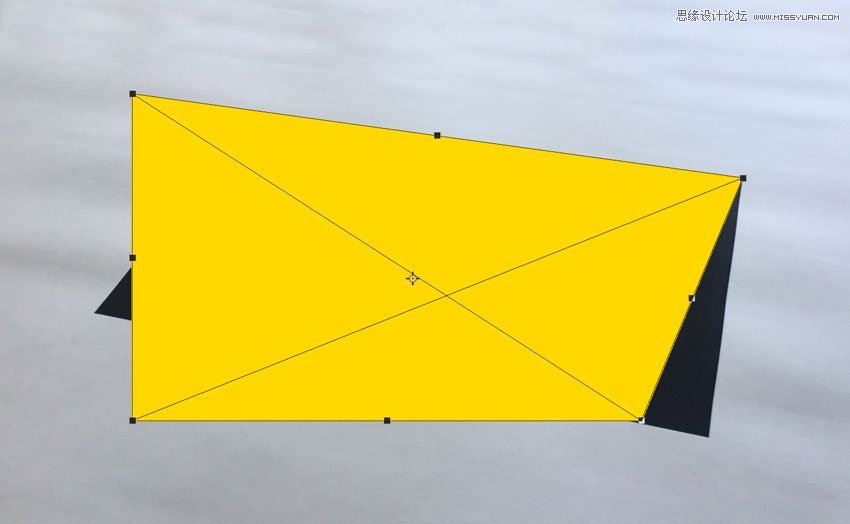
Step 6
Keep dragging the corner points until you align all the corners of the yellow rectangle with the black perspective image and cover the whole area:
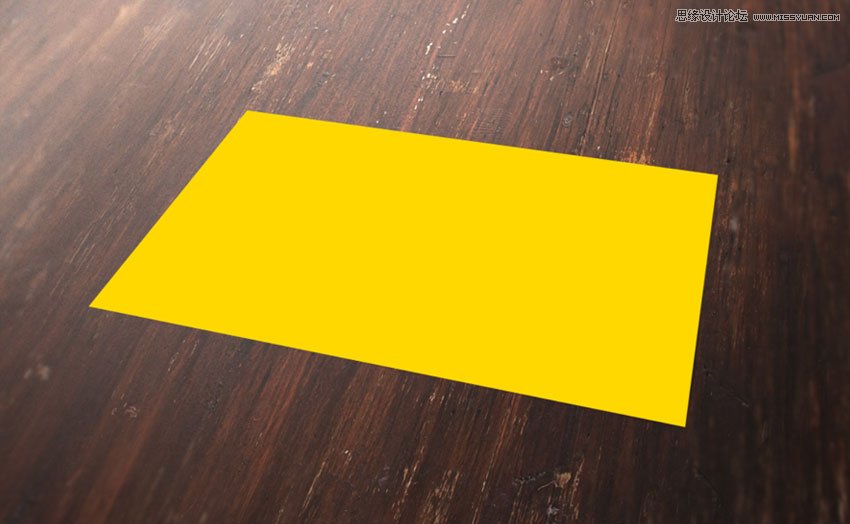
Step 7
Now you can remove the "Perspective" layer by selecting it in the Layers panel and choosing Layer > Delete > Layer.
2. How to Prepare the Badge With Illustrator
Step 1
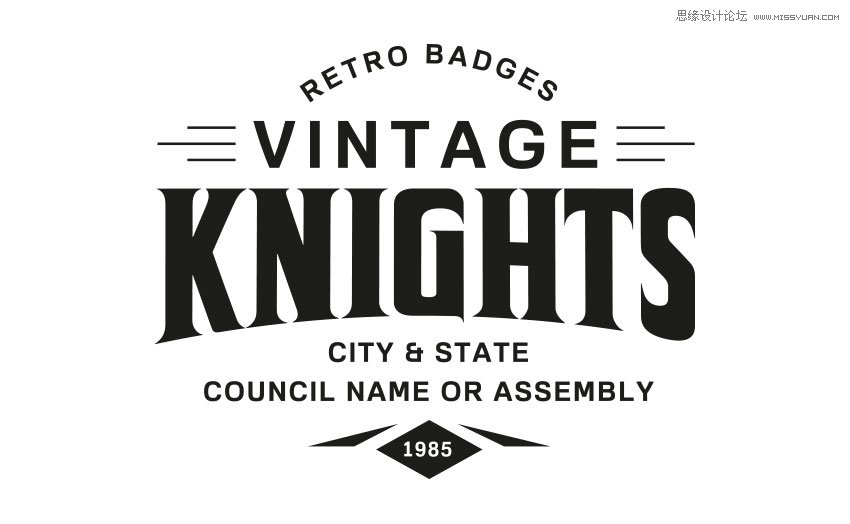
We need a logo or badge to complete the scene. This badge will be a prominent element that later will be engraved in the wood texture.
Fortunately, Envato Elements offers a wide range of high-quality badges and vector elements ready for use. Subscribe to unlock unlimited badges, templates, photos and more for one monthly fee!
In this tutorial we'll use a badge that comes from Badges and Logos Vol.01. Download it and open with Illustrator.
Step 2
Open the vector .ai file with Adobe Illustrator. While you open the file, a window may pop up alerting you that the document uses fonts that are currently not available on your computer. No worries about that—all the fonts are free for use, and you can find a text file inside the folder with all the references and links to download each font.

For the purpose of this tutorial, I used the following free fonts for the badge:
Familiar Pro Font
Corleone Font
Step 3
Once you're done with fonts, choose the Selection Tool (V). Now select the "Vintage Knights" badge (or whatever badge you like).
Copy the badge by going to Edit > Copy or pressing Command-C.
Create a new 350 x 350 px document in Adobe Illustrator.
Finally, paste the badge just copied by choosing Edit > Paste or pressing Command-V.
Step 4
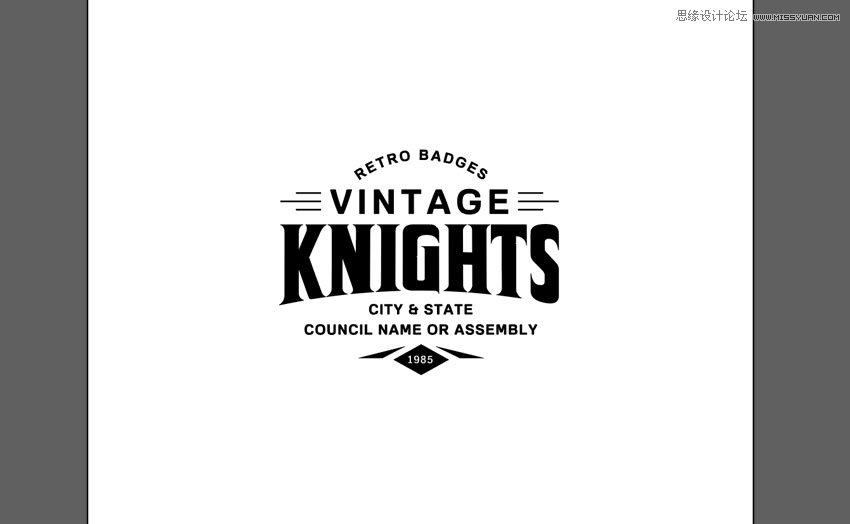
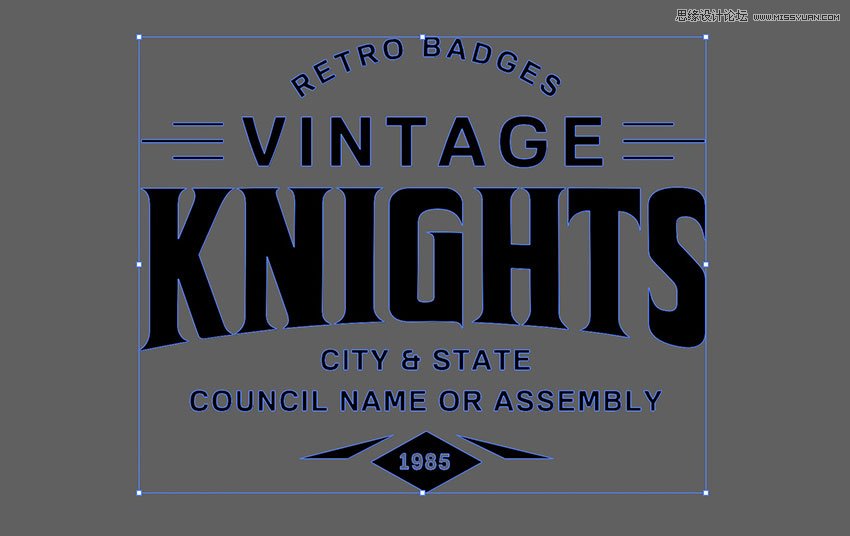
With the Selection Tool (V), move the badge over the grey area, out of the white canvas.

Step 5
Before importing the badge into our scene in Photoshop, we need to expand the appearance, convert all the text to vector shapes, and remove the white area revealed now that we've moved the badge to the grey area.
If the badge is not selected, select it by clicking on it with the Selection Tool (V).
In the top menu, choose Object > Expand Appearance.
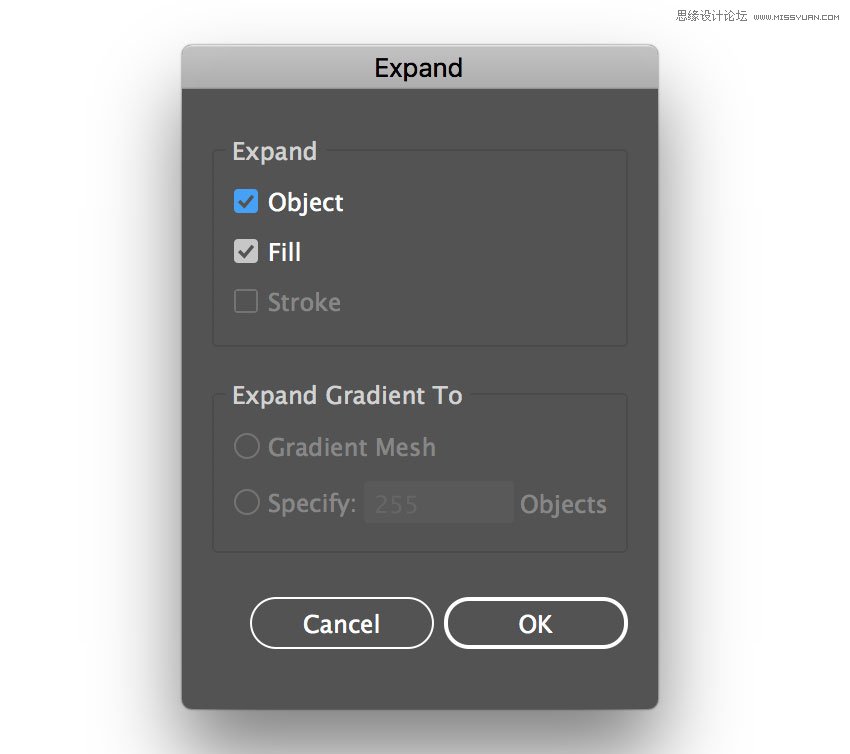
Again, choose Object > Expand. A dialog window will appear; select Object and Fill and press OK:
Step 6
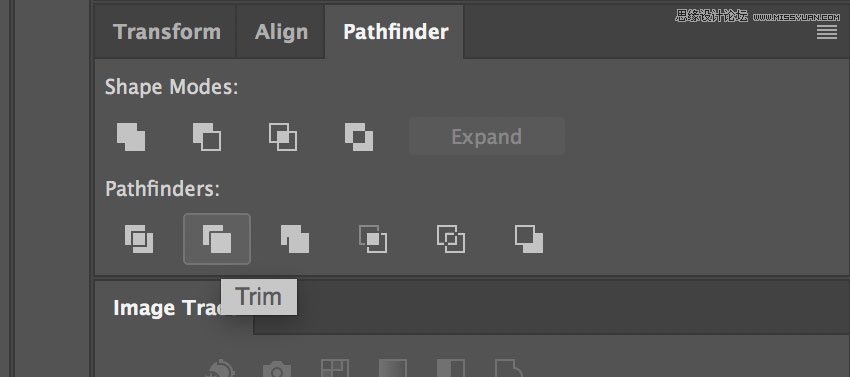
Locate the Pathfinder panel. If you can't see the panel, open it by choosing Window > Pathfinder.
Choose Trim.
Step 7
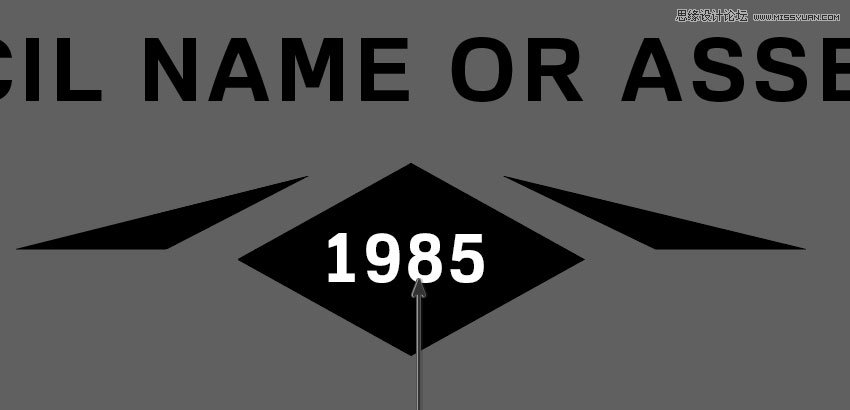
Now that the badge is 100% vector shapes, we can remove the white area. Choose the Magic Wand Tool, and move the cursor over a white area and click to select all the white areas of the badge. If you need, magnify the canvas by using the Zoom Tool (Z). When all the white areas of the badge are selected, remove them by choosing, in the top menu, Edit > Cut.
3. How to Include the Badge in the Scene
Step 1
We're still in the Adobe Illustrator workspace. If the badge is not selected, select it by clicking on it with the Selection Tool (V). Copy the badge by going to Edit > Copy or pressing Command-C.
Step 2
Go back to Photoshop, and double-click on the Smart Objects thumbnail. This will open the content of the smart object in a new window of Photoshop. Here you can make any changes you like and, once you're satisfied, all you need to do is save the file and the Photoshop Smart Object will be updated when you return to it.
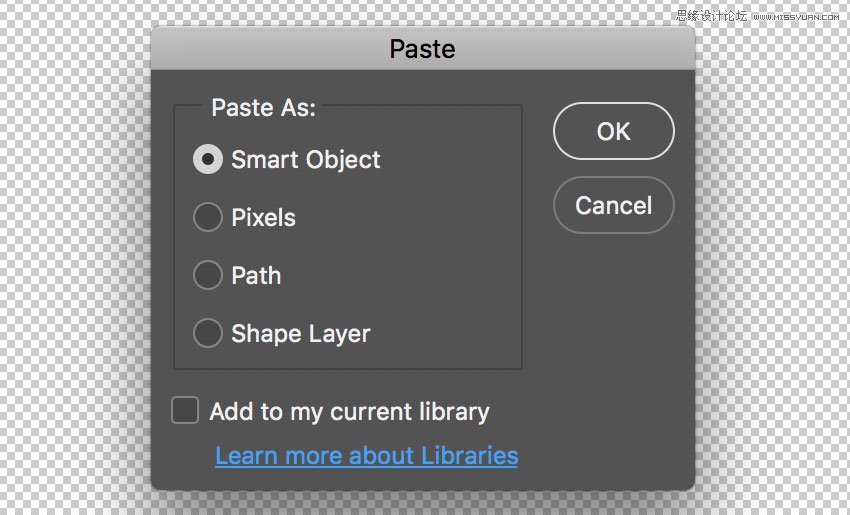
In the Layers panel, deactivate the visibility for the yellow rectangle layer, and paste the badge just copied by choosing Edit > Paste or pressing Command-V.
From the dialog box, choose Smart Object and press OK:
Step 3
Locate the top options bar and set the badge's position to 633.50 x 406.50 px and its dimension to 666% for both Width and Height fields. When you're done, press ENTER on your keyboard:

Step 4
Save the document by choosing File > Save or using the keyboard shortcut Command-S.
Go back to the main document and you'll notice that the smart object is now updated with the last changes. The badge, in fact, has taken the perspective of the smart object.

4. How to Engrave the Badge Into the Wood
Step 1
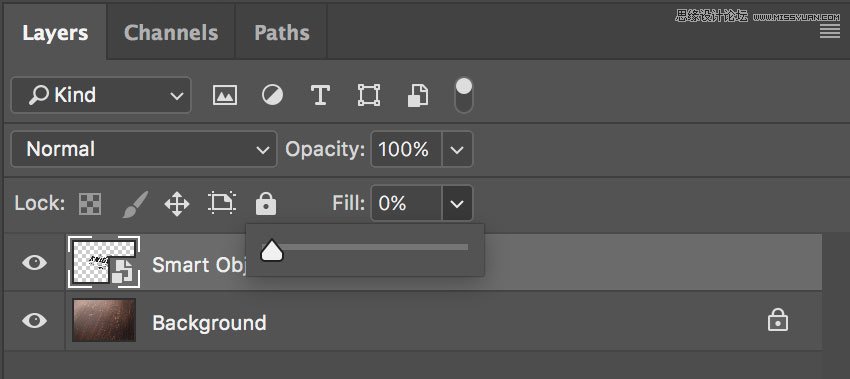
Set the Fill for the "Smart Object" layer to 0%:
Step 2
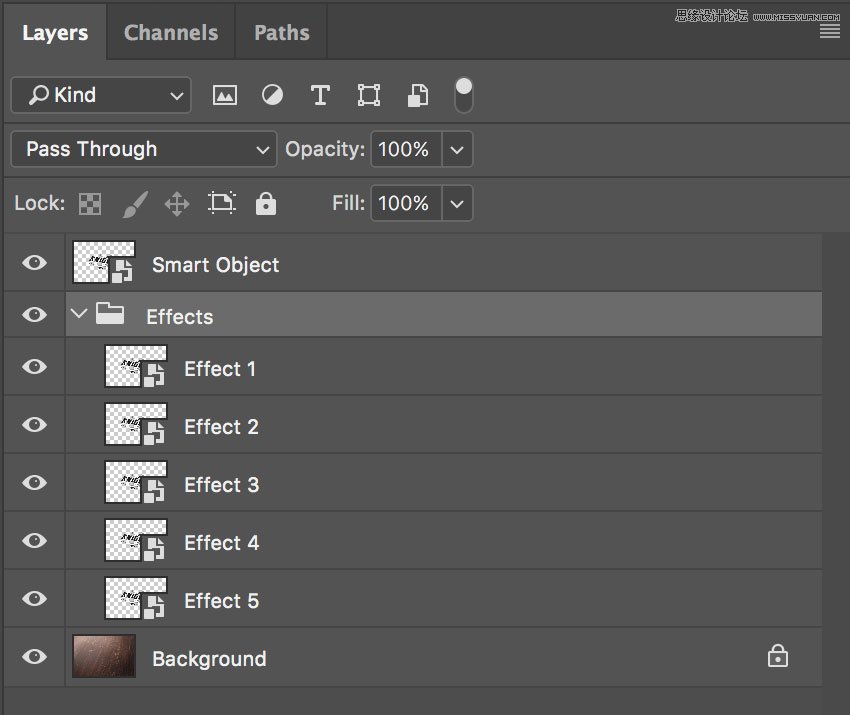
Duplicate the "Smart Object" layer five times by going to Layer > New > Layer Via Copy.
Now rename and group the layers as shown in the image below.
From now on, when you need to replace the badge in your smart object, you can use the "Smart Object" layer, by clicking on it and editing the content.
Step 3
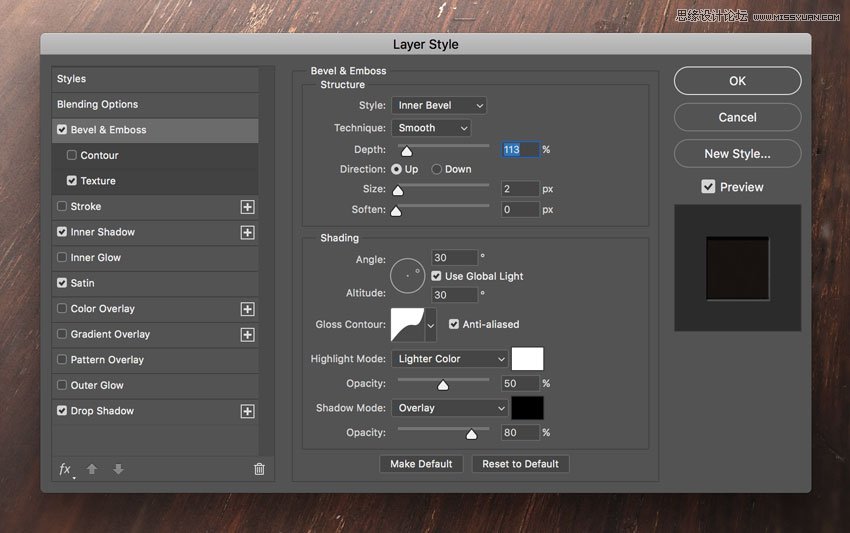
Let's start adding some layer styles to the "Effect 5" layer. Open the Layer Style panel and add a new Bevel & Embossed effect. Set the color for the Highlight Mode to #ffffff, the color for the Shadow Mode to #000000, and set the rest as follows:
Step 4
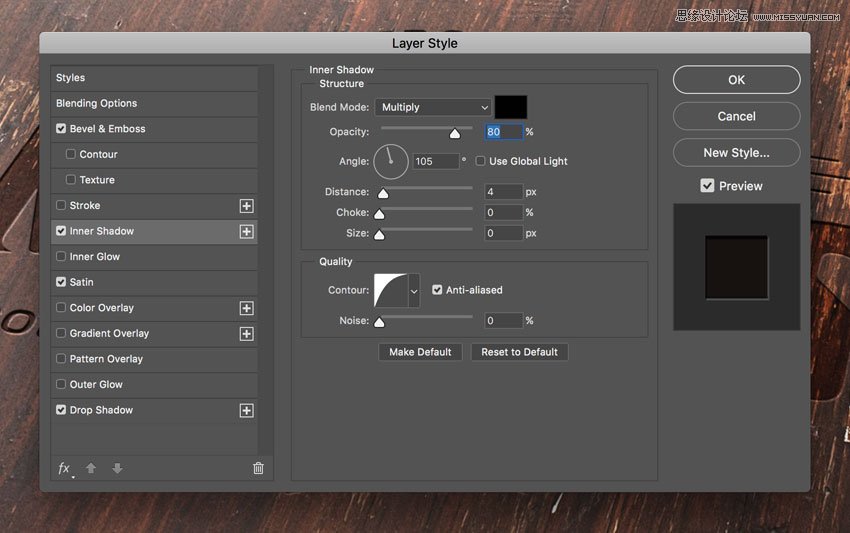
Add a new Inner Shadow effect, set the color for the Blend Mode to #000000, and set the rest as follows:
Step 5
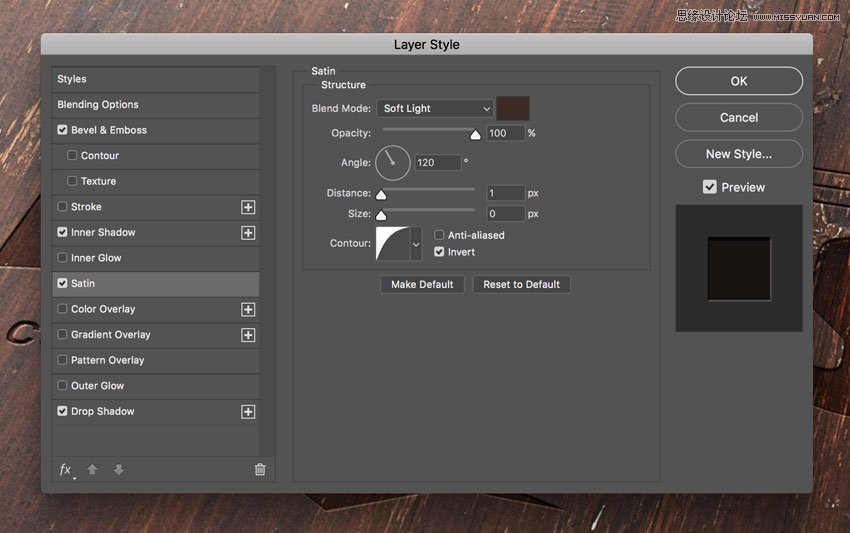
Add a new Satin effect, set the color for the Blend Mode to #3b2b25, and set the rest as follows:
Step 6
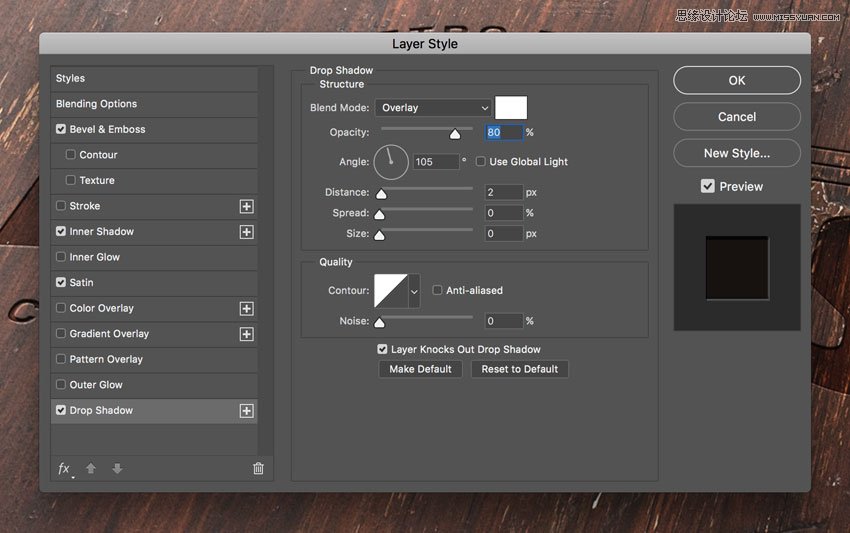
Add a new Drop Shadow effect, set the color for the Blend Mode to #ffffff, and set the rest as follows:
Step 7
Now let's add some layer styles to the "Effect 4" layer.
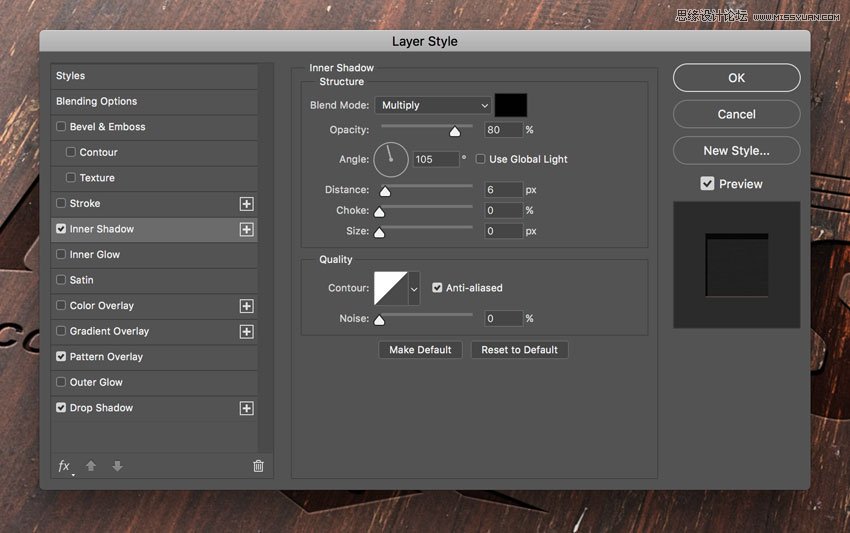
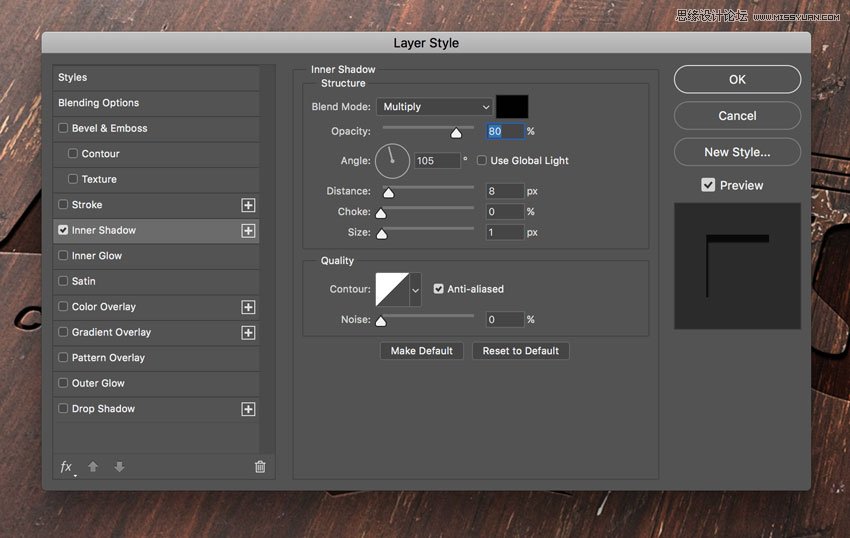
Open the Layer Style panel and add a new Inner Shadow effect, set the Blend Mode color to #000000, and set the rest as follows:
Step 8
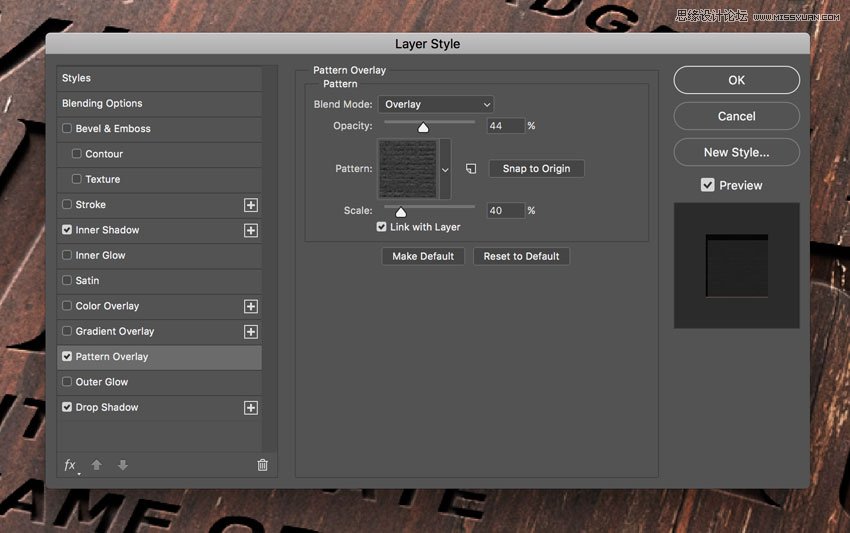
Add a new Pattern Overlay effect and set the options as shown in the image below:
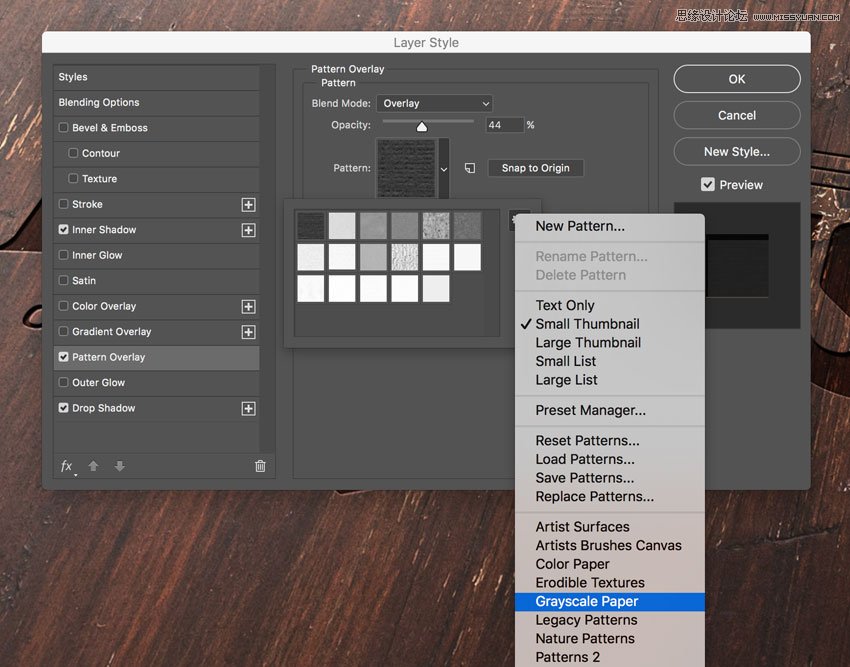
Click on the pattern thumbnail, and then click on the small gear to open the cascade menu. Choose Grayscale Paper and then click on the first pattern named Black Weaved.
Step 9
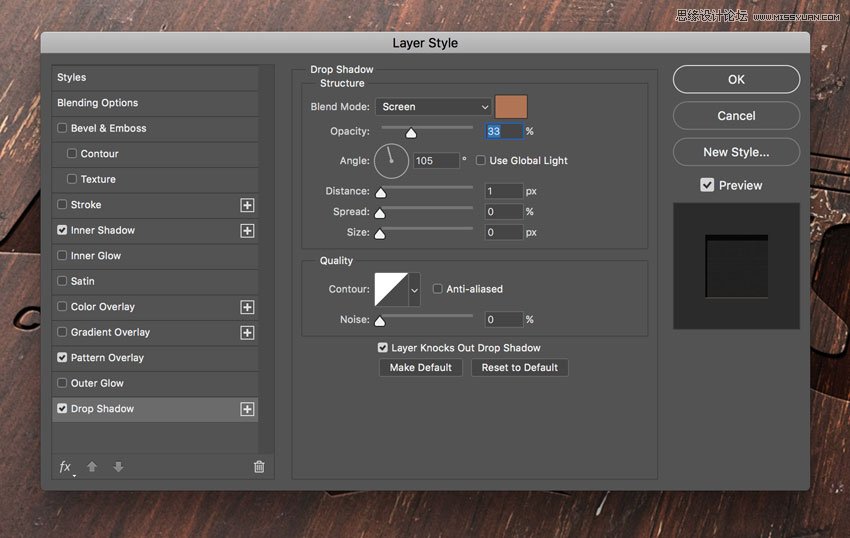
Add a new Drop Shadow effect, set the Blend Mode color to #b07555, and set the rest as follows:
Step 10
Let's add a layer style to the "Effect 3" layer.
Open the Layer Style panel and add a new Inner Shadow effect, set the Blend Mode color to #000000, and set the rest as follows:
Step 11
Let's add a layer style to the "Effect 2" layer.
Open the Layer Style panel and add a new Inner Shadow effect, set the Blend Mode color to #000000, and set the rest as follows:
Step 12
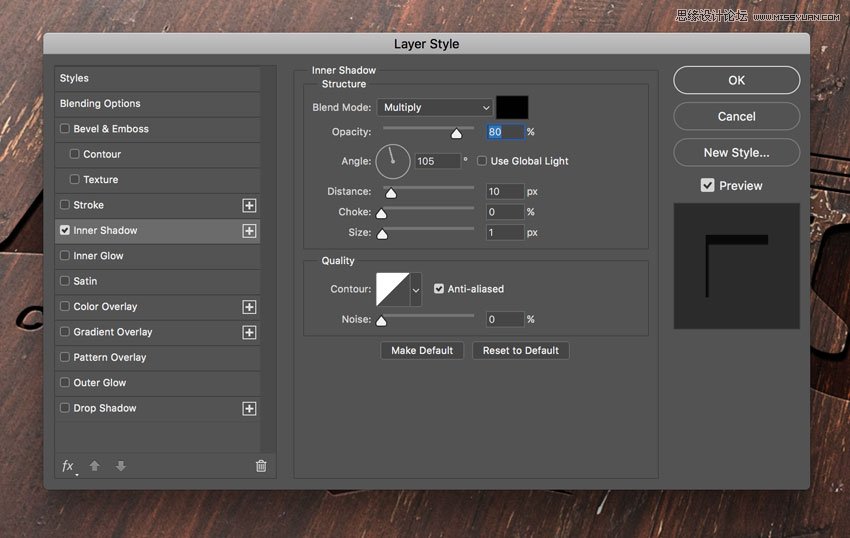
Let's add a layer style to the "Effect 1" layer.
Open the Layer Style panel and add a new Inner Shadow effect, set the Blend Mode color to #000000, and set the rest as follows:
Advertisement
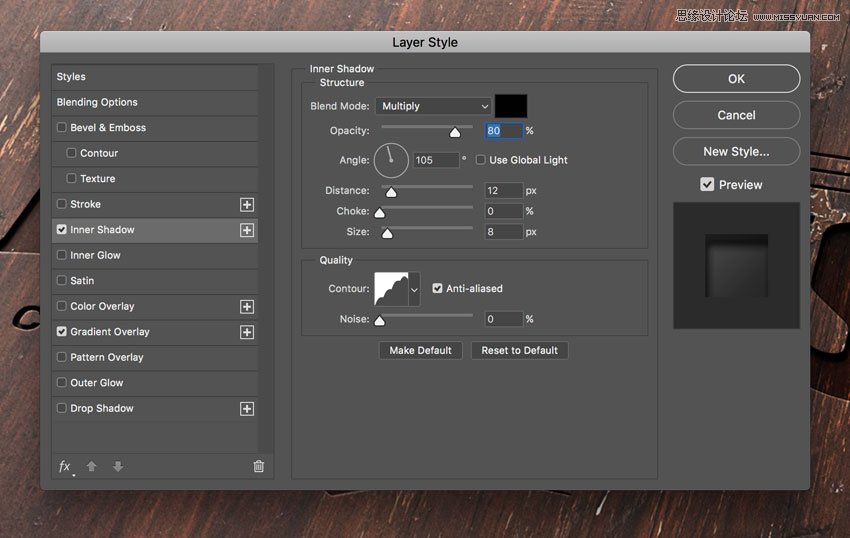
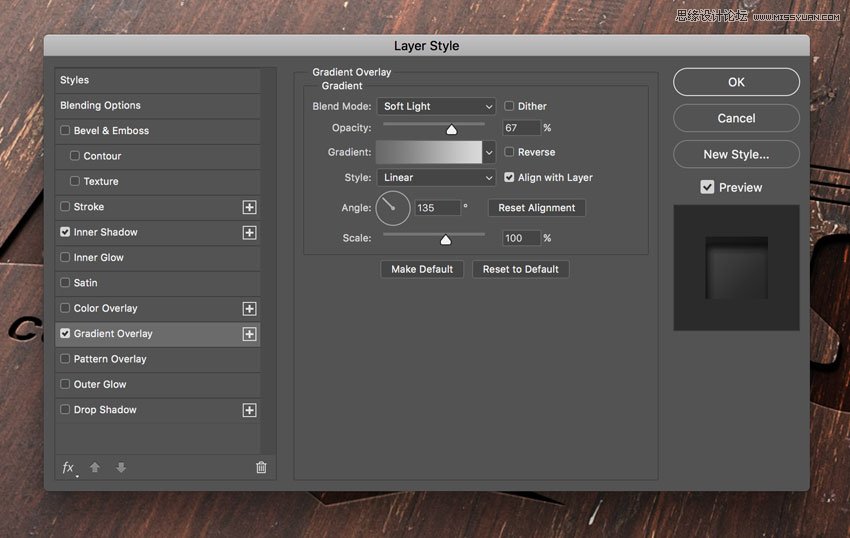
Step 13
Add a new Gradient Overlay effect and set the options as follows:
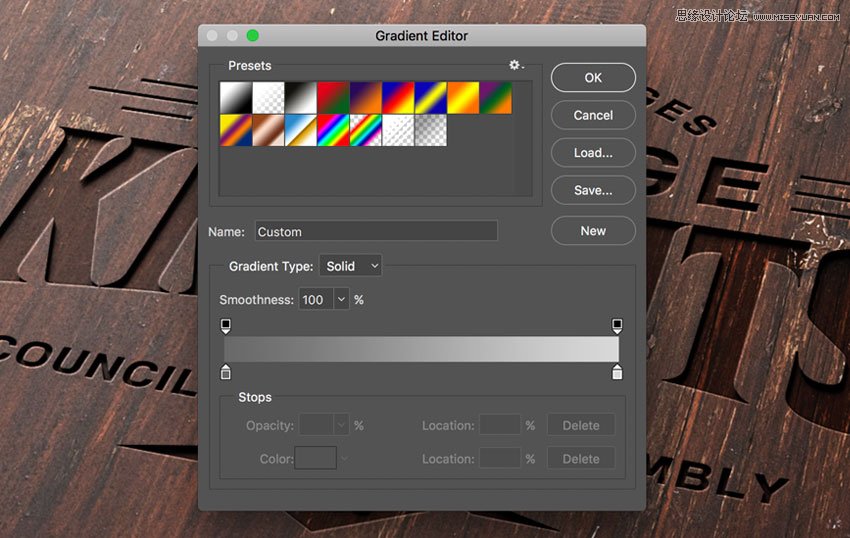
Click on the small gradient window to edit the gradient color.
Set the first color stop to Color #696969 and Location 0%.
Set the second color stop to Color #d9d9d9 and Location 100%.
Congratulations, You're Done!
In this tutorial we learned how to create an engraved wood logo mockup with Adobe Photoshop!
I hope that you've enjoyed my tutorial and learned something new. Please feel free to leave your comments, suggestions, and outcomes below.
Enjoy Photoshopping!