用PS技给头发添加高光效果的巧

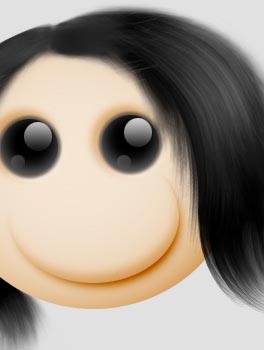
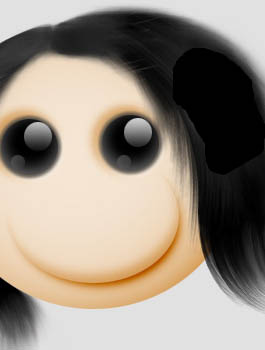
原图及最终效果
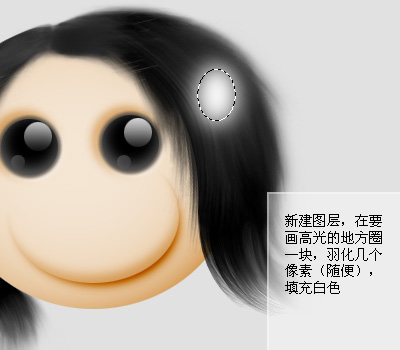
1、打开需要加高光的人物图片,在头发上需要加高光的地方用套索工具画一个选区,再按Ctrl + Alt + D羽化几个像素,然后填充白色。
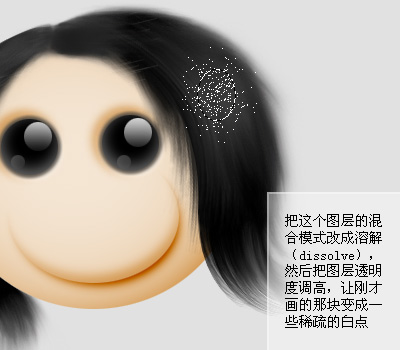
2、把这个高光图层的混合模式改为“溶解”,然后再适当降低图层的不透明度,效果如下图。
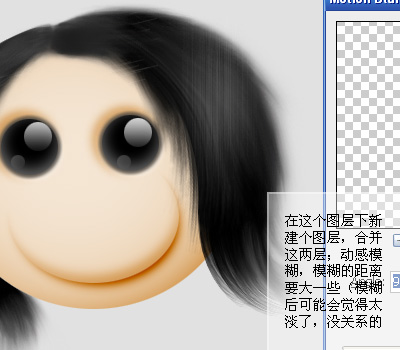
3、在高光图层下面新建一个空白图层,然后把高光及空白图层合并。再执行:滤镜 > 模糊 > 动感模糊,距离数值适当大一点,效果如下图。
浏览网页教学网更多的 photoshop教程。
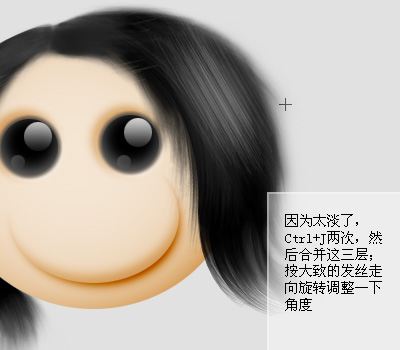
4、因为太淡了,按Ctrl + J把高光图层复制三层,然后把所有高光图层合并,适当顺着头发的走向变换下角度。
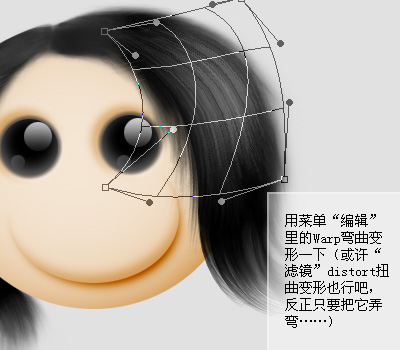
5、按Ctrl + T,然后按右键选择变形(这个需要CS2及以上版本采用的功能),把高光扭曲一下。
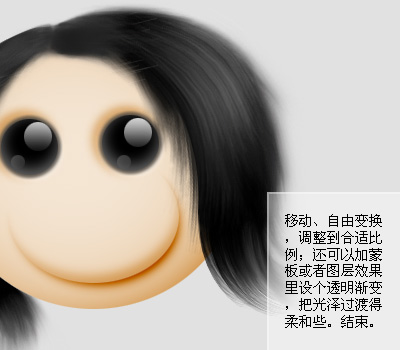
6、移动、自由变换,调整到合适的比例,再加上图层蒙版适当的把多出的部分用黑色画笔擦掉,完成最终效果。