PS打造明暗色彩对比强烈的非主流照片

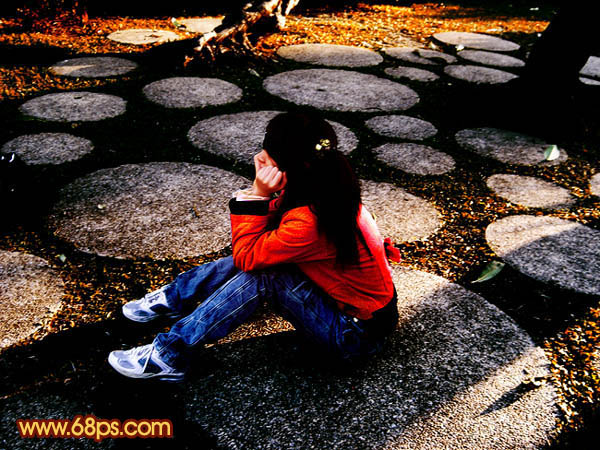
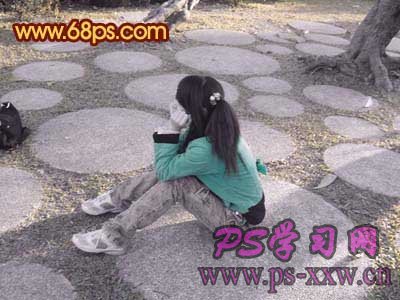
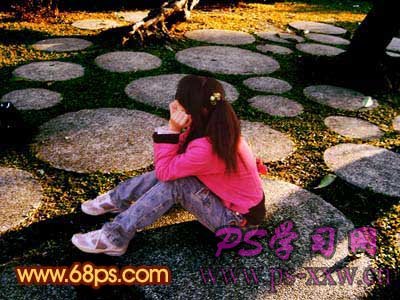
教程介绍暗色调图片调色方法。处理的时候基本上是用曲线来调基本色,然后用图层叠加来调暗图片,再整体调色即可。原图

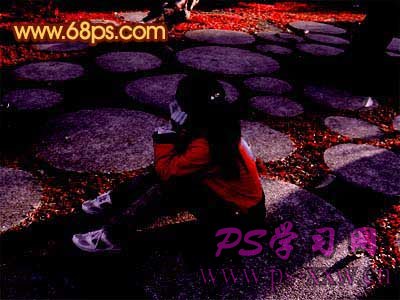
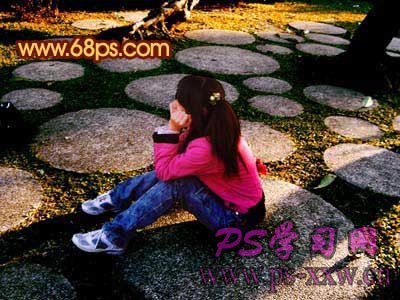
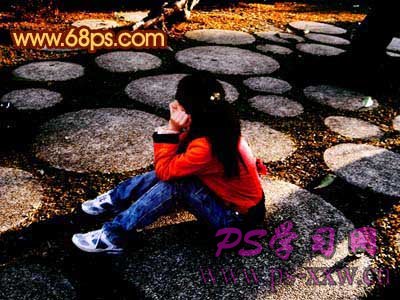
最终效果
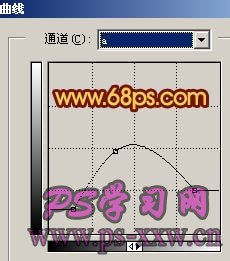
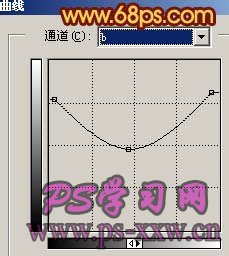
一、打开原图素材,按Ctrl + J把背景图层复制一层,选择菜单:图像 > 模式 > Lab颜色,选择不合拼,确定后按Ctrl + M调整曲线,参数设置如图1,2,确定后再选择菜单:图像 > 模式 > RGB颜色,选择不合拼,效果如图3。
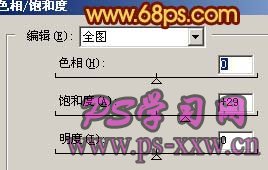
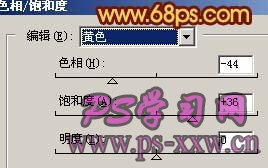
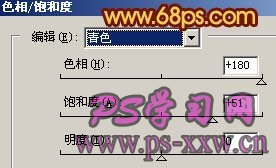
二、创建色相/饱和度调整图层,参数设置如图4-6,效果如图7。

三、新建一个图层,填充颜色:#5D5D5D,然后把图层混合模式改为“颜色减淡”,效果如图8。
四、把背景图层复制一层,按Ctrl + Shift + ]移到图层的最上面,图层混合模式改为“强光”,效果如图9。
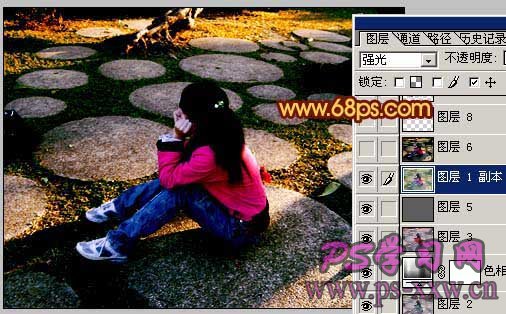
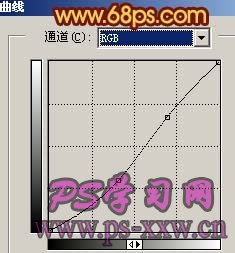
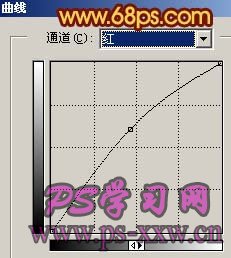
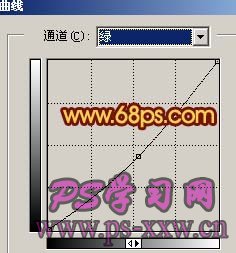
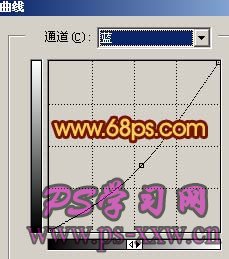
五、再把背景图层复制一层,用钢笔工具把人物勾出来,复制到新的图层,然后把下面的图层隐藏,对人物图层按Ctrl + M调整曲线,参数设置如图10-13,效果如图14。
六、选择橡皮工具把人物下半部分擦掉,效果如图15。
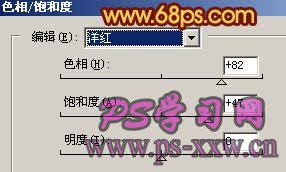
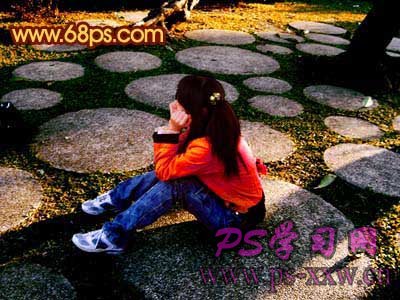
七、对人物图层,按Ctrl + U调整色相/饱和度,参数设置如图16,效果如图17。
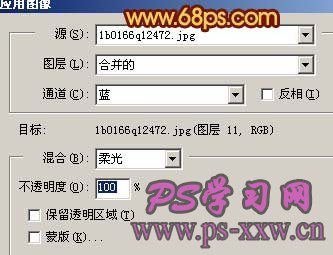
八、新建一个图层,按Ctrl + Alt + Shift + E盖印图层,执行:图像 > 应用图像,参数设置如图18,效果如图19。
九、整体修饰下细节,再适当锐化一下,完成最终效果。