Photoshop解析夜景人像后期修图教程

本教程主要使用Photoshop简单的讲解夜景人像后期修图教程,作者讲的是精修,但是过程比较简单,只要给大家提供一个修图的思路,剩下的需要大家自己实际的拓展,喜欢的朋友一起来学习吧。
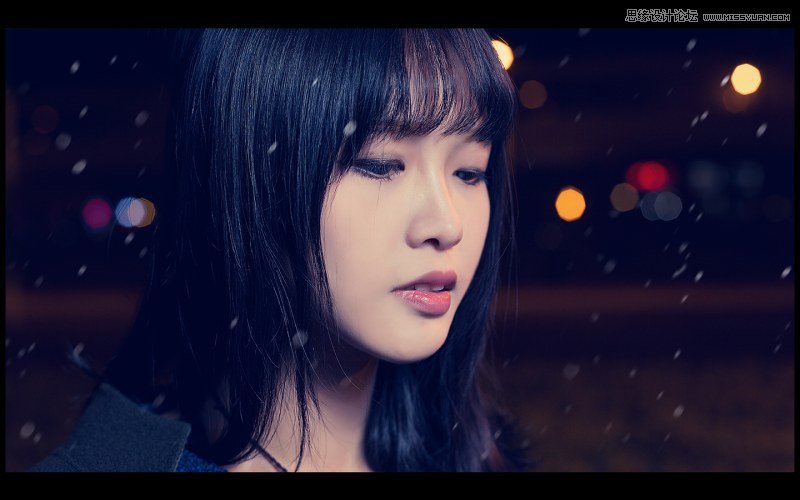
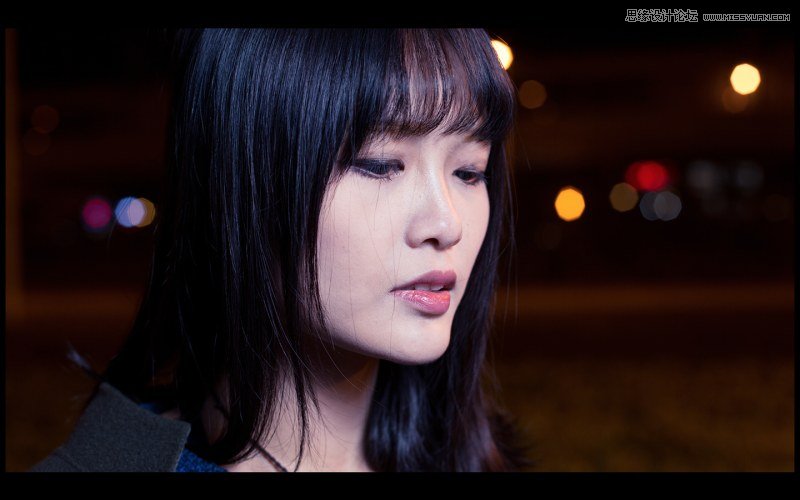
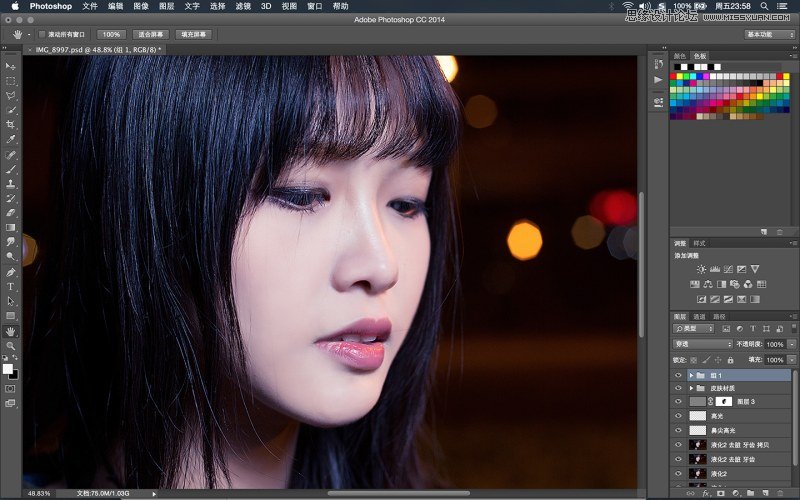
最终效果
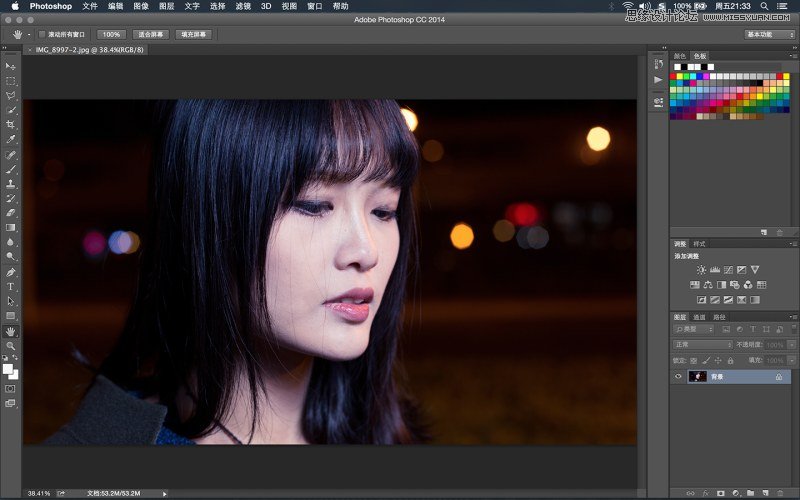
原照
过程:
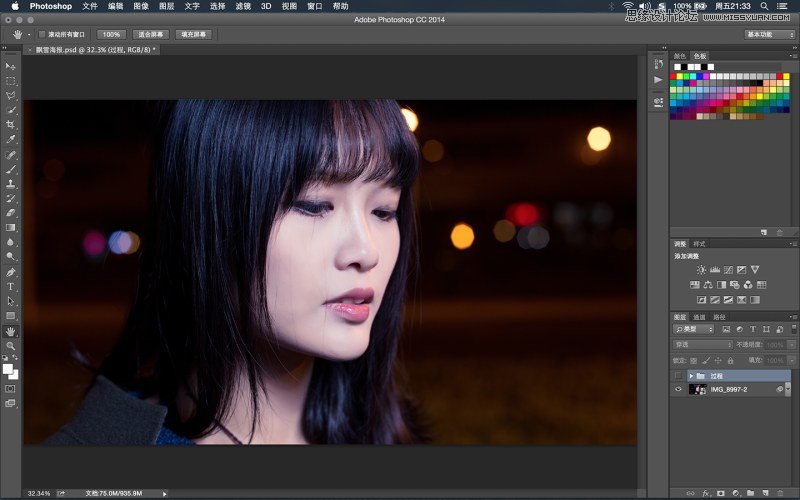
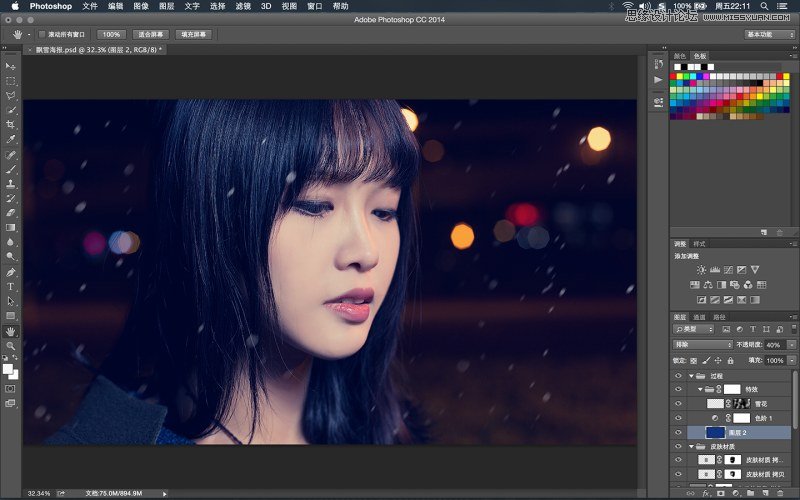
1、打开DNG微调后导入PS
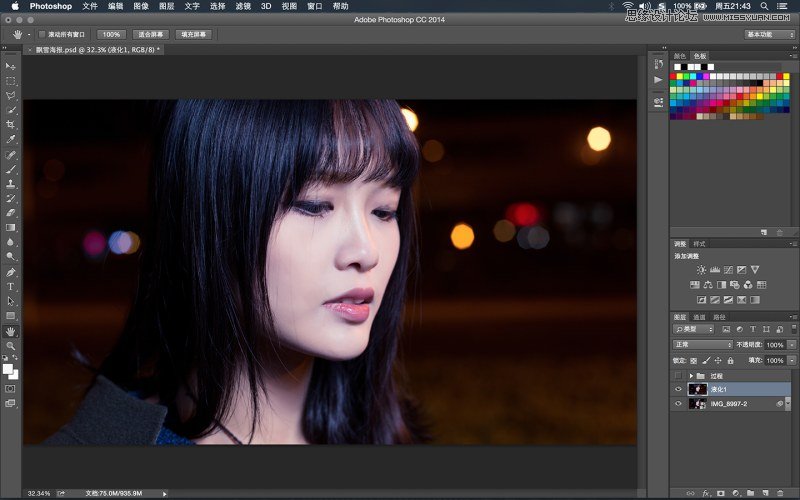
2、磨皮(网上教程很多,这里就不啰嗦了。
3、液化脸型、去除杂乱头发

4、进行深度液化,客户说他喜欢圆脸的,好吧不就是肉包子吗。

5、牙好像缺了一块,补上,妆有点花了,于是皮肤进一步磨皮。
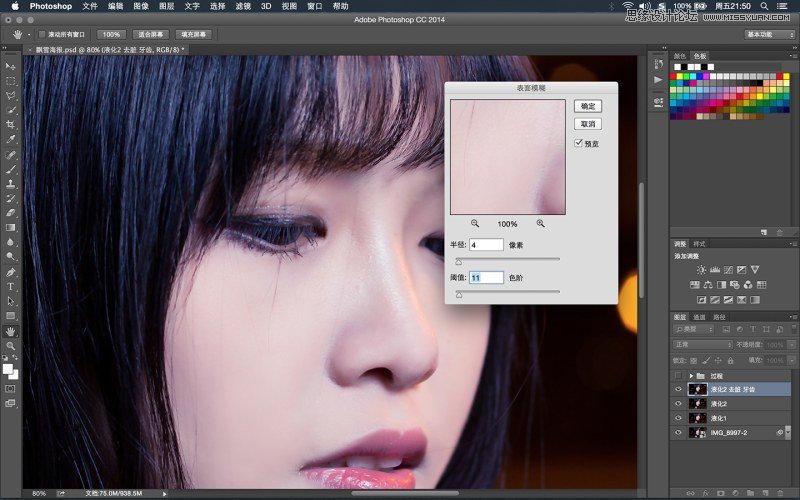
6、脸颊妆花了,看起来很脏,单独选中表面模糊磨皮。
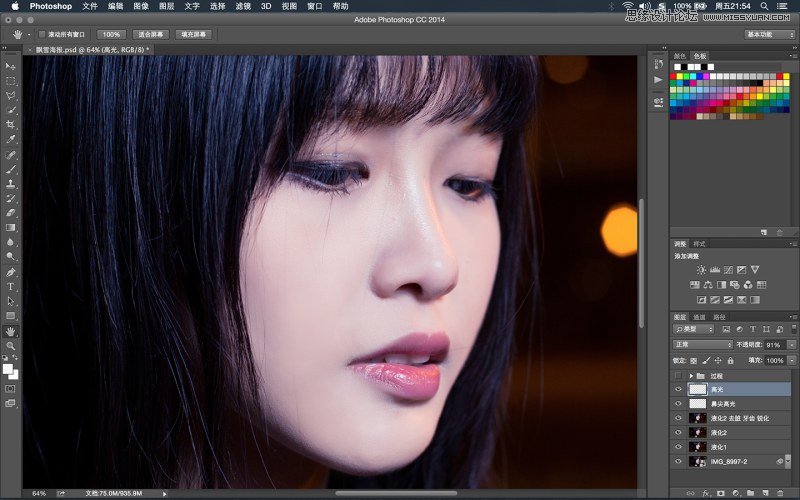
7、鼻尖加个高光看起来挺一点,眼睛也加了。USM锐化后效果
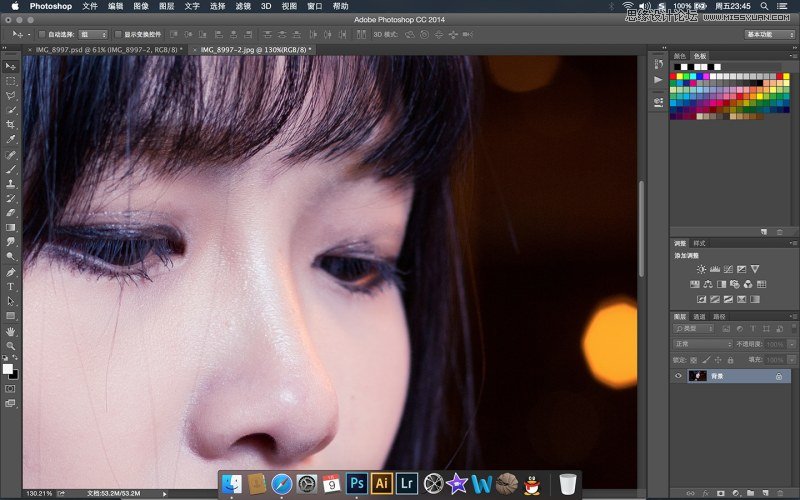
9、发现眼妆花了,复制右眼的眼线来补妆
10、这是个技术活,考验美术功底的时候到了
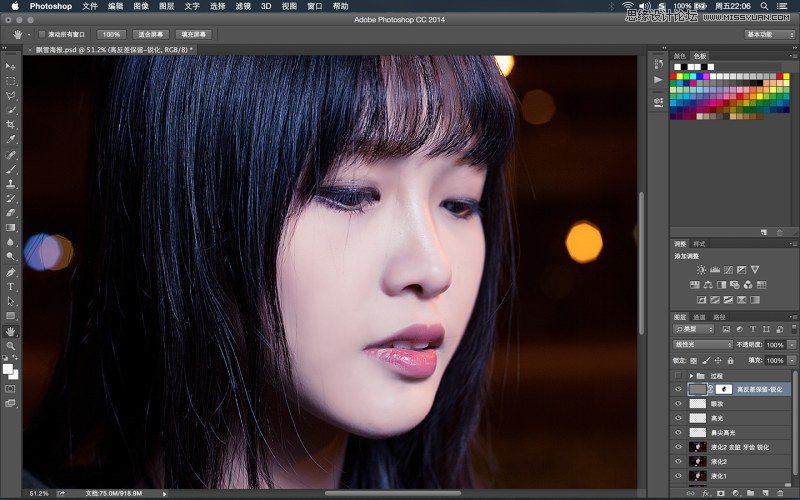
11、最终锐化:复制一个图层高反差保留3.5然后图层叠加方式:线性光
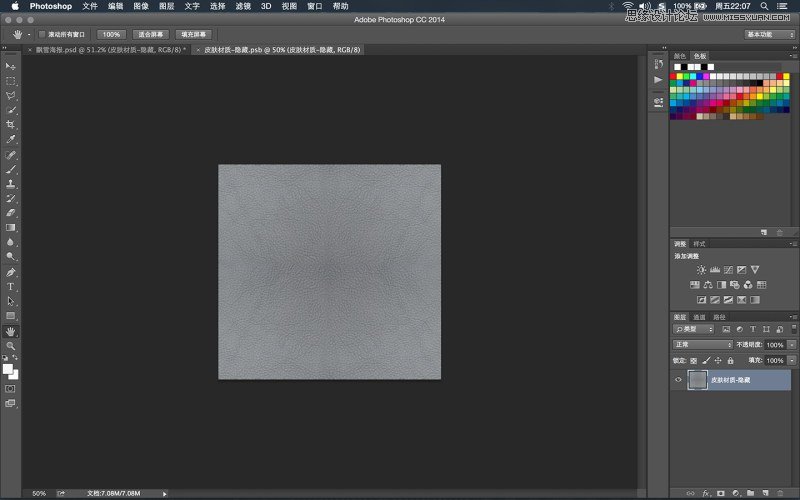
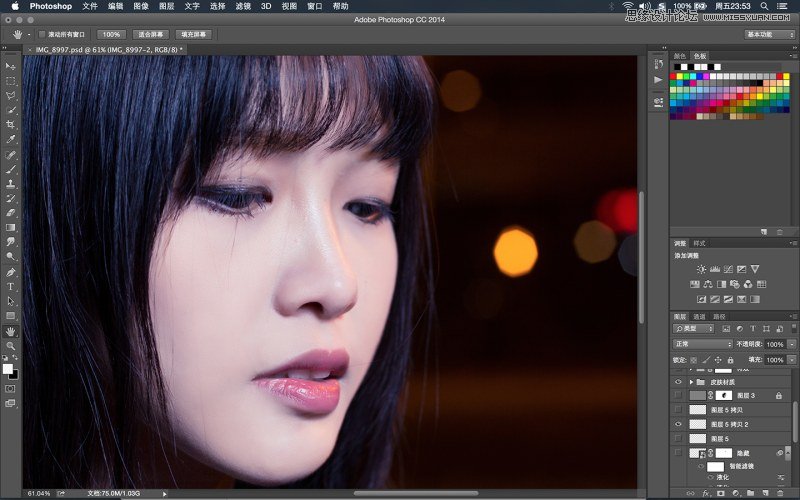
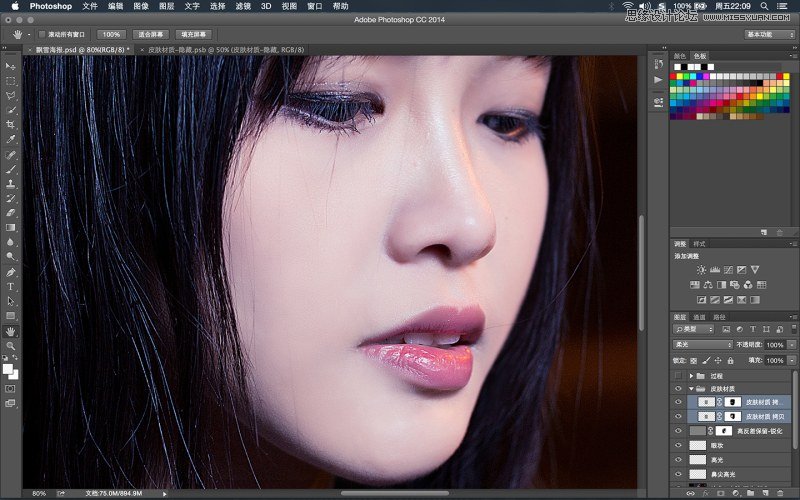
12、由于脸部妆不好 磨皮的比较多 导致皮肤纹理丢失 下载个皮肤材质贴图 贴上去
13根据需要的部位贴上材质 叠加方式柔光
14新建一个蓝色的图层 叠加方式:排除40% 调整一下色阶 加上雪花 完成
最终效果:
来源:站酷 灏子