怎样使用Photoshop修复破损的照片

Photoshop不仅可以美化数码照片,在修复破损照片方面,也有着很神奇的功能。本教程,将教会大家如何利用Photoshop修复一张已严重破损的照片。一起来学习吧!
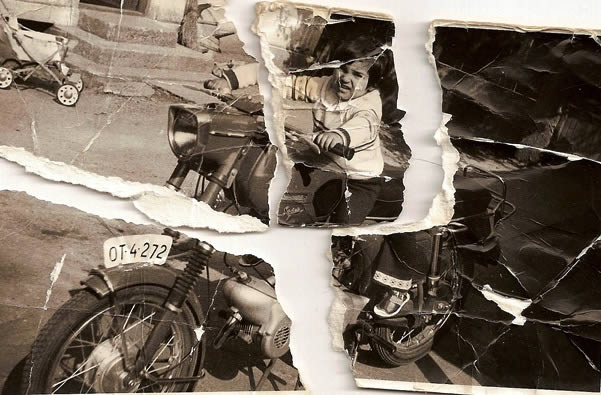
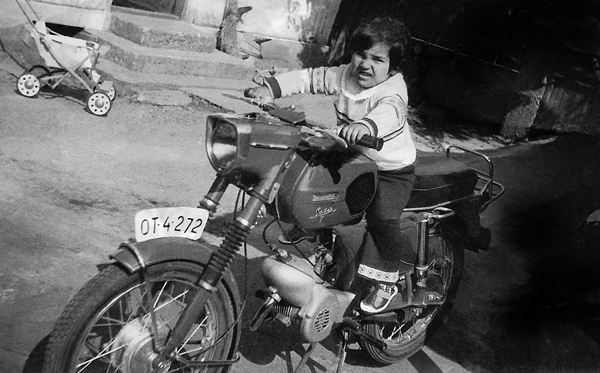
本教程中所用到的素材
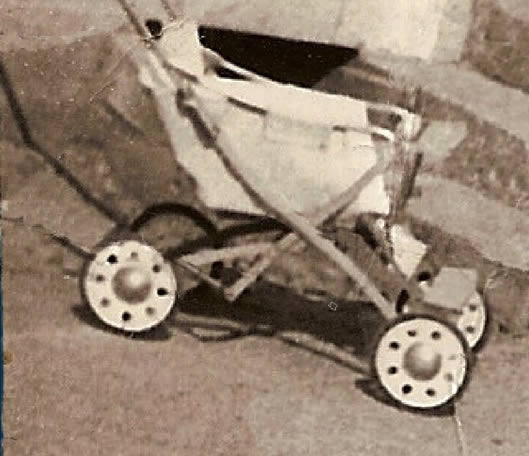
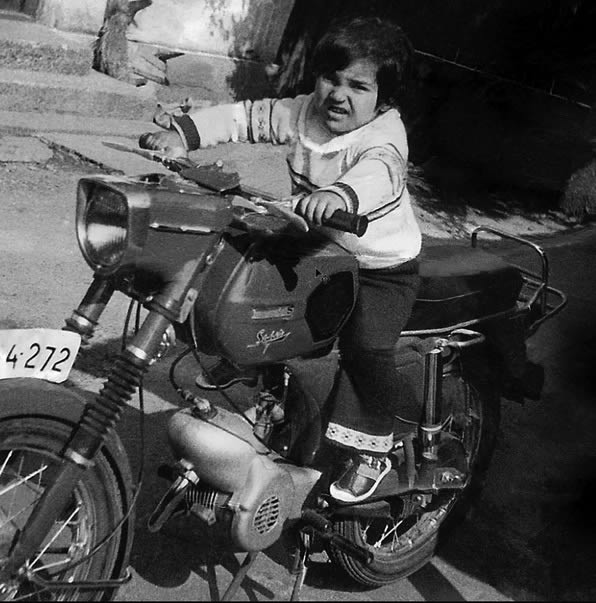
破损的老照片
1.收集照片碎片
第一步
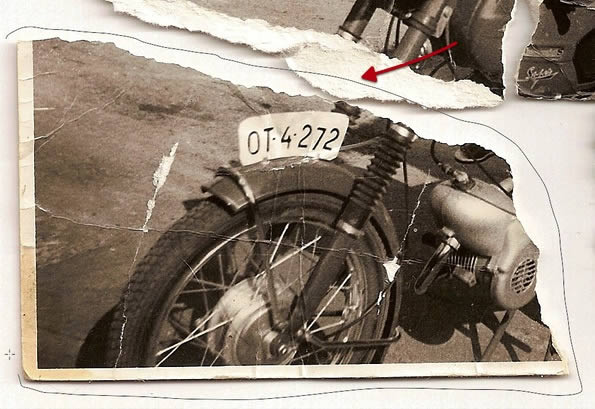
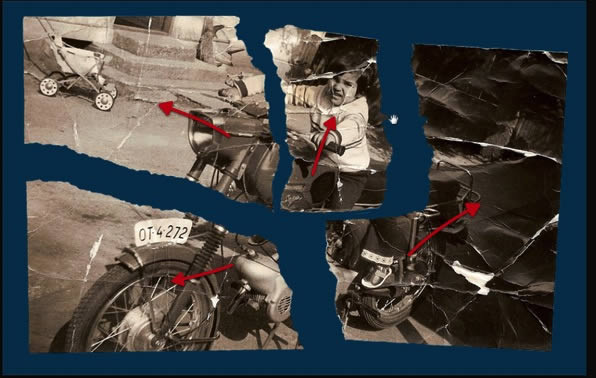
下面这些碎片就是我们要修复的照片。这里,我选用了一张严重破损的照片来修复,以最大程度地提高大家修复照片的能力。
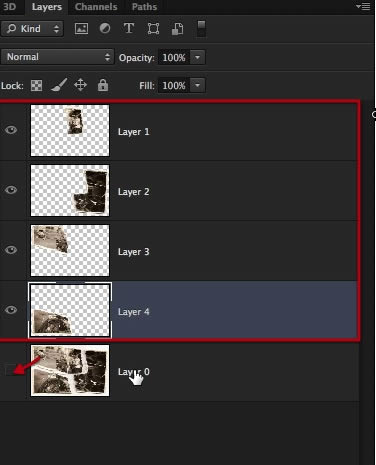
第二步
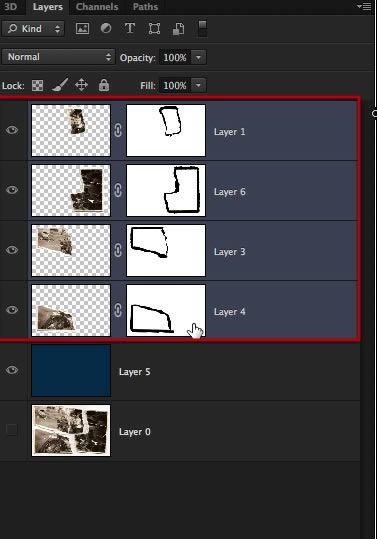
首先,我们用套索工具选取每张碎片,然后复制粘贴到一个独立的图层,一共有四个图层,最后,隐藏原图。
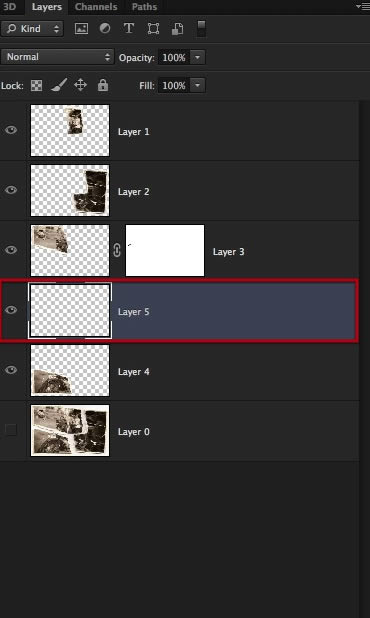
第三步
然后,对每个图层创建一个蒙版,选择一个锐利的画笔涂掉各个图片的边缘。我个人偏好使用23px的粉笔刷,可根据个人习惯来选择不同的笔刷。

第四步
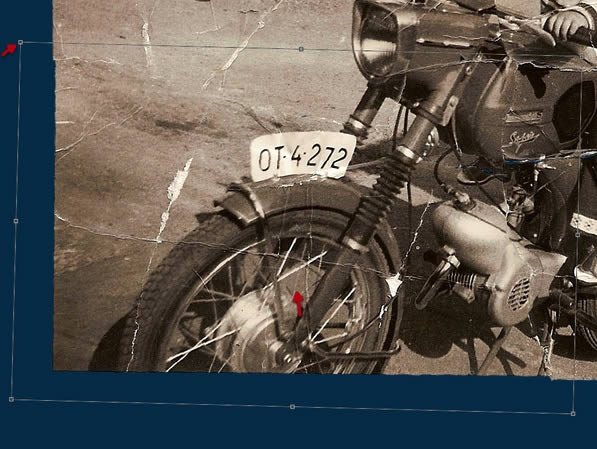
开始涂抹图片边缘之前,先在要操作的图层下方创建一个图层,并填充为深蓝色以直观的帮助我们确认需要涂抹的位置和涂抹程度。
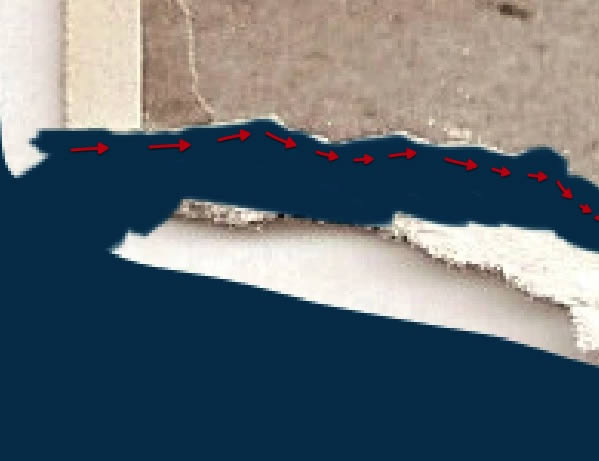
第五步
沿着图片边缘开始涂抹,涂掉边缘周围的一切。
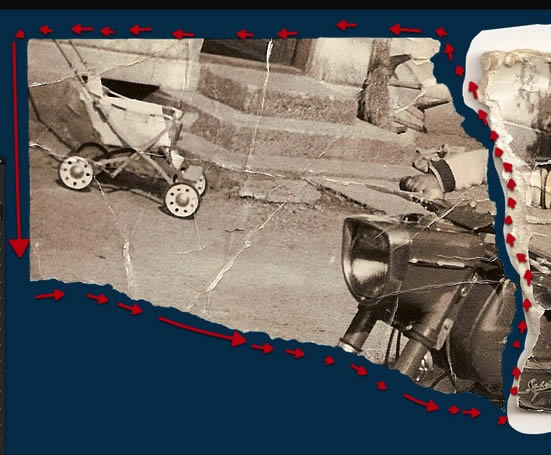
第六步
对四张碎片重复以上操作,处理完成后,效果如下图所示。照片边缘的毛边要全部处理干净。
2.拼图
第一步
这是最简单的一步,但比较耗费时间。把上面四张图片拼接在一起,通过平移、旋转使各张图的边缘完美对接。这里,我们不建议使用扭曲或缩放来拼接。
第二步
继续移动以达到最大程度的吻合,确保图片之间没有重叠。
第三步
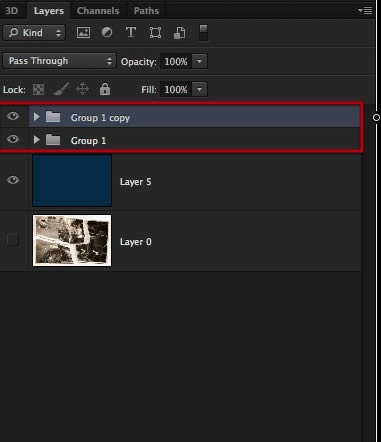
将所有图片排好位置后,将它们组合起来,然后复制图层组并保存。
第四步
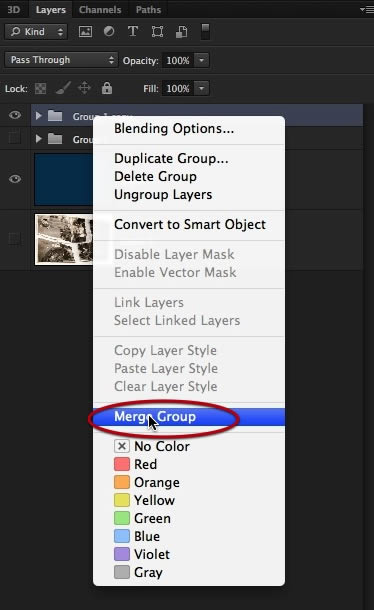
最后,合并上面的图层组,隐藏其他所有图层,准备开始下一步。
3.处理裂痕和裂缝
第一步
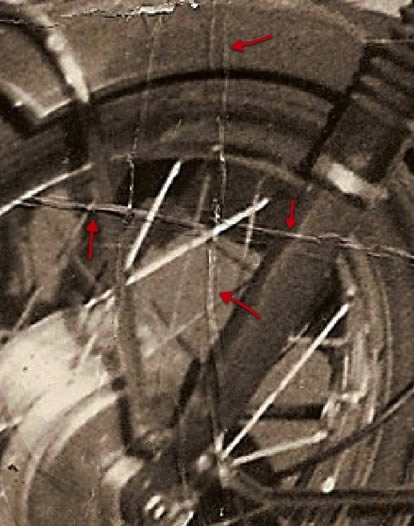
终于进入了修复阶段,利用仿制图章工具(S)去掉照片中的所有划痕和裂纹。

第二步
利用完好的部分来修复破损处,注意不要重复图案。
第三步
处理每一处修复部分时,根据需要进行缩放或变换笔刷的大小。
第四步
尽可能的去除照片上的裂纹,这一步需要足够的耐心和时间。另外,我建议大家不要太在意细节,先修复那些明显破损的地方。
第五步
如果发现需要处理一些细节部分,可以先放着等到后面再处理。
第六步
将每张图片按照上述步骤修复完成后,就基本完成了雏形。

第七步
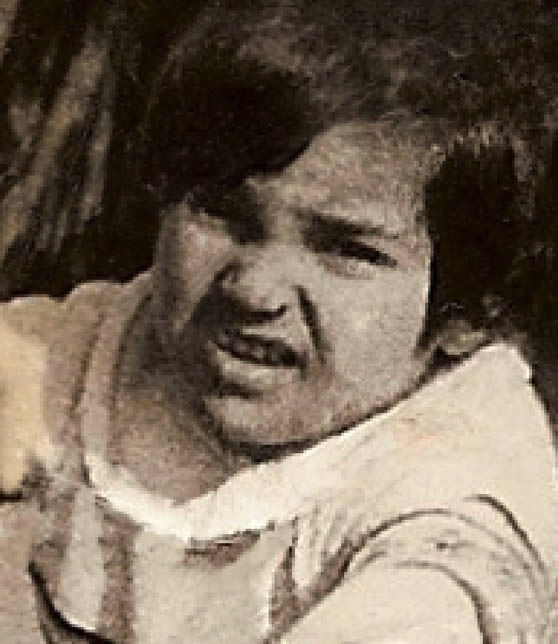
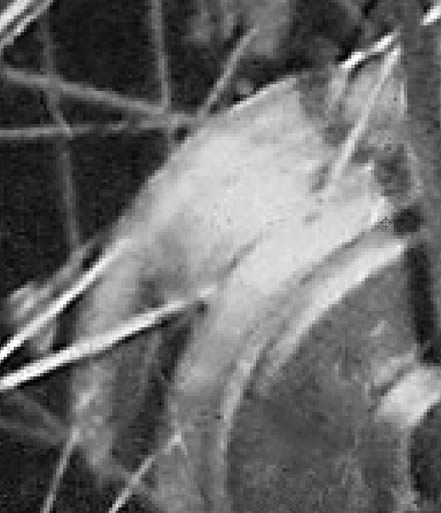
这一部分因为是脸部,比较重要,而且破损的很严重,所有我决定放到后面来处理。
第八步
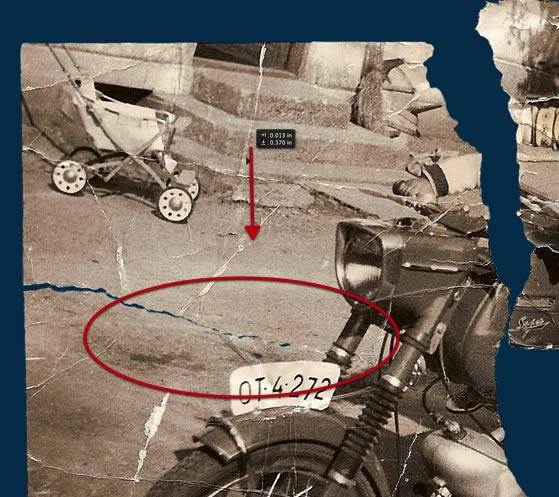
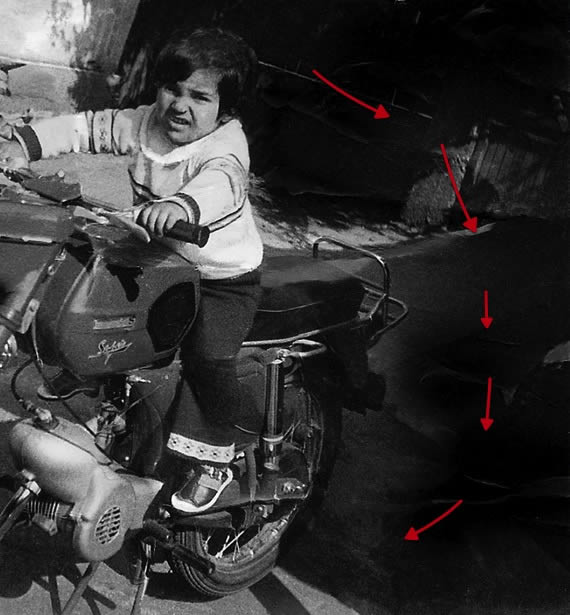
这里,我们发现在道路上有些杂点,纸张有些褶皱,由于原图不是扫描图而是数码照片,因此,我们需要做一些光亮和反射处理。当然,如果原图是扫描图,这步就可以省略了。这步虽然看起来很简单,但要替换所有的破损部位是很耗费时间的,需要点耐心。

4.修补重要部位
第一步
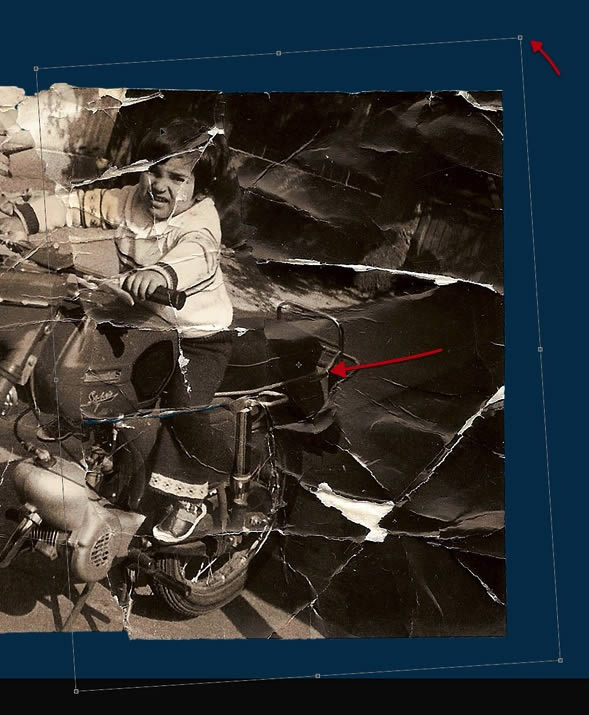
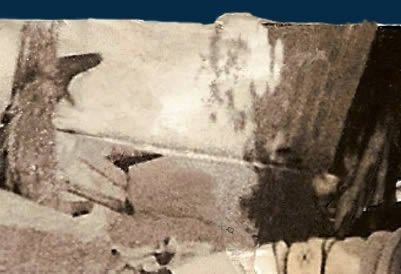
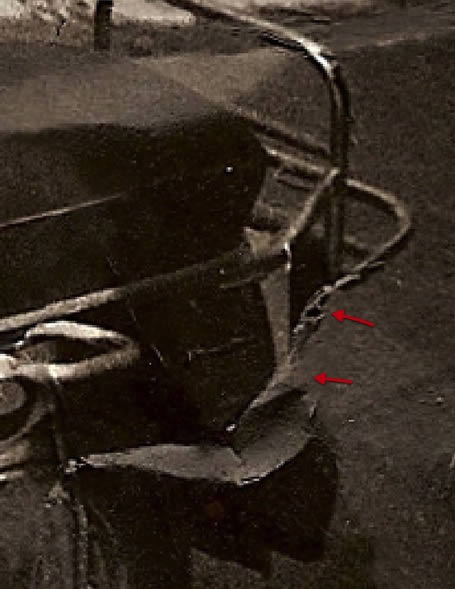
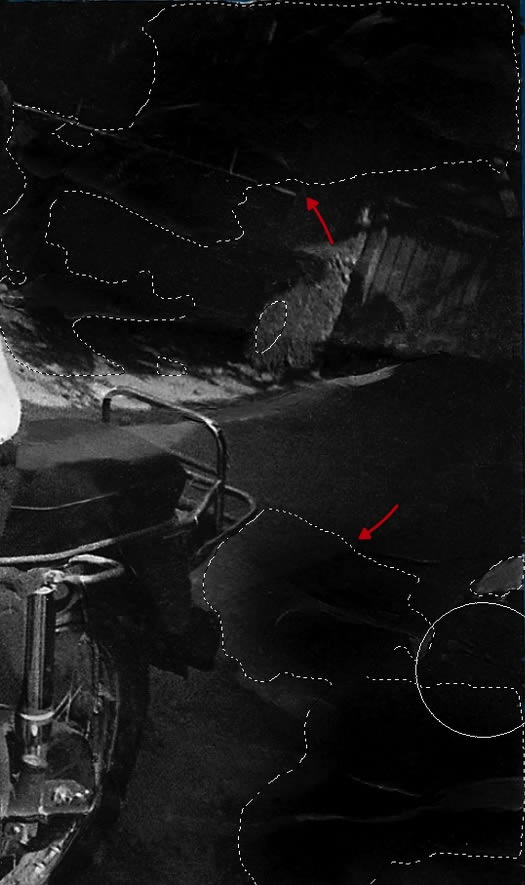
接下来要处理的是上面我们跳过的较为复杂的部分,例如车的尾部。由于原图上,这部分已经被撕毁,所有我们不得不对其进行重构。如果客户可以提供一些有关这个车的其他照片的话,我们还可以做一些参考,否则,只能发挥我们的想象力了。
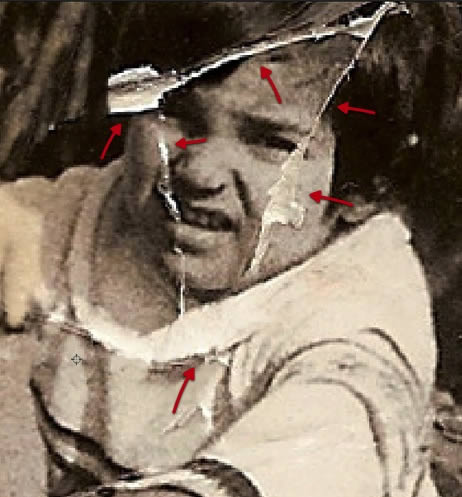
第二步
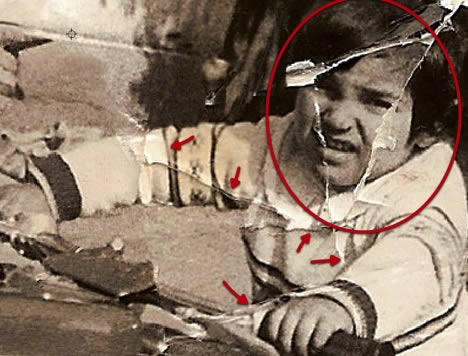
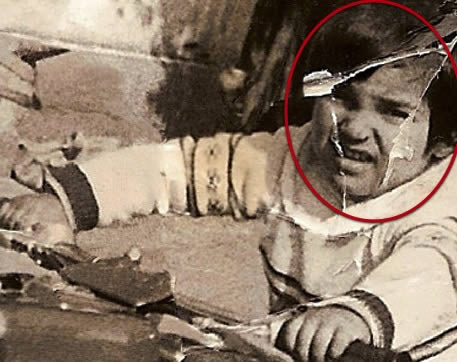
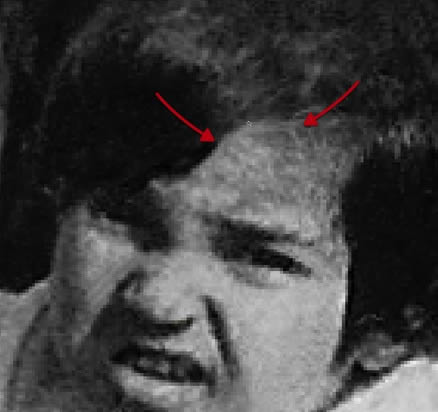
修复中最重要的一部分是处理孩子的脸部,而且不能改变脸部特征。这里要使用很小的笔刷,尽可能以像素为单位进行修补。这只是处理的第二步,所以那些更加细微的部分就留到后面再处理。
5. 弯曲和阴影
第一步
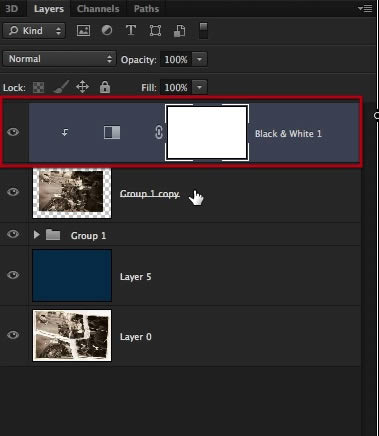
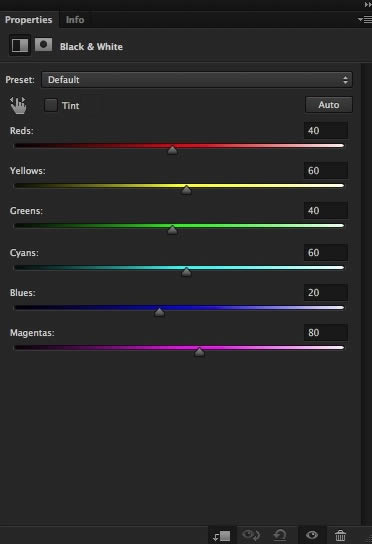
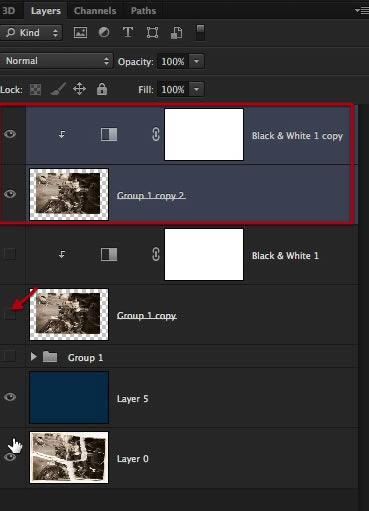
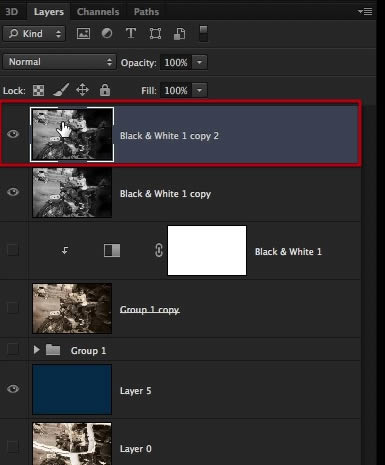
把图片变回黑白颜色,即使客户想要棕褐色,最好也是先变为黑白色,调整色调和对比度,最后再改为棕褐色。如图所示,将黑白调整图层夹在修复图层上。
第二步
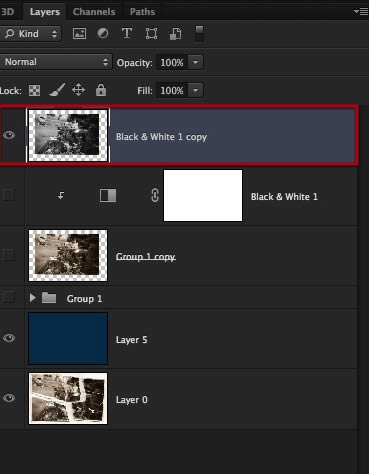
复制图层,隐藏原图,再次保存。
第三步
合并复制的图层。
第四步
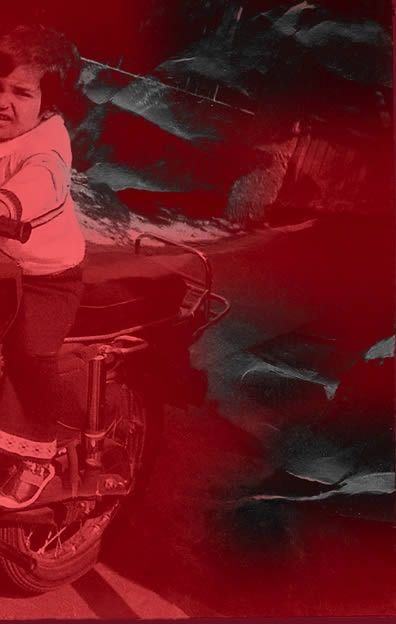
通过调节颜色范围工具,制作反射光,并投射到较暗的部分。

第五步
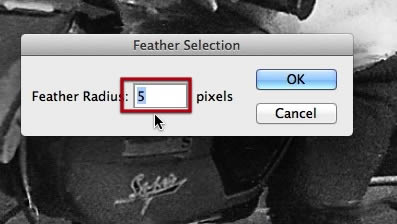
选用5px进行羽化。
第六步
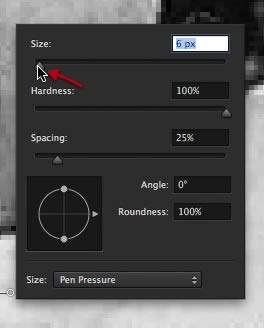
选择加深减淡工具,确保最上面一栏的设置如下图所示。

第七步
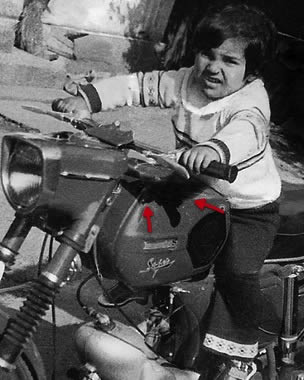
使用较大尺寸的柔边笔刷绘制,直到这些区域与照片其他阴影区相匹配。
第八步
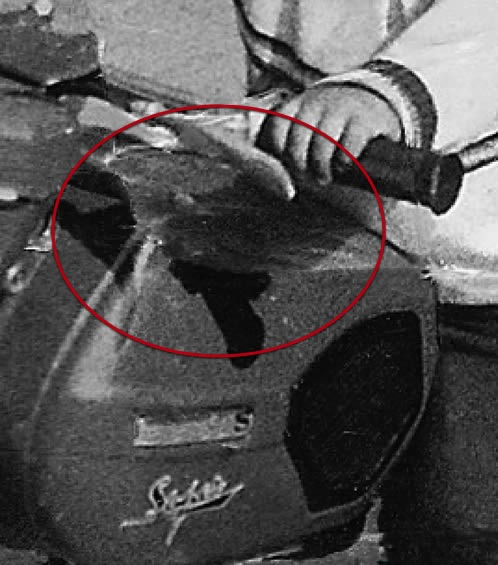
燃料箱部分,反射光造成手臂下的阴影,用加深减淡工具和仿制图章工具来重建这部分的阴影。
6. 裁剪和修补
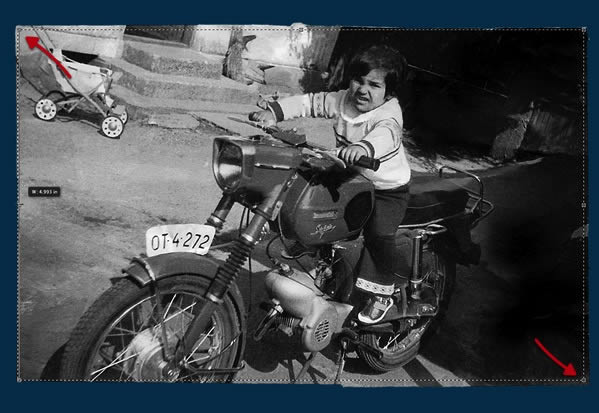
第一步
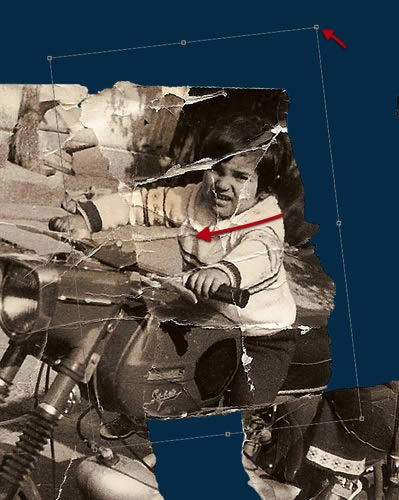
首先,如下所示,进行裁剪图片,尽量保留原图内容。
第二步
用污点修复画笔修复污点。我敢说很多人在前期就试图使用这个工具,但是在前期修复中,这个工具并没有太大用处,反而会把图片弄的更糟。修复过程中,并没有捷径,需要的是抓细节和耐心。不过,现在是时候用这个工具了。
第三步
我们要确定破损部分的污点,同时保留图片的细节部分。因此要非常仔细。
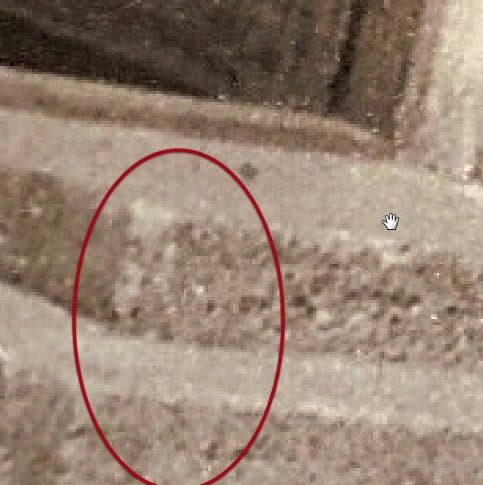
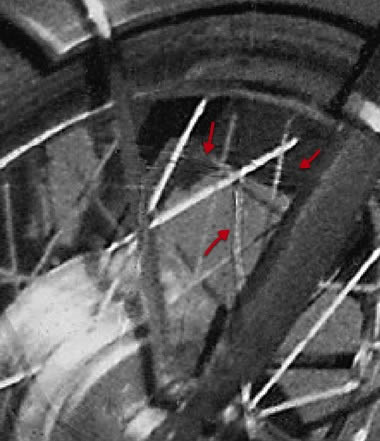
第四步
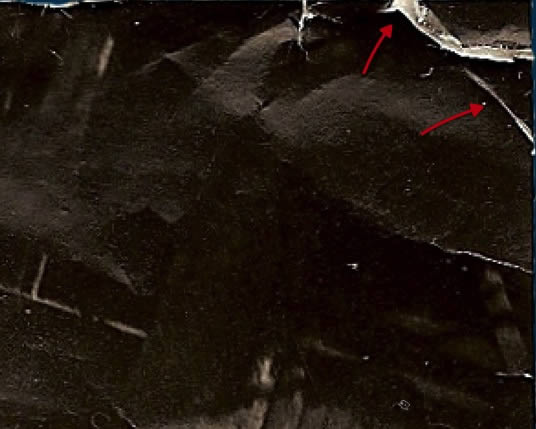
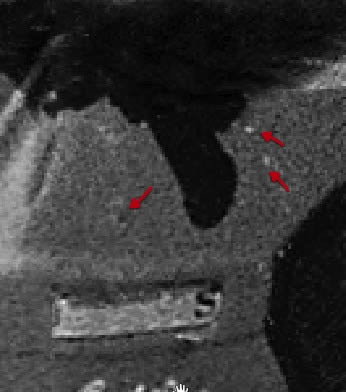
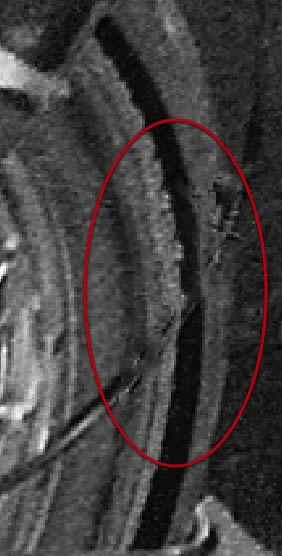
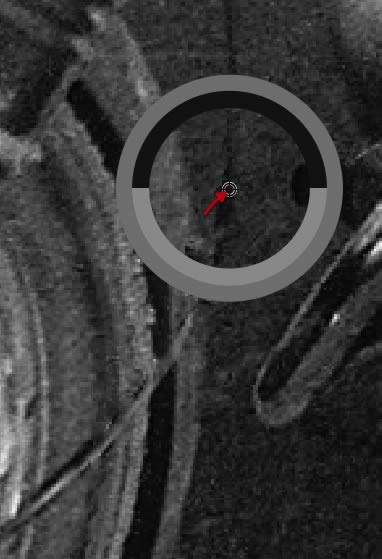
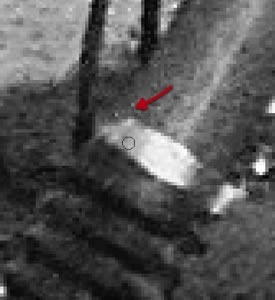
我们会发现有一些区域,如下图所示,仿制图章工具或者污点修复画笔都无法修复,这种情况下,只能重新描绘细节。
第五步
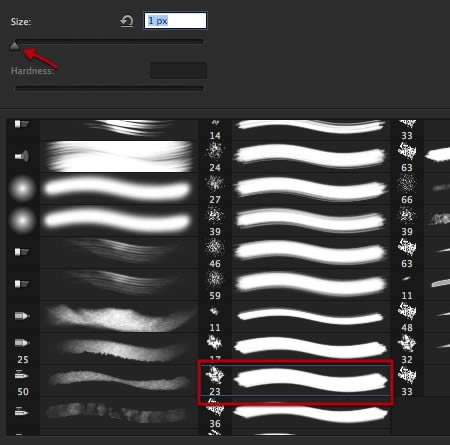
选择如下所示笔刷工具,大小为1px.
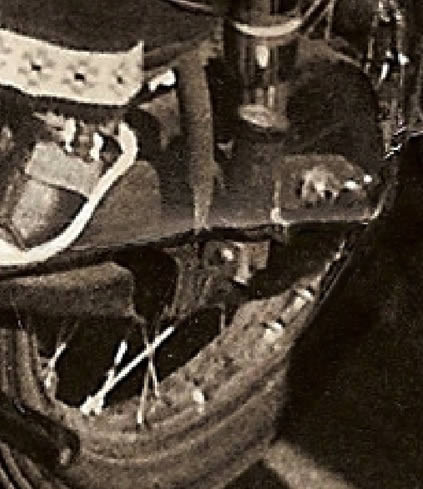
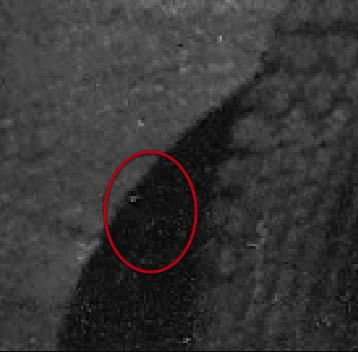
第六步
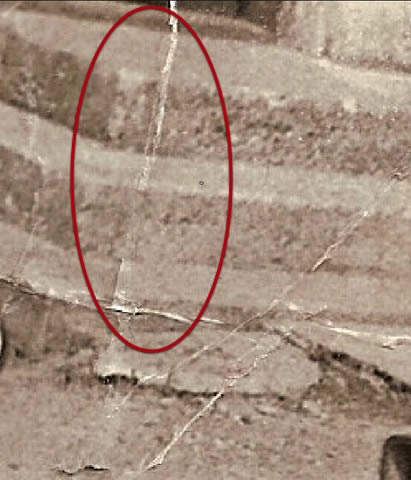
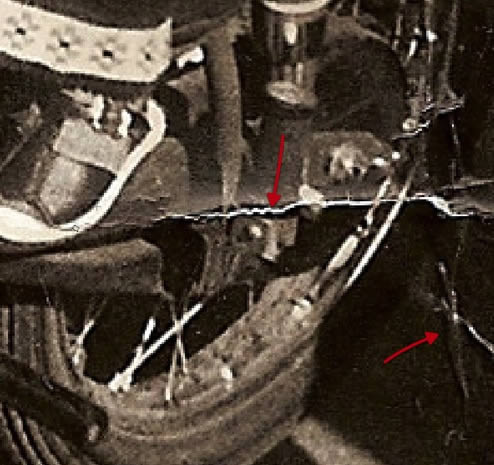
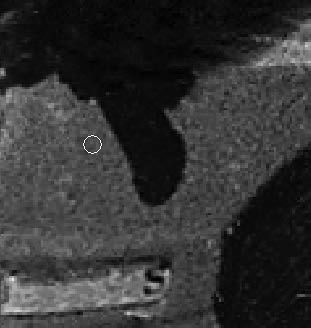
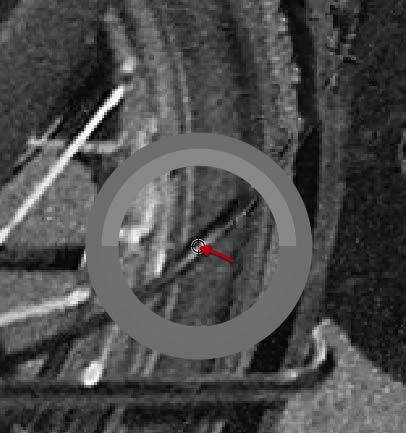
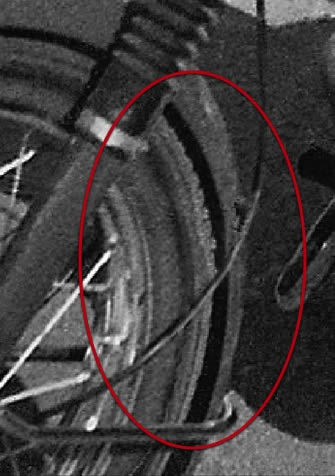
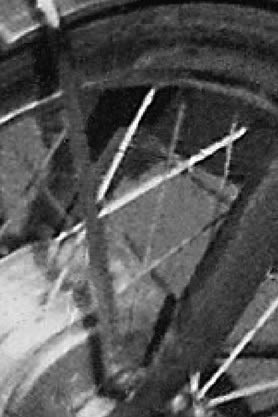
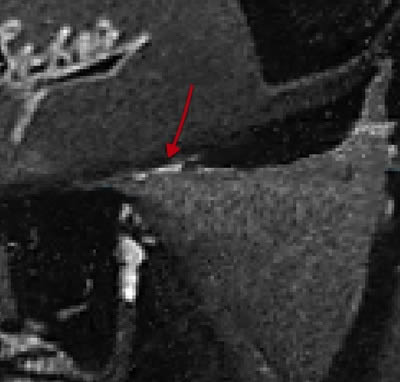
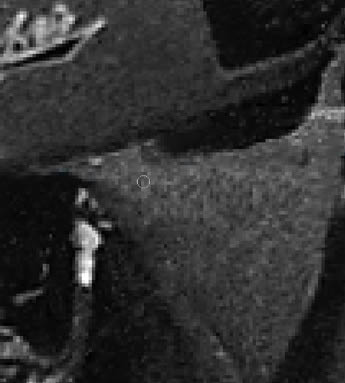
下图中圈出的部分为需要重建的电缆。
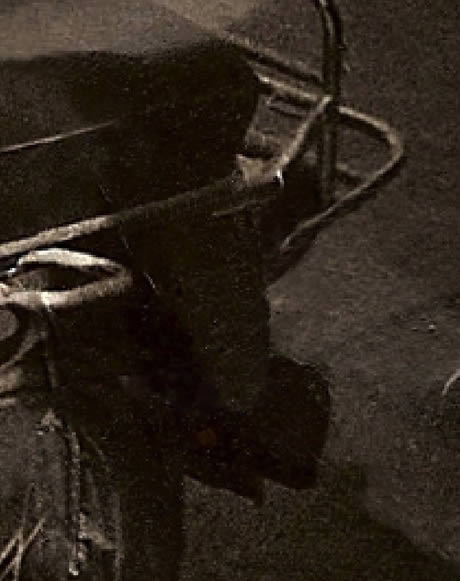
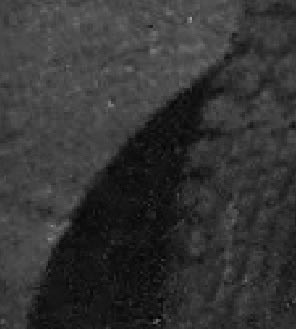
第七步
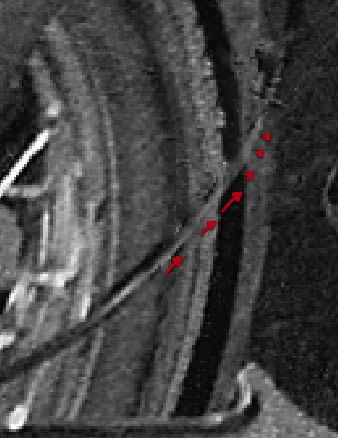
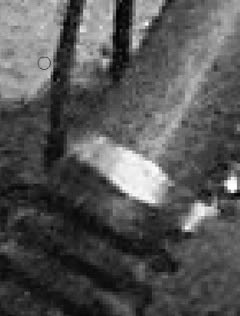
从图像中取阴影颜色,完成电缆部分。
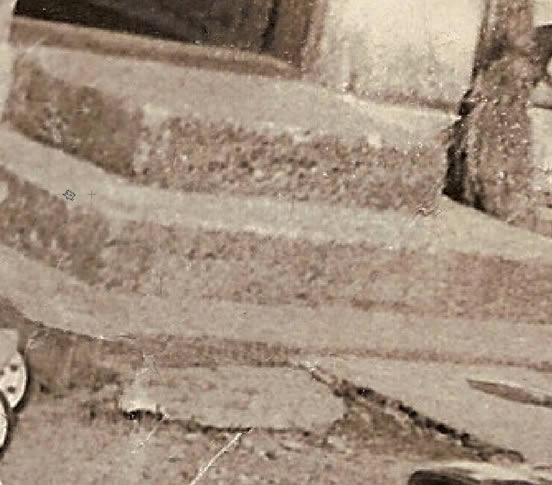
第八步
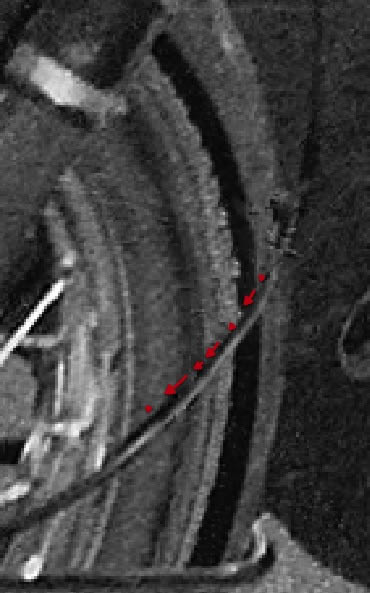
目前,我们已成功补全了照片中丢失的一部分。
第九步
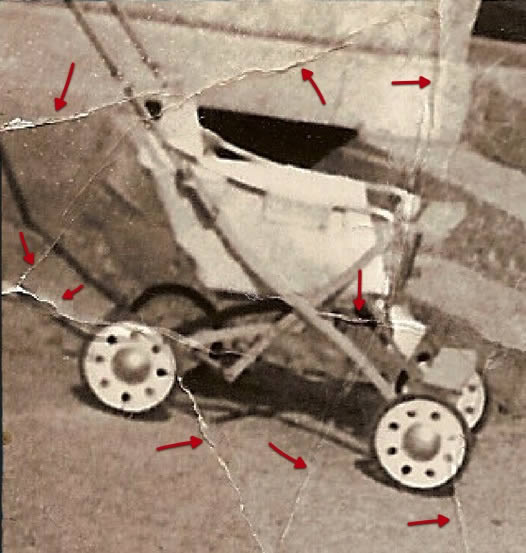
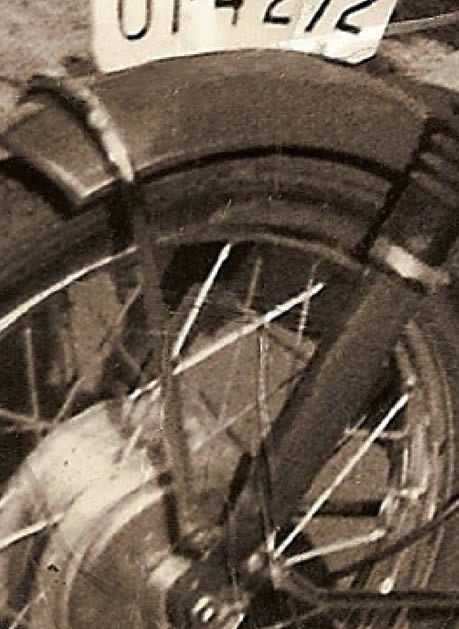
让我们继续其他部分。我们要尽可能地用原图中的细节来修复破损部分,那么在这个例子中,我们可以用完好的那只车轮来修复破损的车轮。
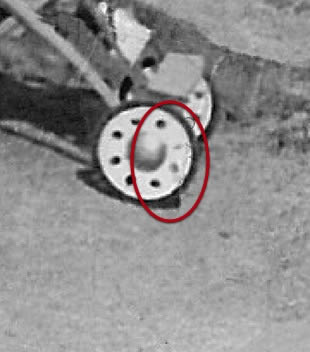
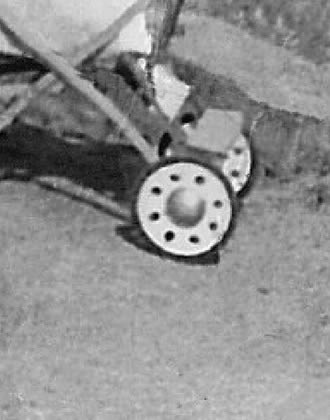
第十步
去除车轮里面的一些褶皱。以同样的方法,覆盖图中所有类似的瑕疵。
7. 减少噪点
第一步
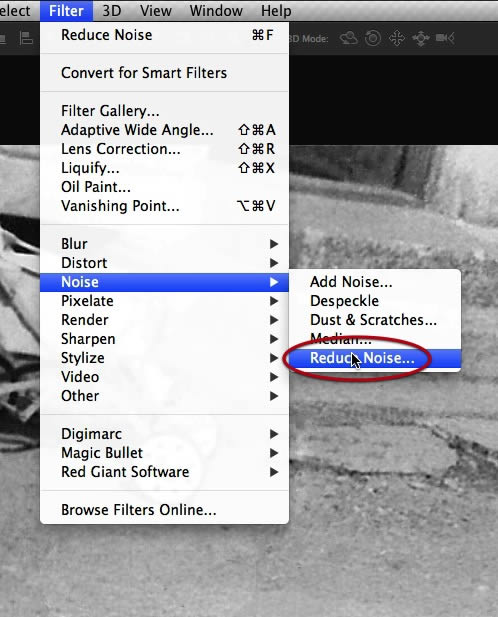
使用减少杂色滤镜去除图片中的微小颗粒和斑点。
第二步
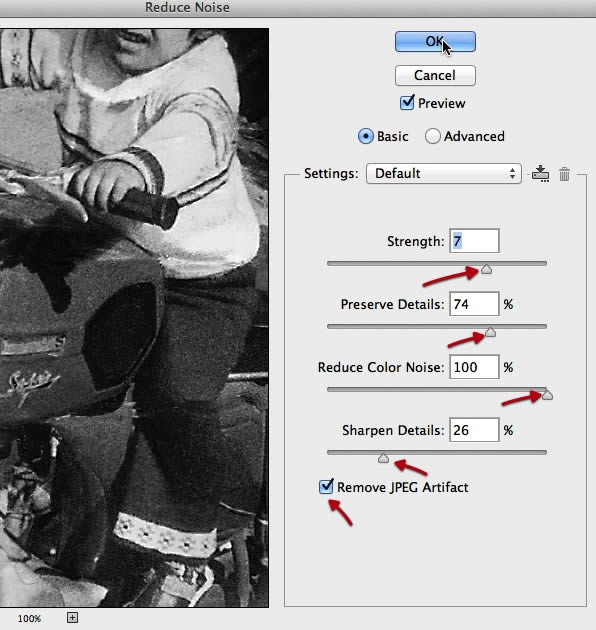
复制工作图层,然后按下图所示进行设置。注意不要过度使用此工具,否则可能会破坏图片细节而不仅仅是噪点。在进行这一步时要不断的试验,这也是为什么创建副本的原因,以防止将工作搞糟。
8.最后的面部处理
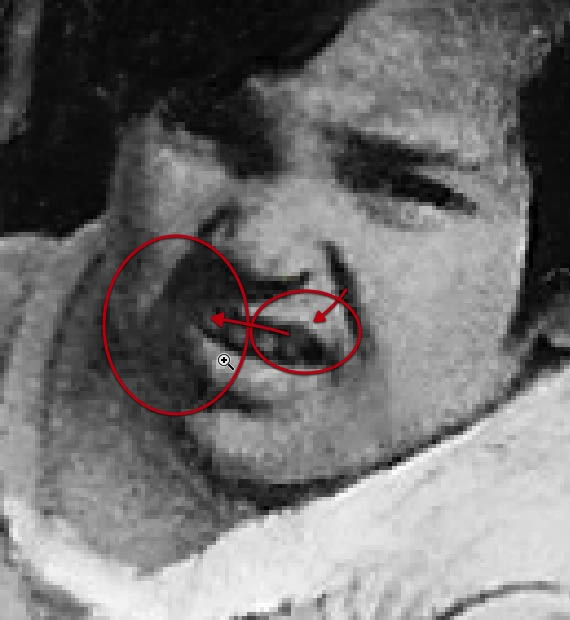
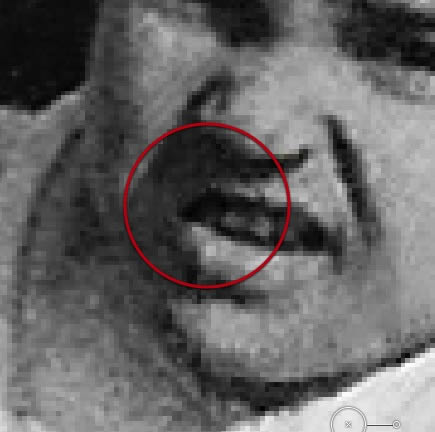
第一步
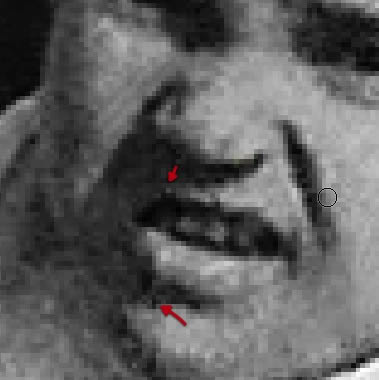
图片修复的最后一步是处理唇部,我们用嘴唇的左边来修复右边。
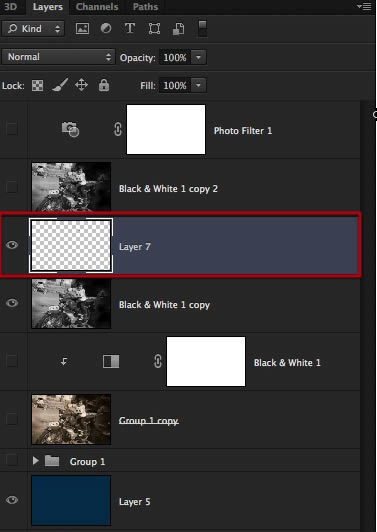
第二步
利用套索工具,选取唇部右边区域,然后复制粘贴到一个新图层。
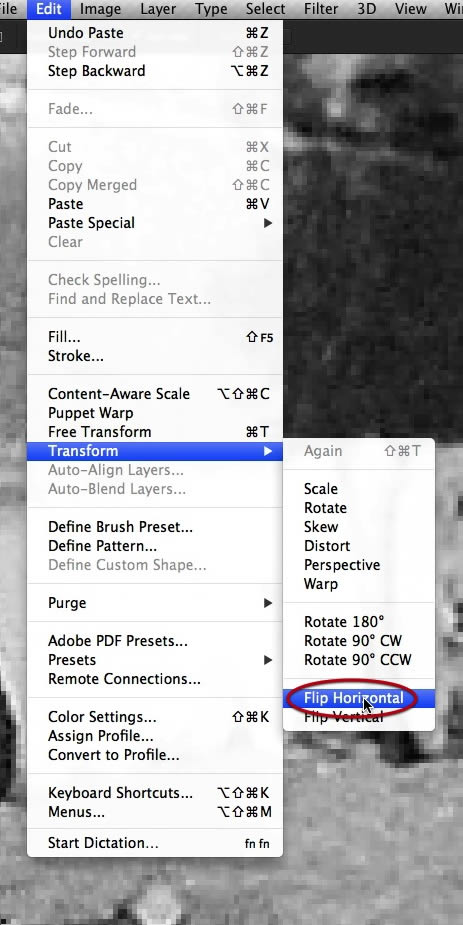
第三步
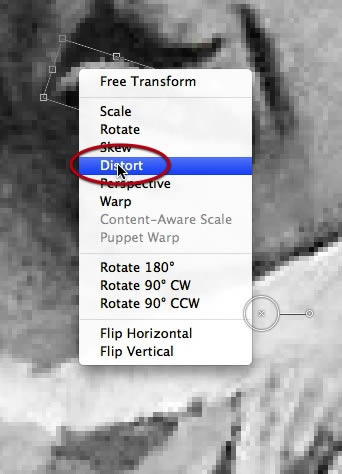
水平翻转,并如图所示进行旋转。
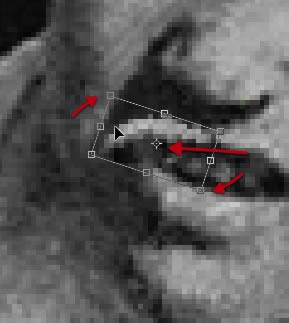
第四步
distort到如图所示的位置。
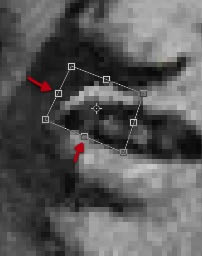
第五步
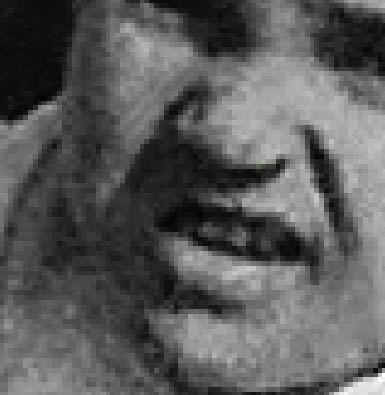
利用加深减淡工具来降低阴影,有效的重构唇部。
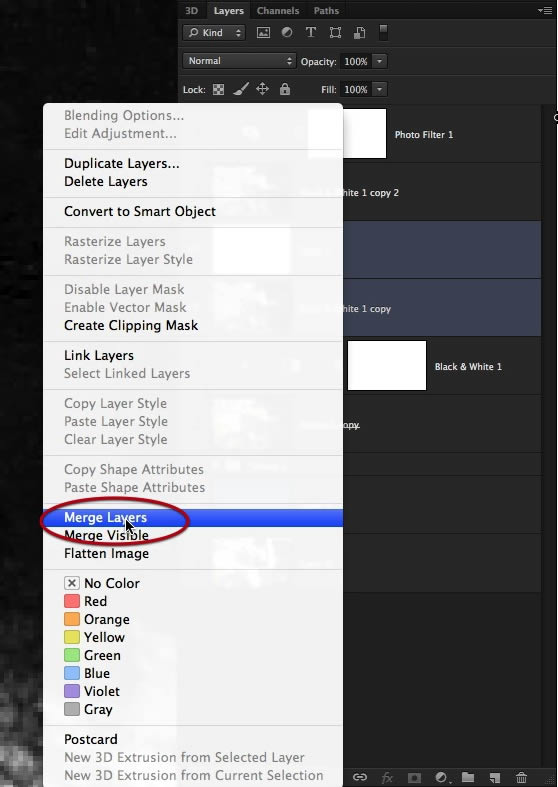
第六步
然后,将两个图层整合到一起,修复工作已经接近尾声了。
9.最后的细化
第一步
我们还有一些噪点需要清理,再次使用污点修复工具,调节到非常小的一个尺寸。
第二步
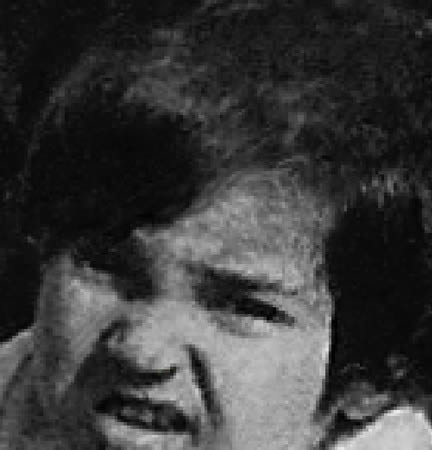
从小孩的脸部开始,去除如图所示的噪点。
第三步
然后,检查摩托车部分是否忽略了细节。
第四步
最后一步,通过缩放图片来观察、寻找是否有遗漏的细节。
第五步
可能会有一些不太明显的瑕疵,或者液体、胶水造成的破损,这些也要注意一下。
第六步
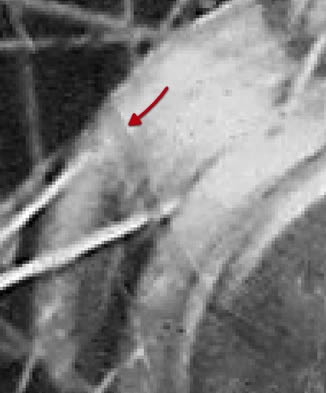
有时,我们可能会发现一些细节,需要跳回到仿制图章工具或笔刷工具,例如下图这种情况,头发被过度修剪了,因此我们需要返回重新修改。
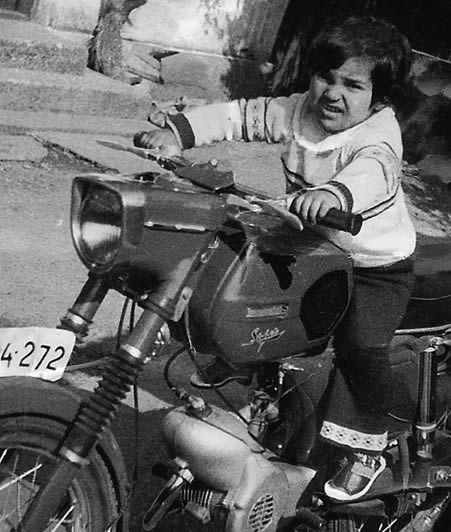
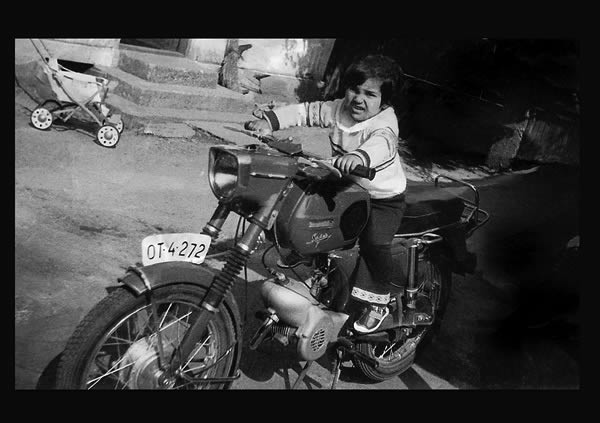
总结
最终,我们完成了照片的修复,客户可以满意地带回家装裱起来了。在本教程中,我们向大家展示了如何修复严重破损的照片。在这个过程中,学习了如何使用仿制图章、污点修复画笔以及如何利用画笔工具来描绘无法根据原图进行修复的细节部分。希望大家能从本教程中学到一些知识,并利用这些技术修复其他的照片。
来源:shejipai 南辰