Photoshop调出威尼斯风景照片清新通透色彩

本教程主要使用Photoshop调出威尼斯风景照片清新通透色彩,朋友从威尼斯拍的照片。还不错,就是整体发灰,也是数码照相的通病。利用lightroom调了色,再利用PS的图层蒙版合成。下面让我们一起来学习吧。
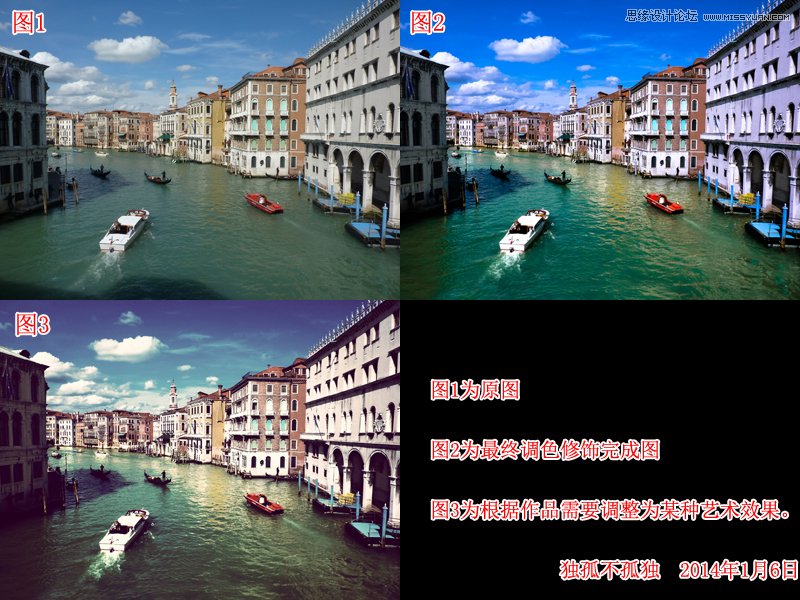
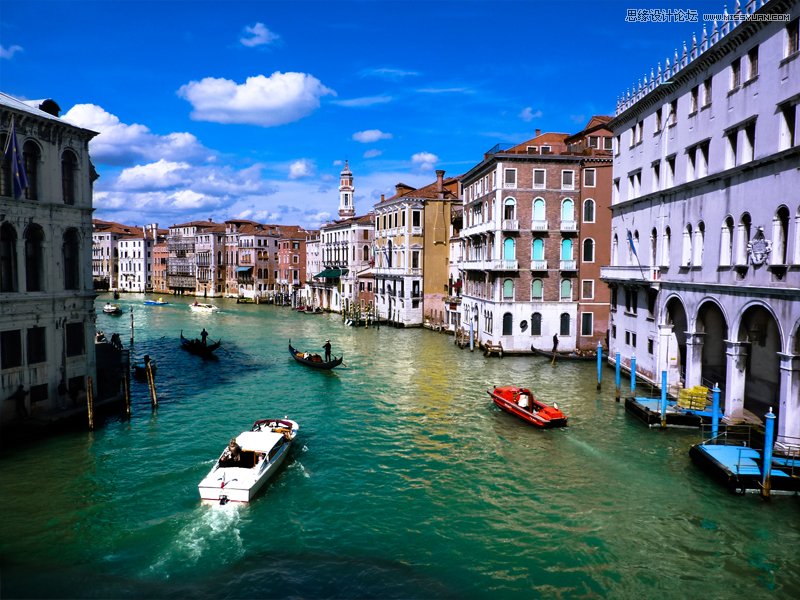
先看看效果图
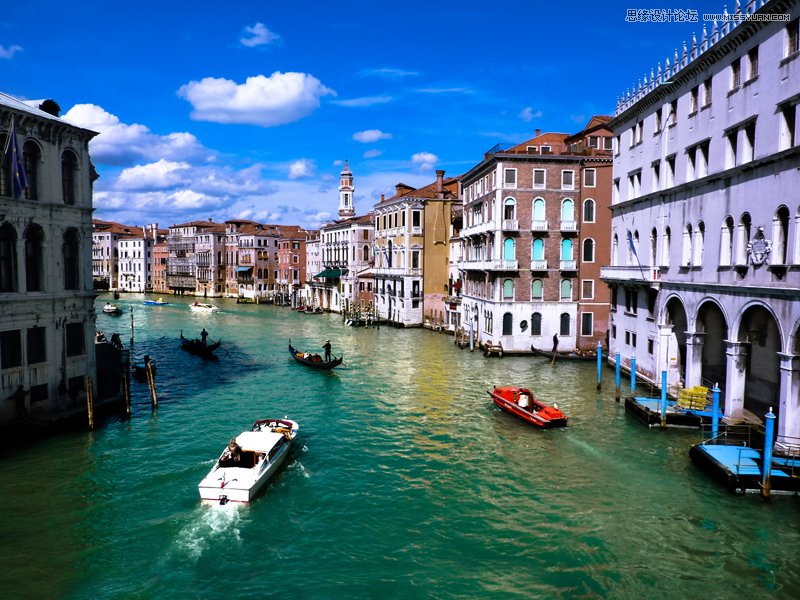
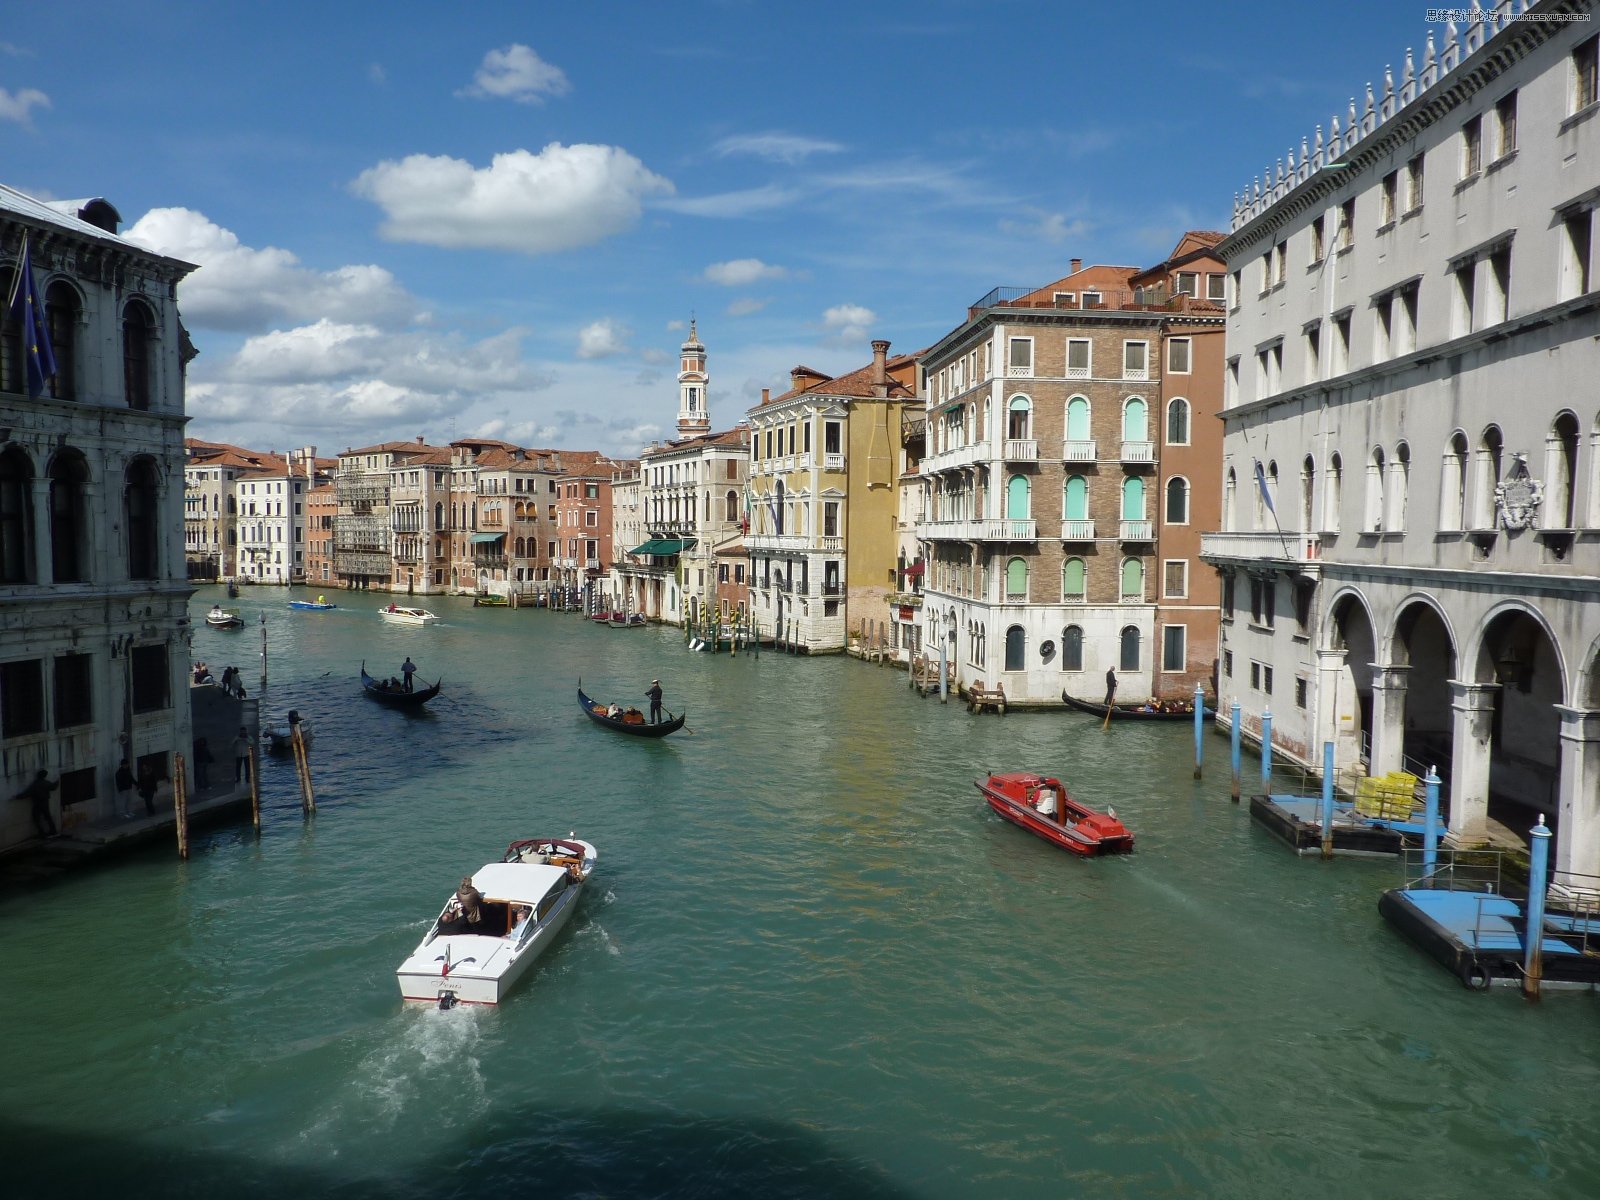
先看原图:
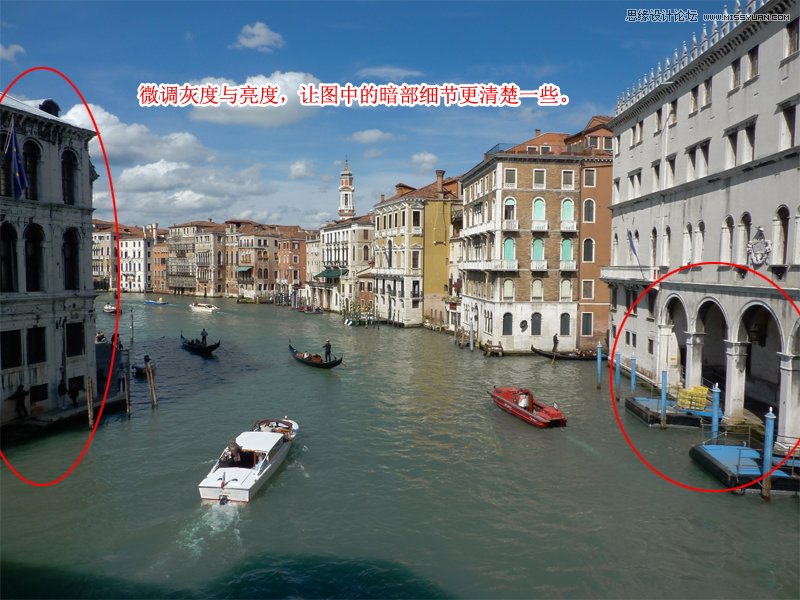
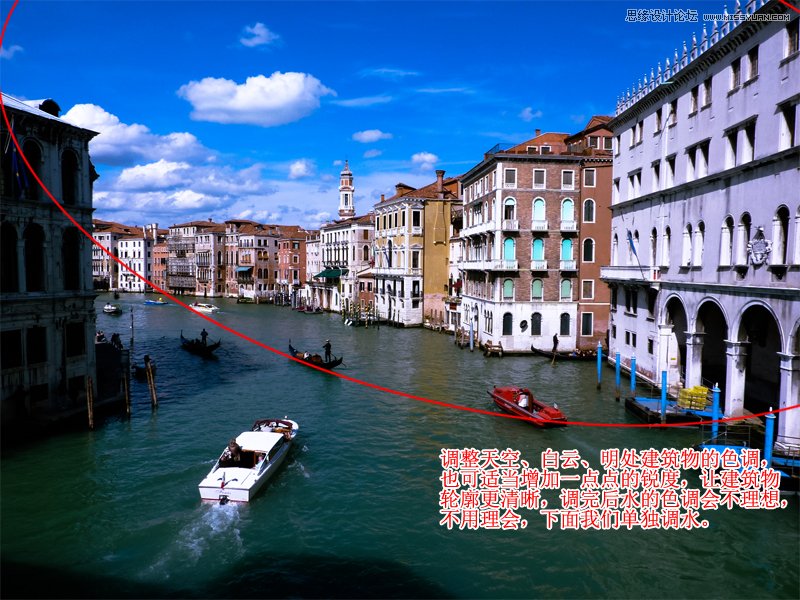
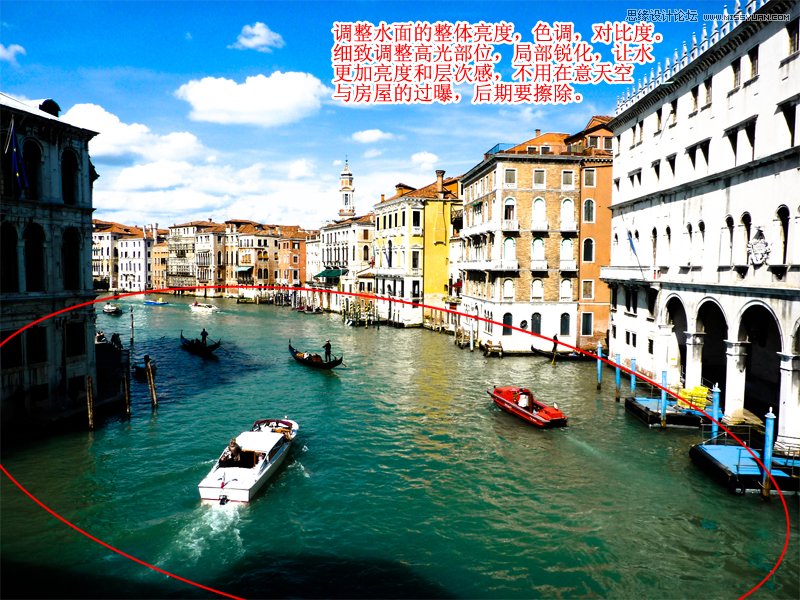
现将原图导入lightroom,分别调成三种不同曝光和色调的图片,如下:
然后导入PS
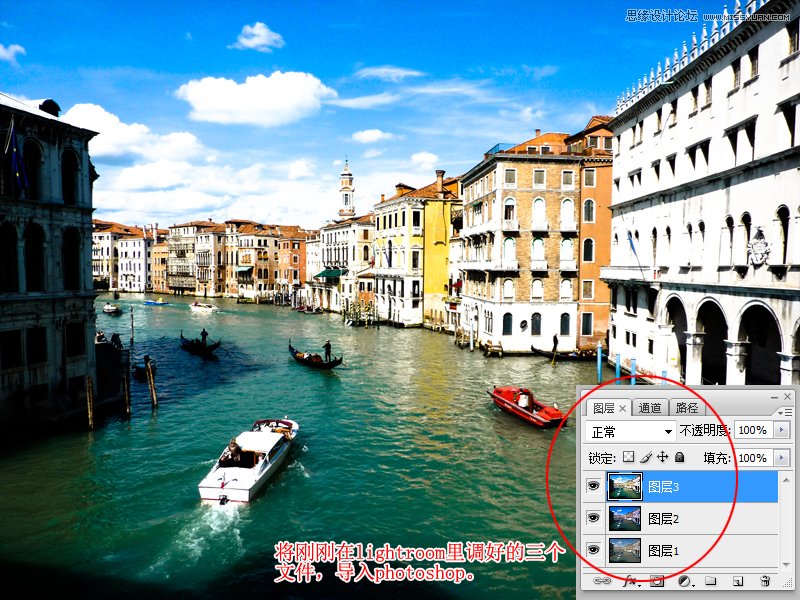
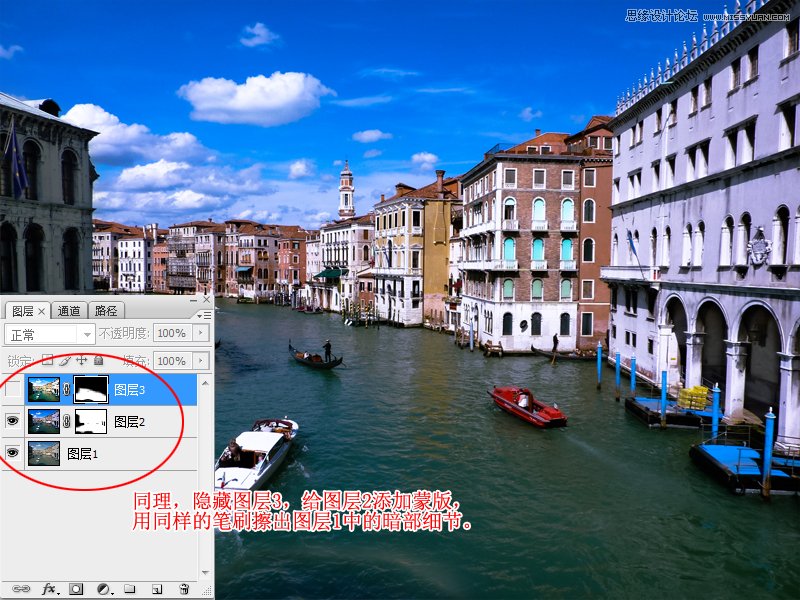
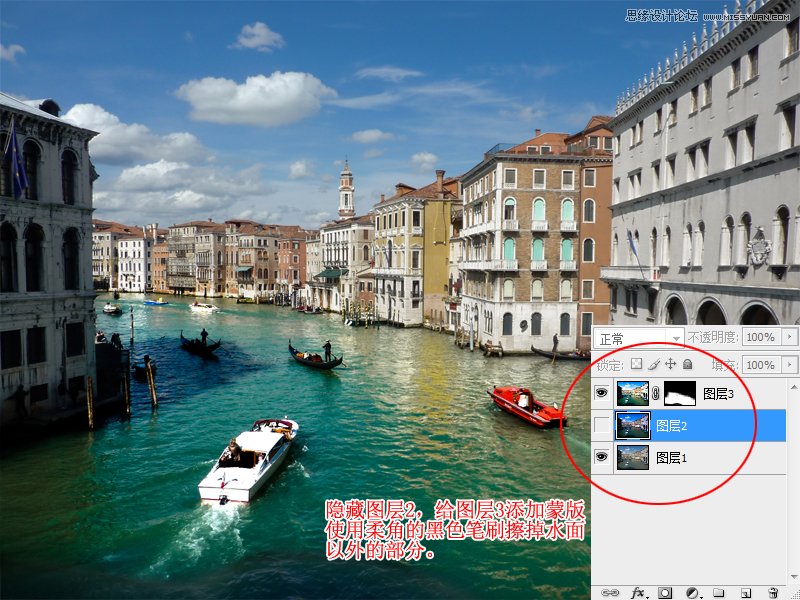
分别对图层3与图层2进行蒙版擦除,蒙版的使用是最基础的,论坛里有的是教程。
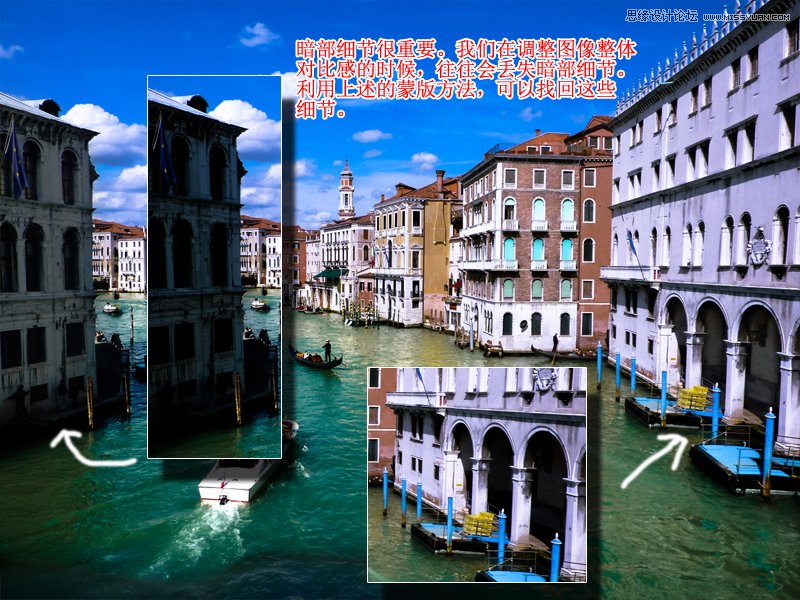
注意细节的地方:
完成效果图,如下:
但是我们会发现,由于拍摄位置是在桥上,桥的影子影响了图片的美感,如下图:
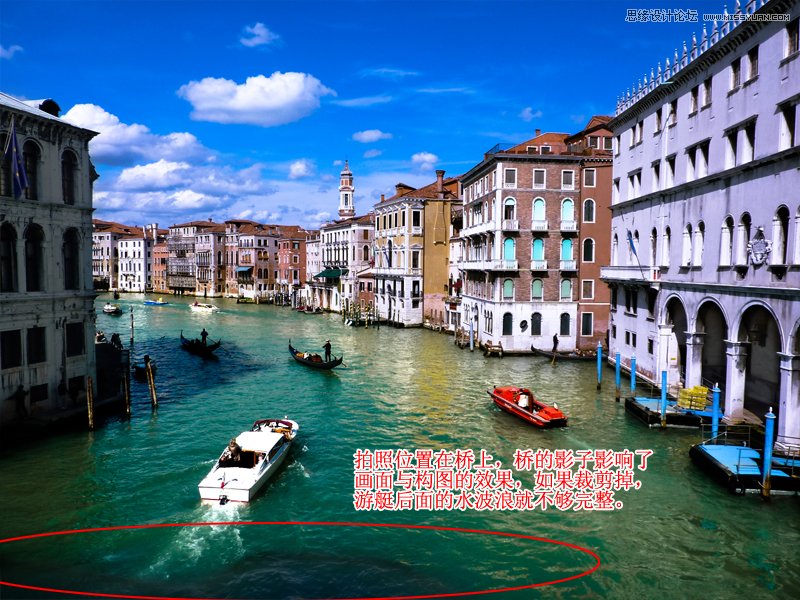
接下来,我们要将桥的影子修饰掉。我的方法如下:
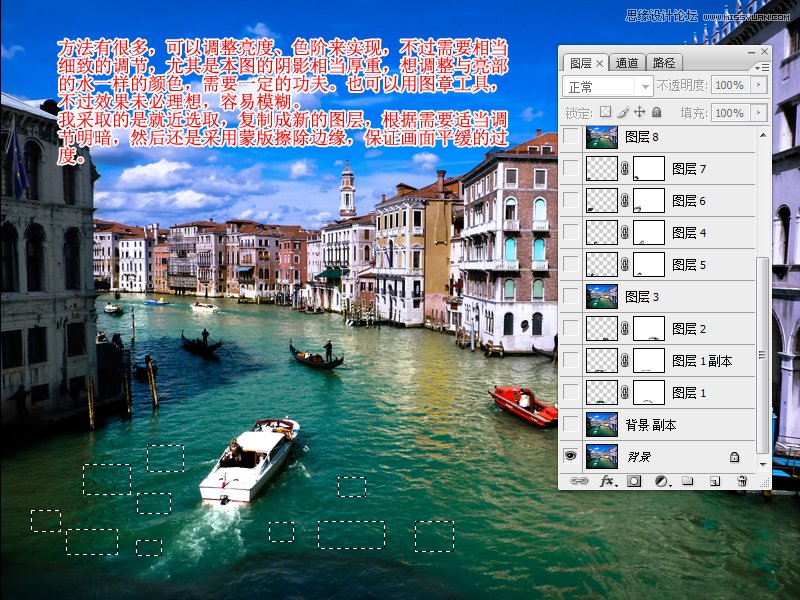
其实方法有很多,大家根据自己的习惯,只要实现了即可。
送上最终效果图:
如果不习惯清晰艳丽的,也可以自己后期再调整不同风格