Photoshop把普通照片转素描效果
![clip_image048_thumb[1].jpg](http://jy.sccnn.com/zb_users/upload/2014/9/2014092779617785.jpg "clip_image048_thumb[1].jpg")
来源:IT世界网 河马
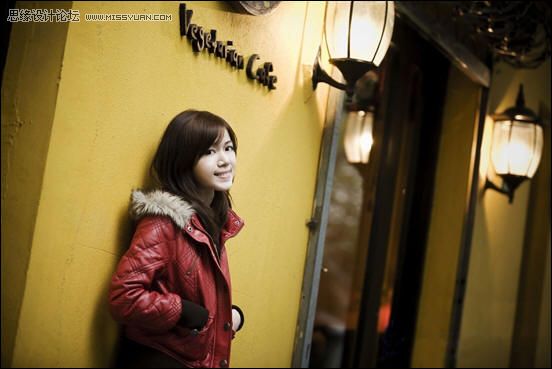
原图:
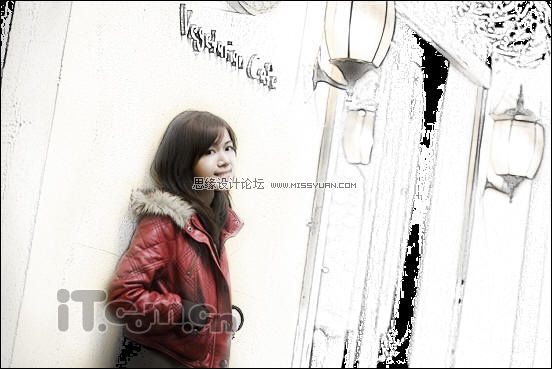
最终效果:

1、首先打开素材图片,复制背景图层,得到图层1,然后选择图像—调整—色相/饱和度命令,设置饱和度为-100,把图片转为黑白,如图所示。


2、按下Ctrl+J复制出图层1副本,然后选择图像—调整—反相命令,效果如图所示。
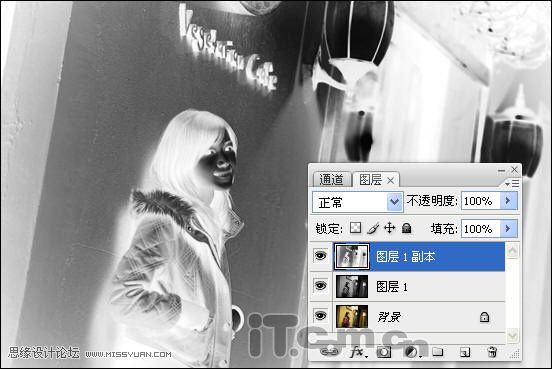
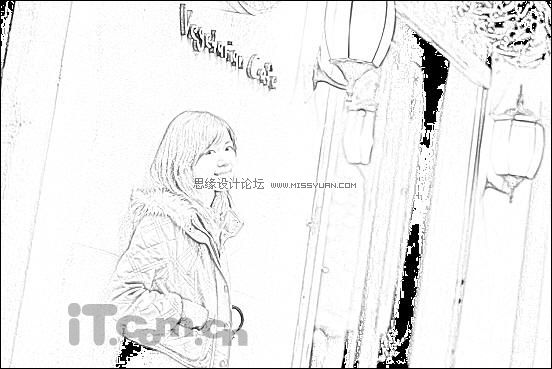
3、设置图层1副本的混合模式为颜色减淡,如图所示。
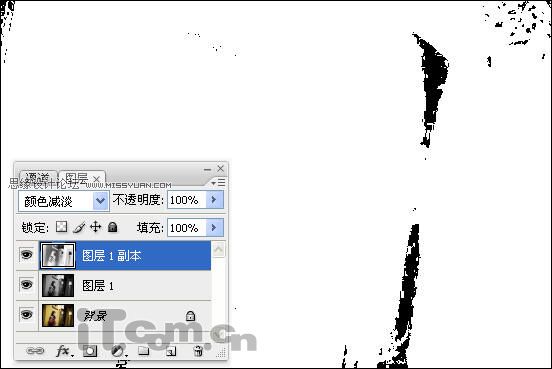
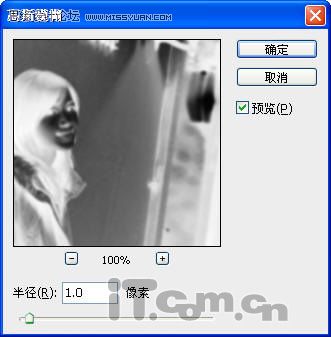
4、选择滤镜—模糊—高斯模糊命令,半径设置可以根据用户的实际情况而定,效果如图所示。
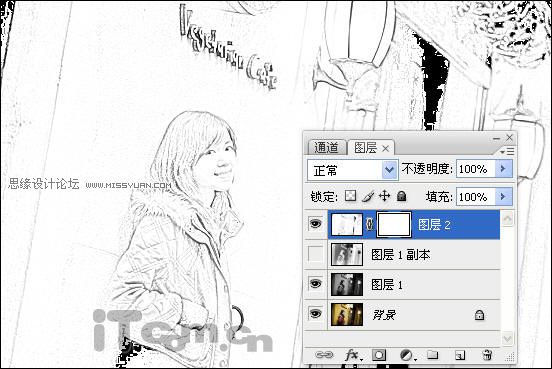
5、按下Ctrl+Alt+Shift+E盖印,得到图层2,然后添加图层蒙版,如图所示。
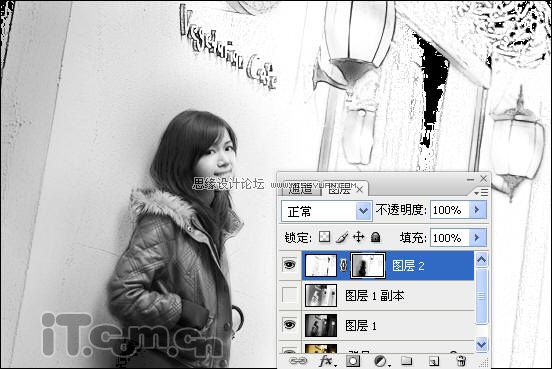
6、取消图层1副本的可见性(单击眼睛),然后在蒙版上使用黑色的画笔工具涂抹人物,把人物还原出来,效果如图所示。
最终效果
如图觉得黑白的不好看,可以取消图层1的眼睛,这样人物就变回彩色了。