Photoshop合成在天空中飞行的天使【英】
来源: photoshoptutorials 作者:MONIKA NOWAKOWSKA
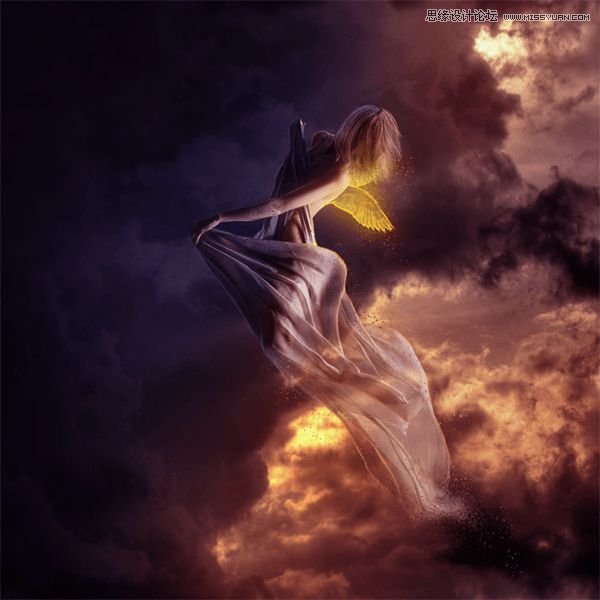
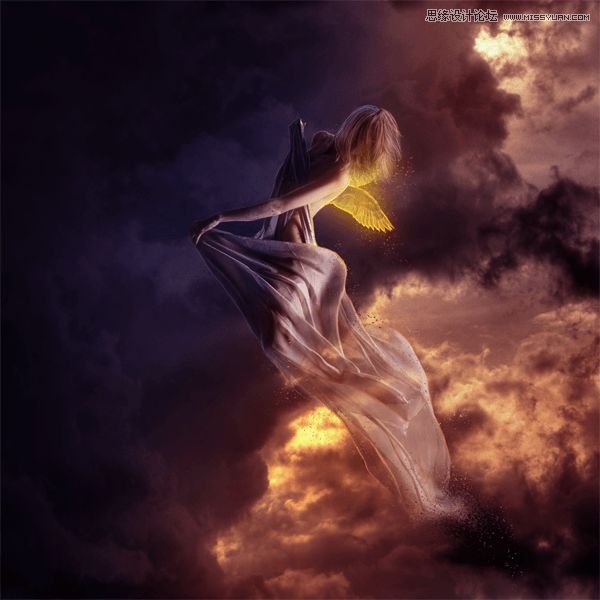
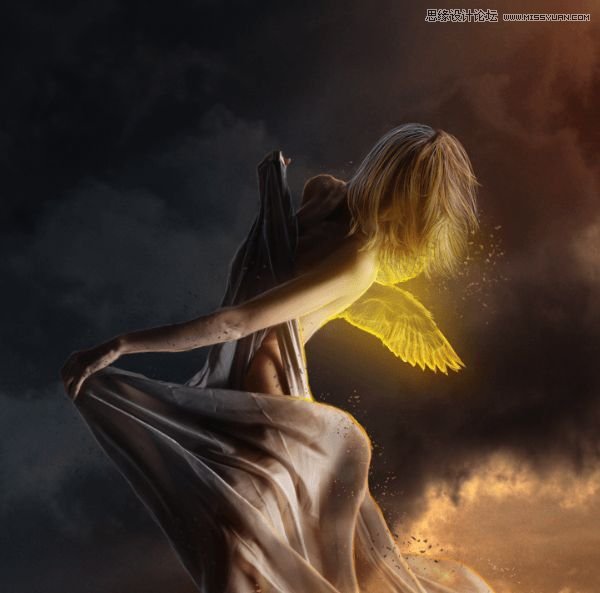
Create this angelic photo manipulation using Smart Filters and drawing techniques! This tutorial will show you how to create a dramatic cloud background, add glowing wings to an angel, and add some particles.
Preview of Final Results
Step 1
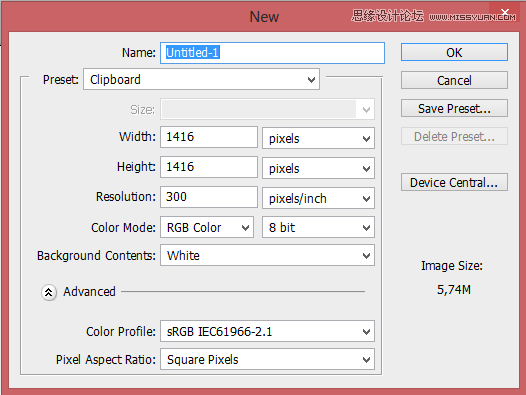
Start by creating 1416×1416 px image. These are dimensions of cd cover.
Step 2
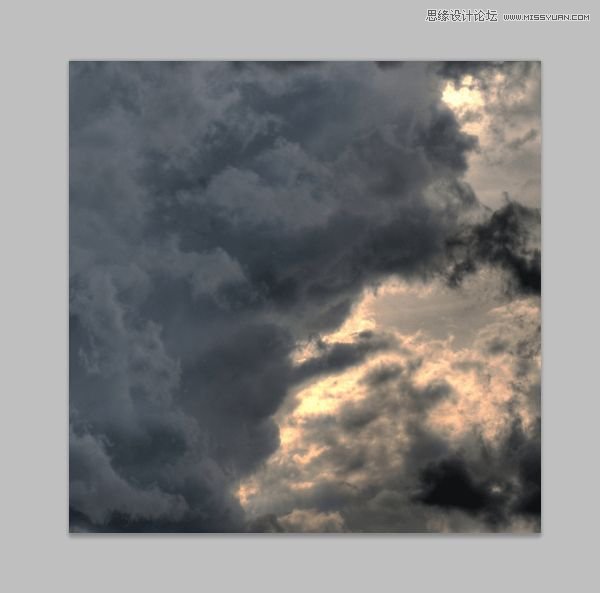
Paste “Dark clouds ahead” stock
Step 3
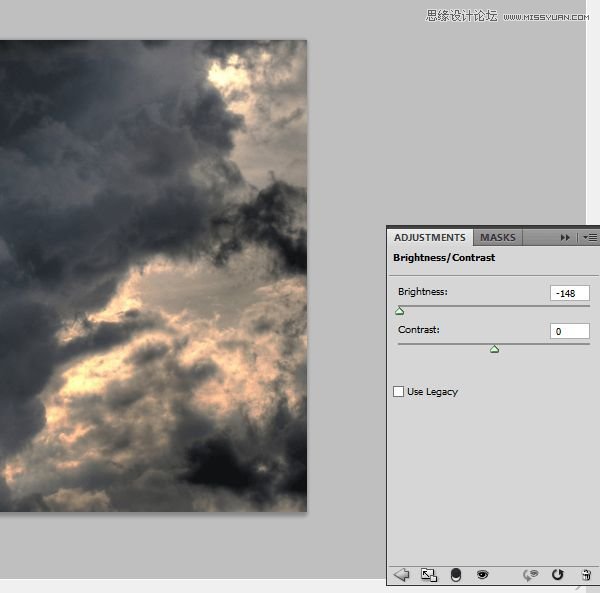
Add new adjustments layer (menu Layer > New adjustment Layer) with brightness/contrast. Set it:
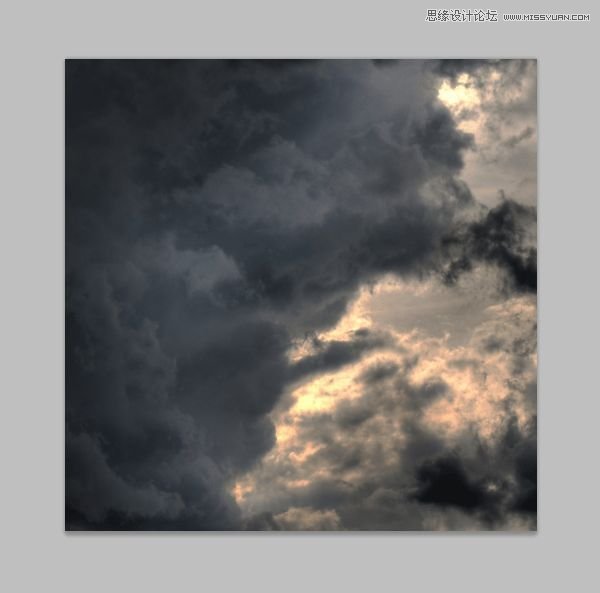
Now background is too dark. For fix it you should draw mask. Choose mask layer, beside adjustment. Take a 360px soft, rounded brush and draw gently by right side of picture. My results of masking
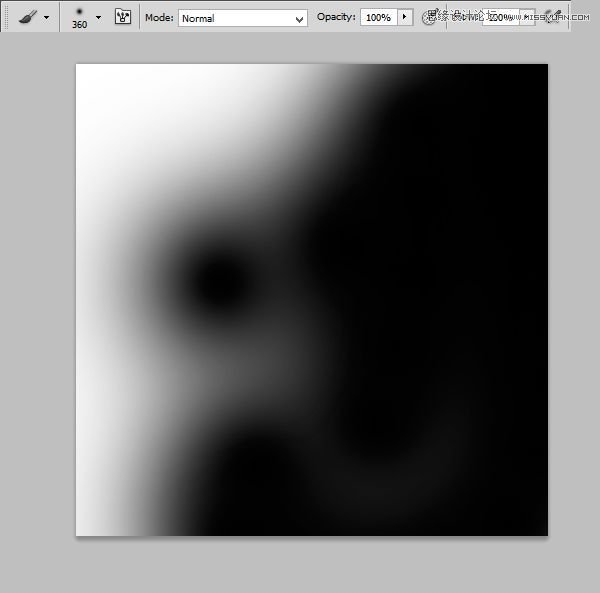
How should it looks:
Step 4
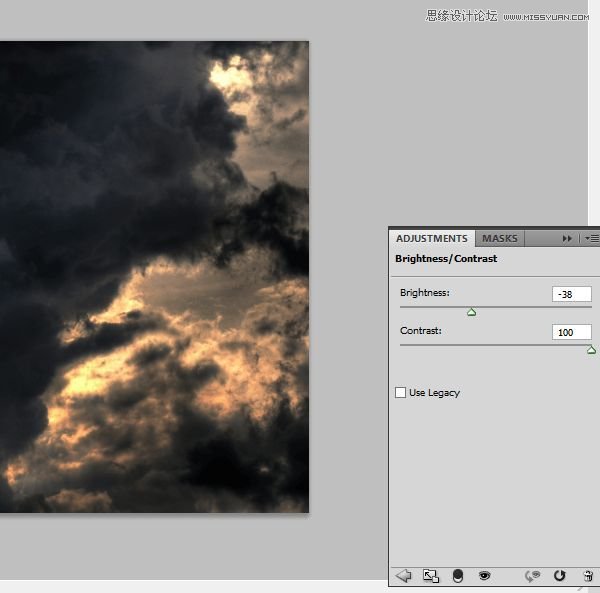
Still background isn’t well. Add new adjustments layer with brightness/contrast. Set it:
Step 5
Now you should add some lights on background. Add new layer. With the same brush and #f46307 color draw, where you want to show lights.
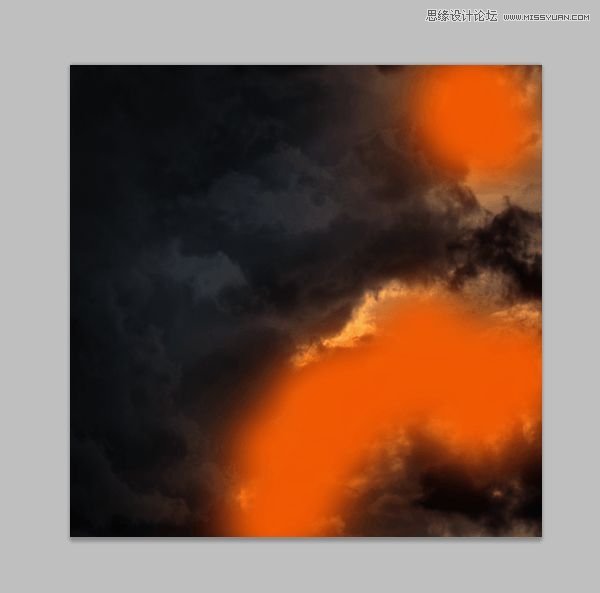
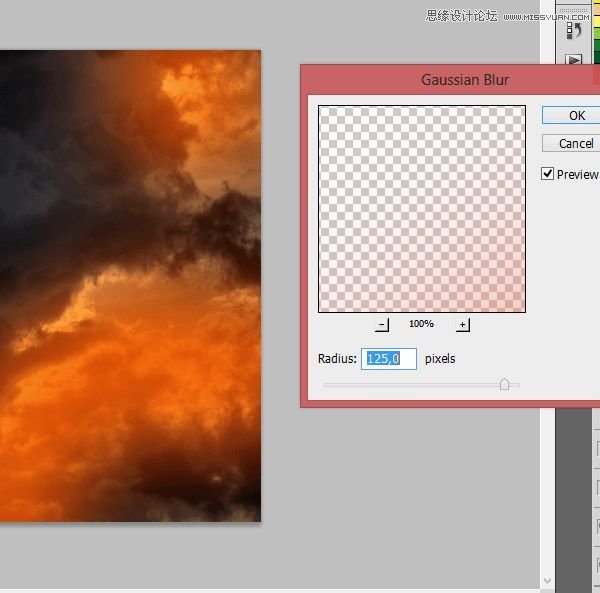
Then you should blur it. Choose from menu Filter > Blur > Gaussian blur. Set 125px.
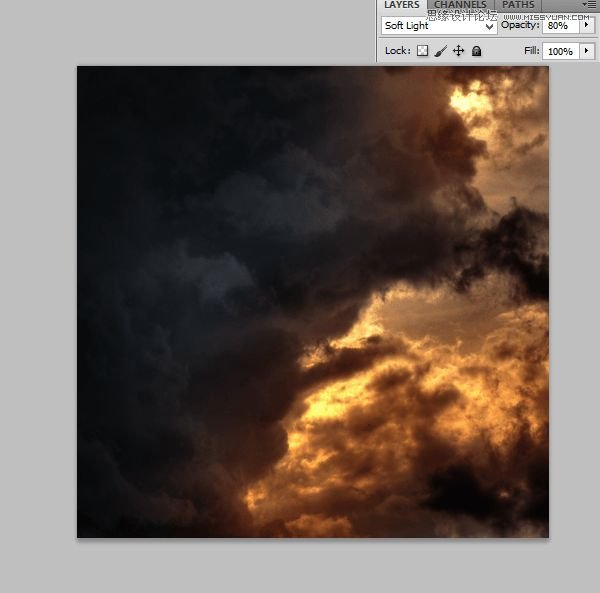
Change this layer mode to Soft Light and change opacity to 80%. Yay, you are awesome! :)
Step 6
It’s time to model! Paste “A slow fall stock” and mask it.
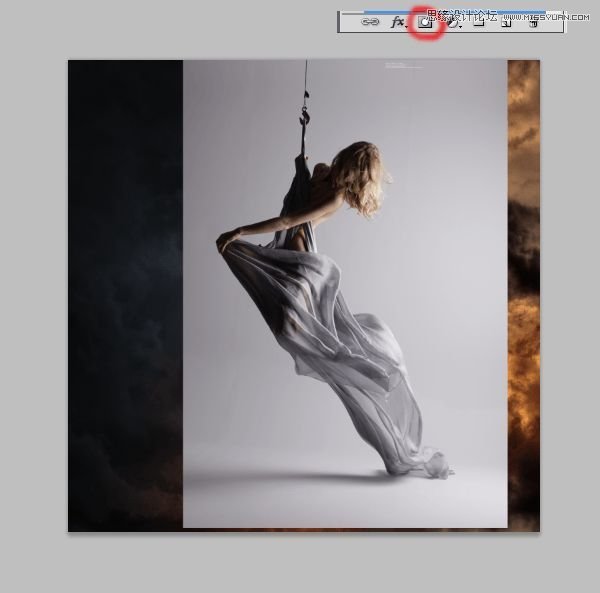
Step 7 – drapery
But what with this awesome silk material? Here’s the trick! Choose 38 px soft brush and change opacity of it to 40%. Then draw gently on lighter parts of material, but remember: try to use different opacity and size. On folds, opacity should be smaller.
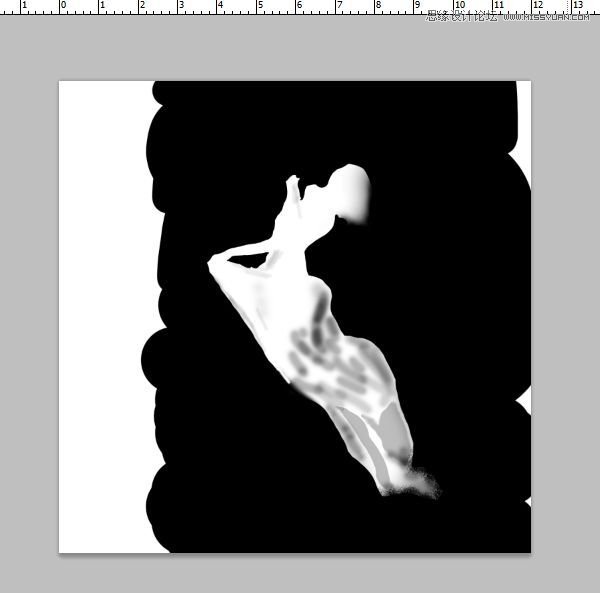
Step 8
Now prepare model to particles. With Rough round bristle black brush on mask draw some on the edge of material.
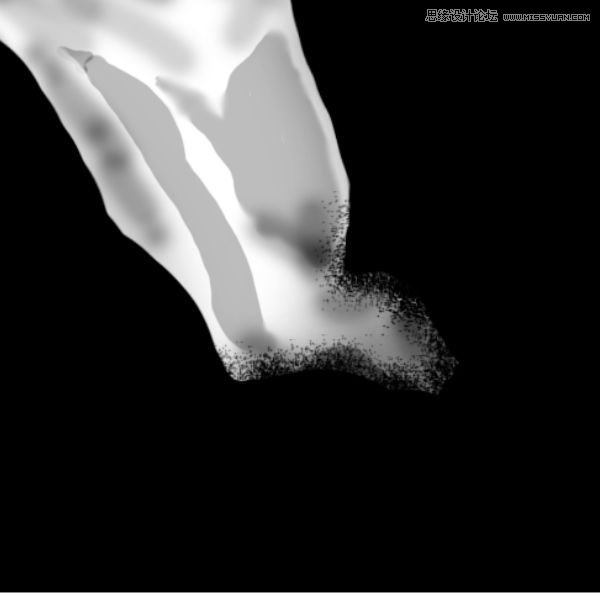
Results for this moment:
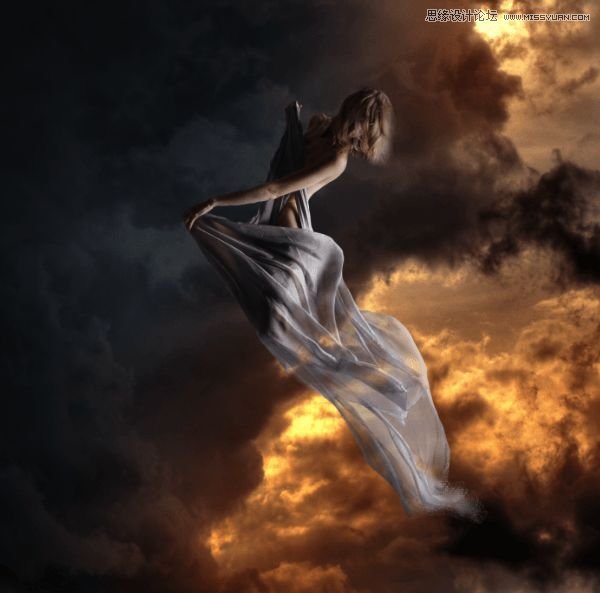
Step 9
On layer with model add adjustment layer with color balance. (Right Click on Adjustment layer > Create clipping mask)
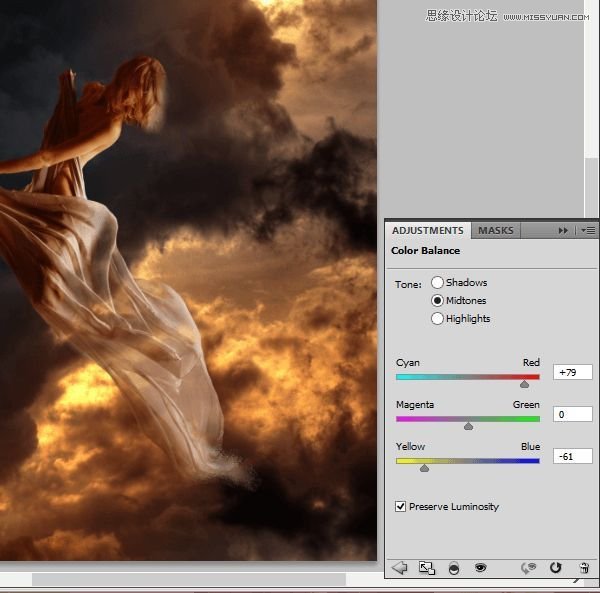
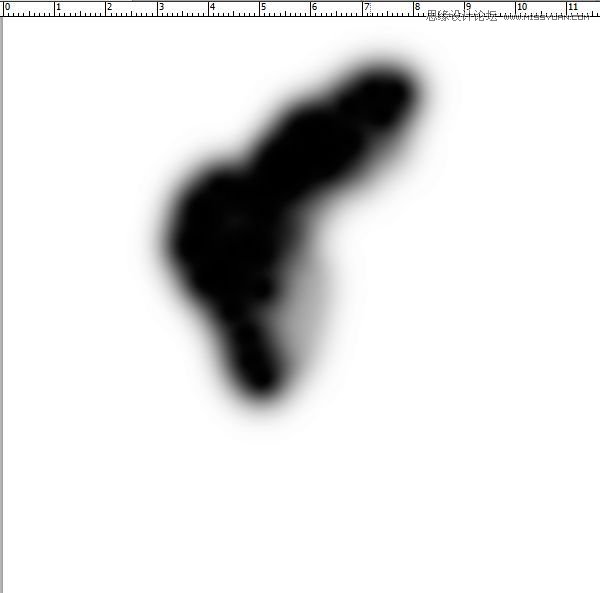
At adjustment layer draw mask. Orange light goes from right side of picture. Follow this tip :). My mask:
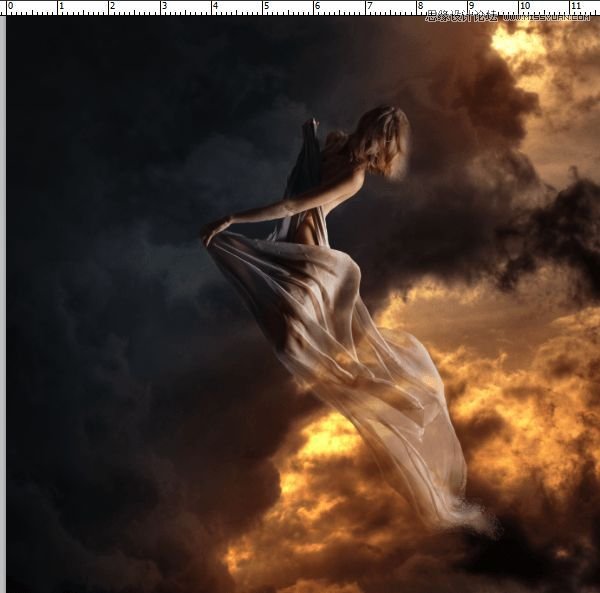
Result of masking
Step 10
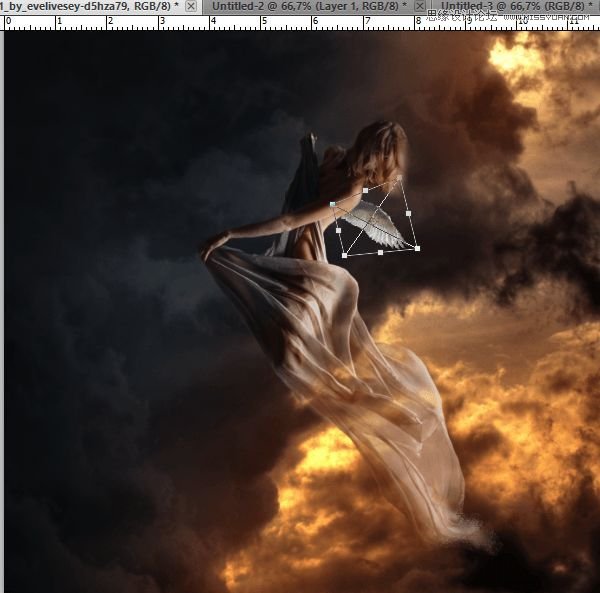
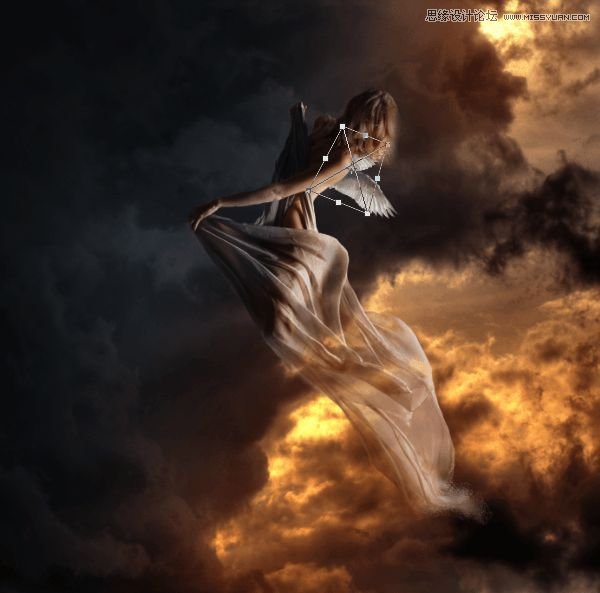
We’ll start making wings. Under the model layer paste first wing. Transform it free and in perspective.
Step 11
Do the same with second wing.
Step 12
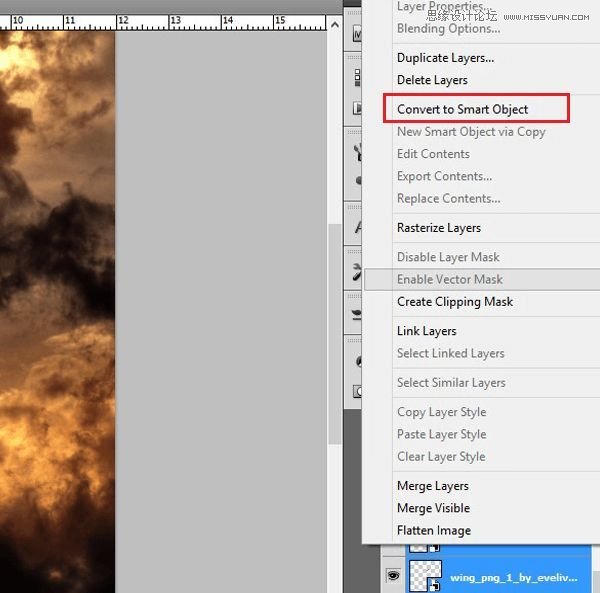
Now press ctrl and choose layers with the wings. Then Click Right Mouse Button and from menu choose Convert to Smart Object.
Step 13
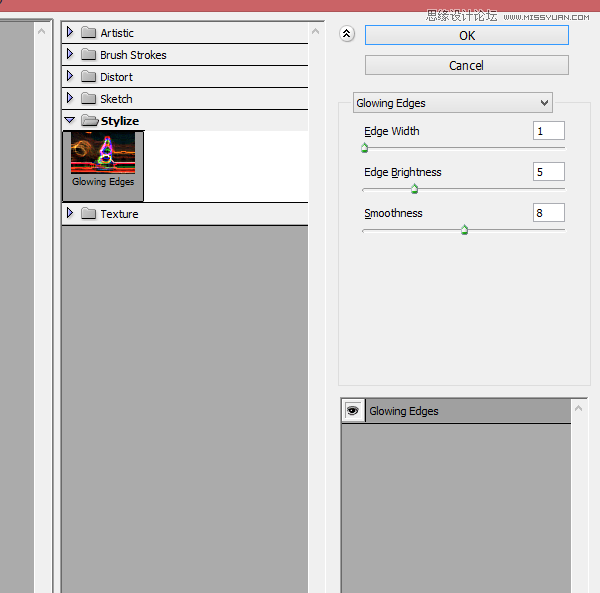
From menu choose Filter > Filter gallery. From menu choose Stylize > Glowing edges.
Step 14
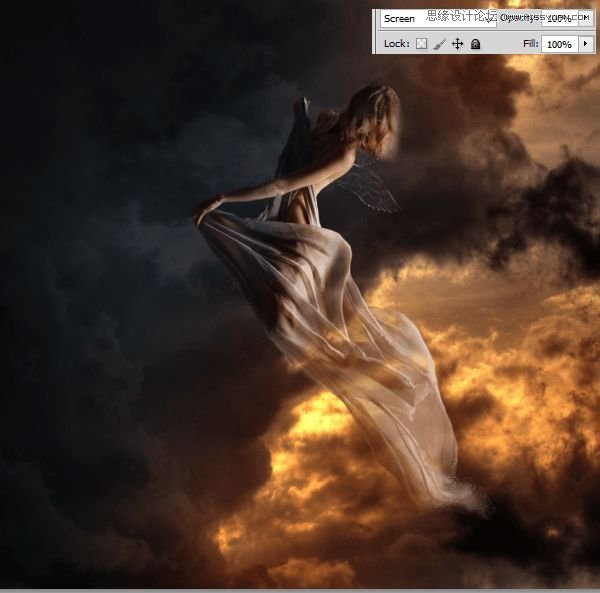
Then choose layer with wings. Change mode to Screen.
Step 15
Wings should be like gold, so add adjustment layer with hue/saturation.
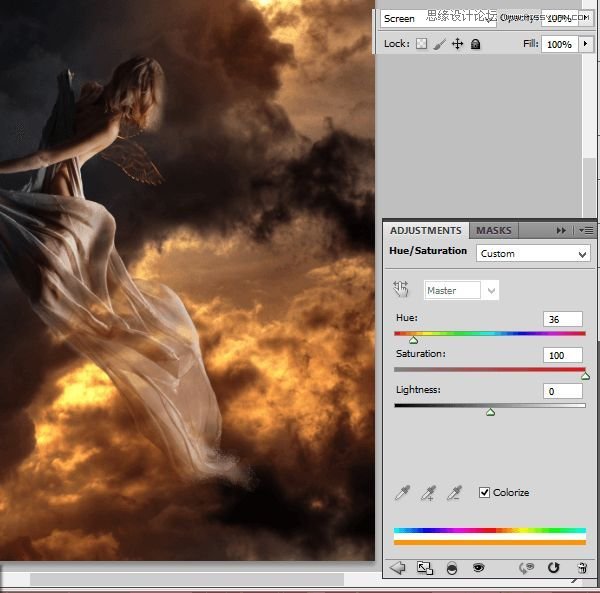
Step 16 – optional
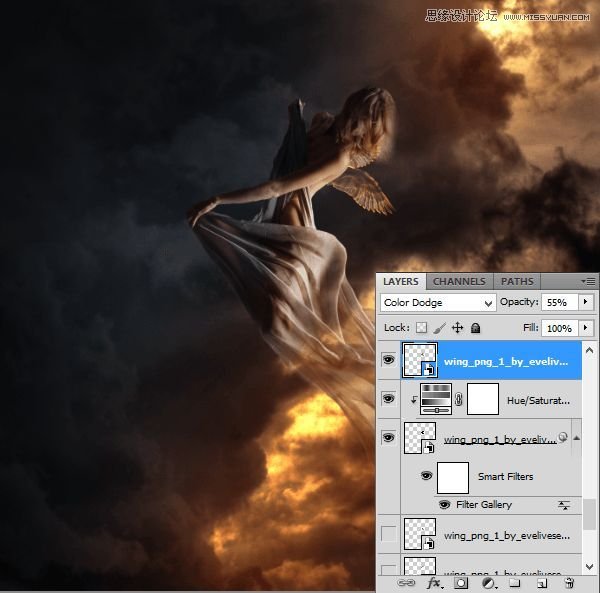
But wings appears like empty. Duplicate wings layer. Change mode to Color Dodge and opacity to 55%
Step 17
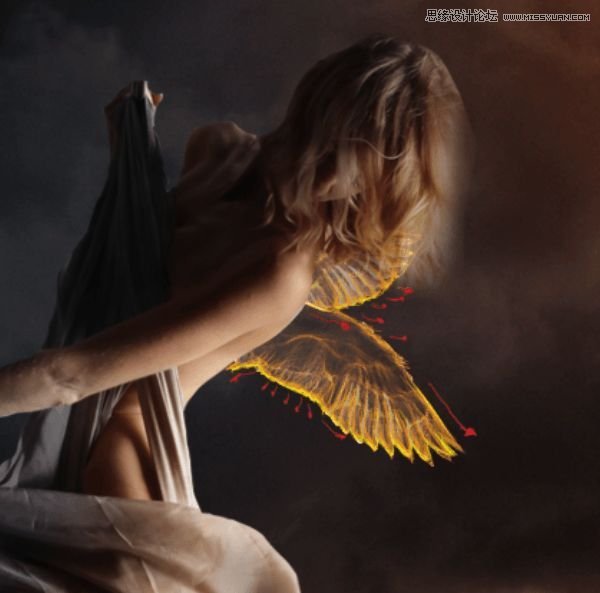
With small (ex. 1-3px wide), soft brush color #d9cb04 draw contour of wings.
Step 18 – glow
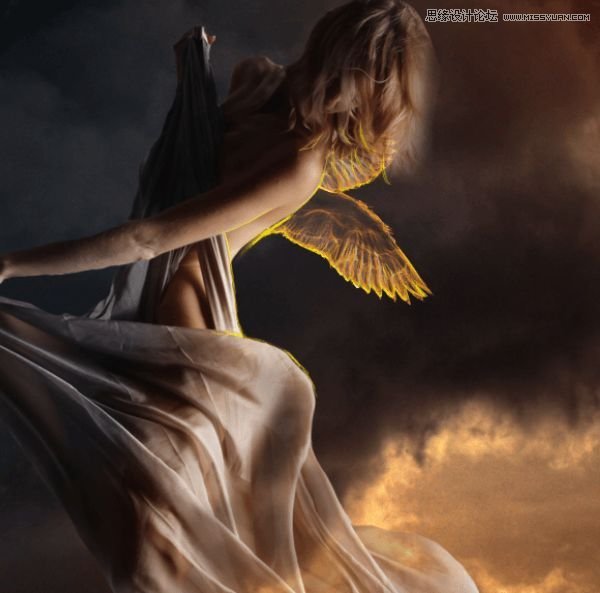
Wings will be glowing. Draw gently lights on model from it. Choose the same brush as was as before, with #f7e802 color. On the back, hair, drapery.
Step 19 – particles
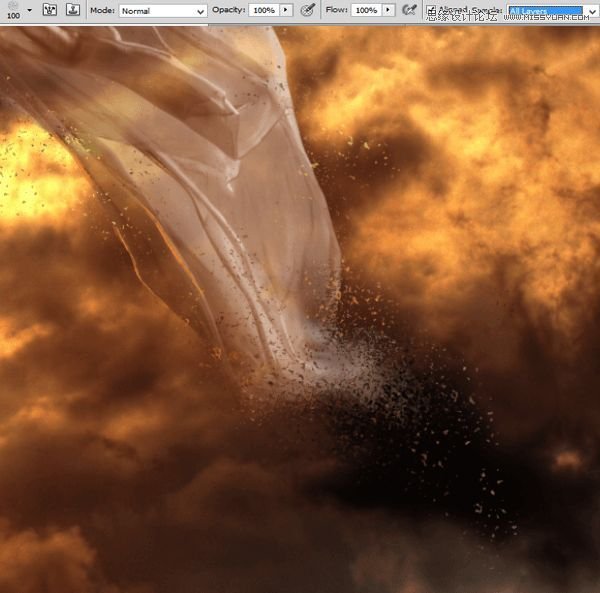
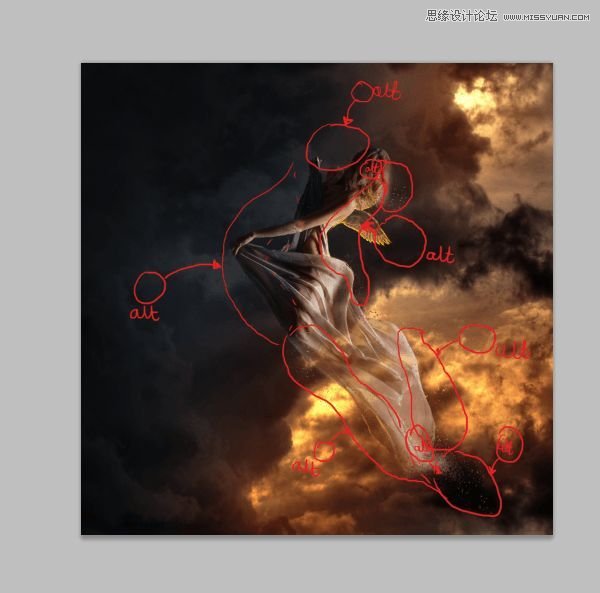
Create new layer. Now choose Clone Stamp Tool, Rough round bristle 100px. Click with alt on edges of model on the image and draw somewhere on image. Pay attention that it will take some time. Be patient :)
Step 20
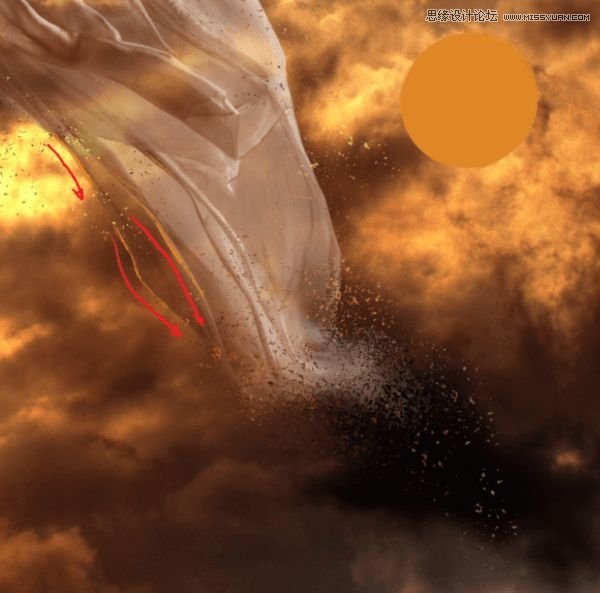
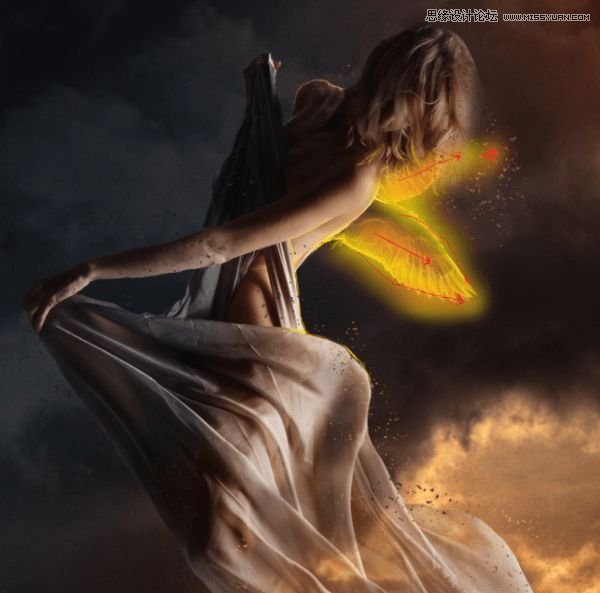
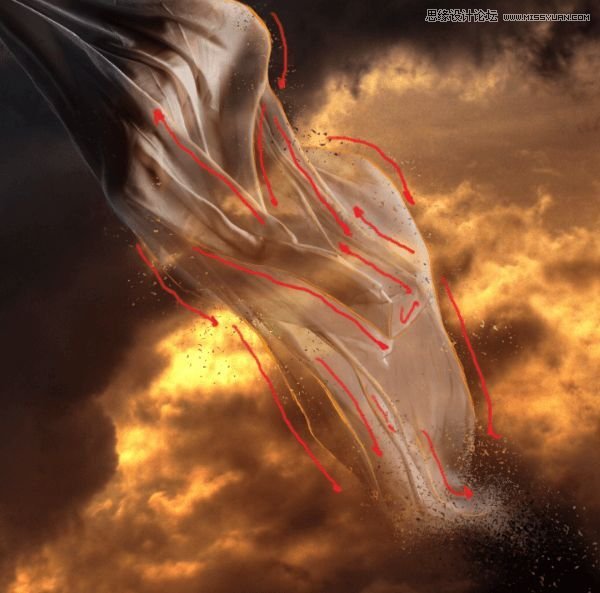
I added also orange light on the drapery. With the 1px soft round brush #df8726 draw. Red arrows will help you :)
Step 21
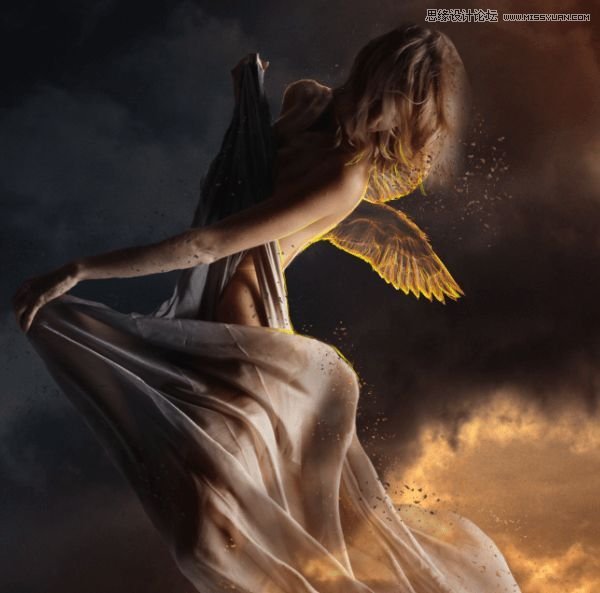
Add new layer. Choose the same brush. On back of model draw lights. I used #ebac67 and #ffffff colors.
Step 22
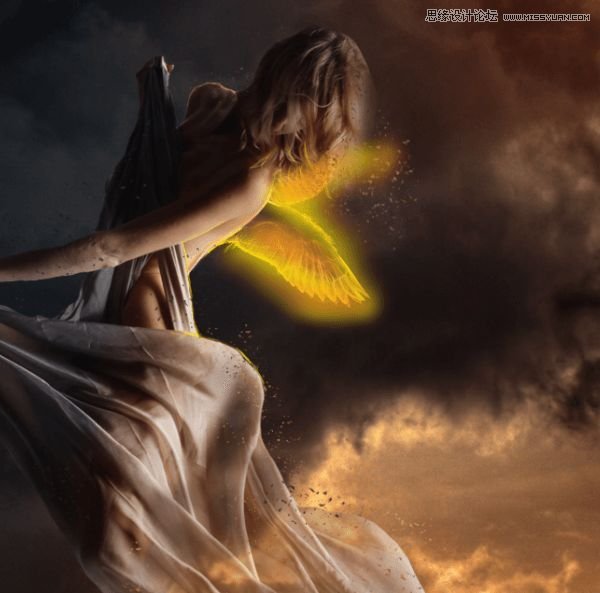
Now you should make glow on wings. Choose Soft brush, opacity 60% #fff200 and #f7941d colors.
Step 23
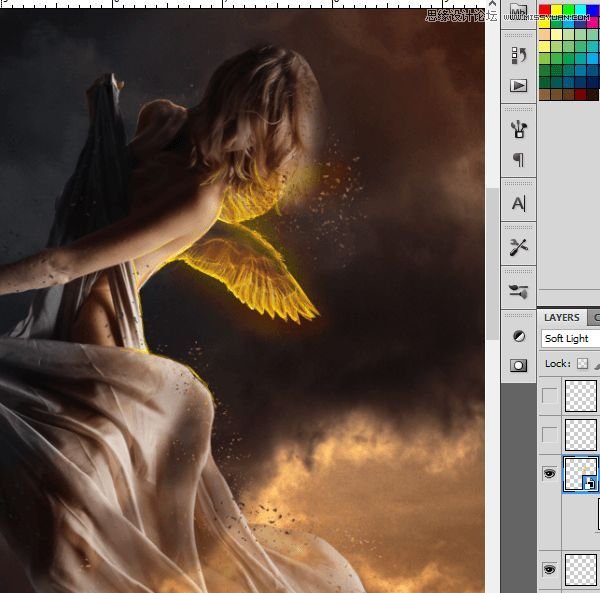
Change blending mode to Soft light.
Step 24
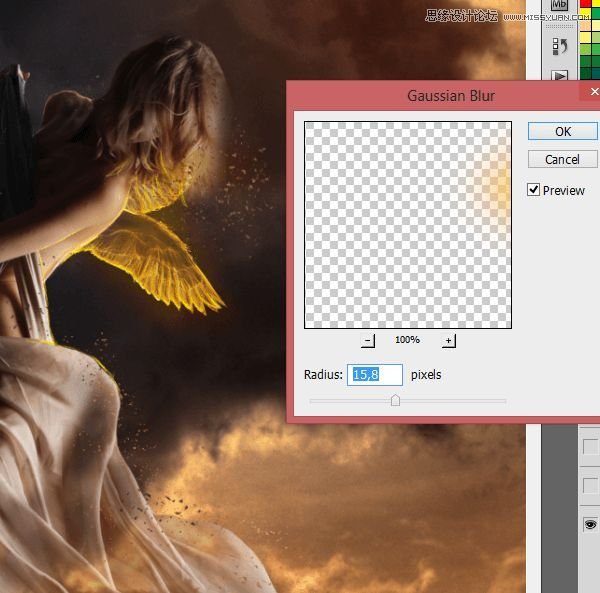
Convert it to smart object. Choose Filter > Blur > Gaussian blur. Set it to 15,8 px.
Step 25 – skin retouch
Now you should make delight skin retouch. Add new layer. With soft brush #cea483 color, 23px draw as shown:
Step 26
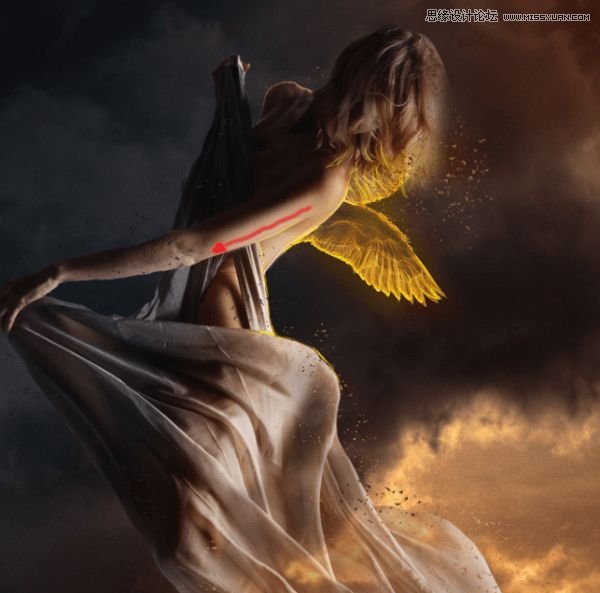
With the same brush, #b38a6f color draw on arm.
Step 27
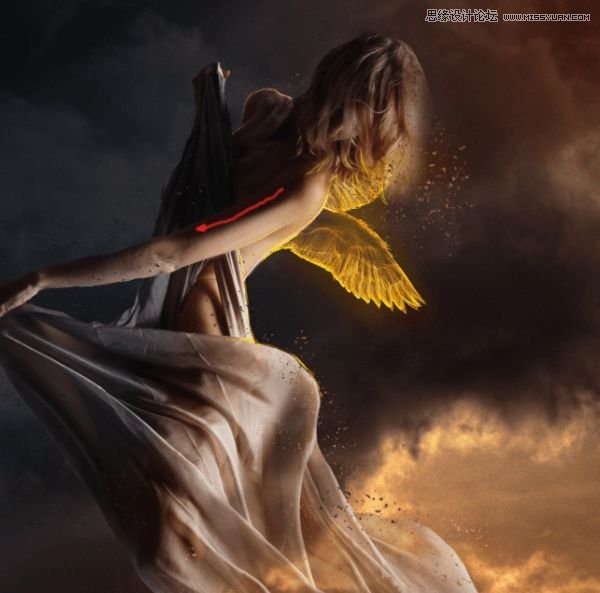
The same brush, change color to #1b0e0b. Draw:
Step 28
Choose soft brush, 2px, #806961 color.
Step 29
Below this, draw with #84664c 1px soft brush.
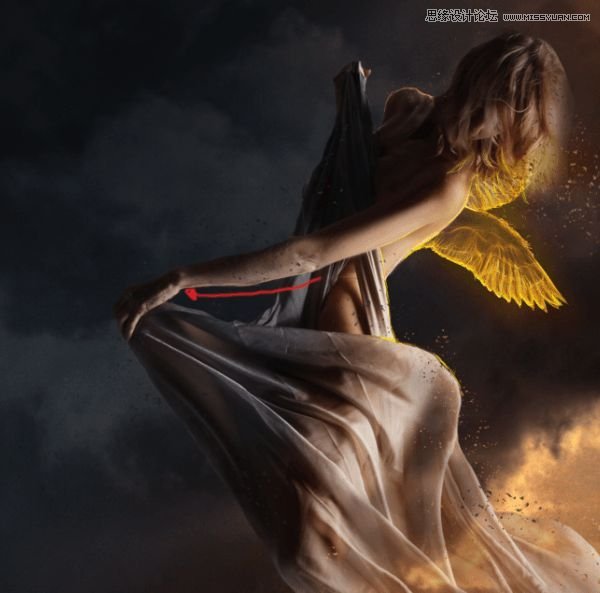
Step 30
On arm and hand draw with the same brush #676466 color lights.
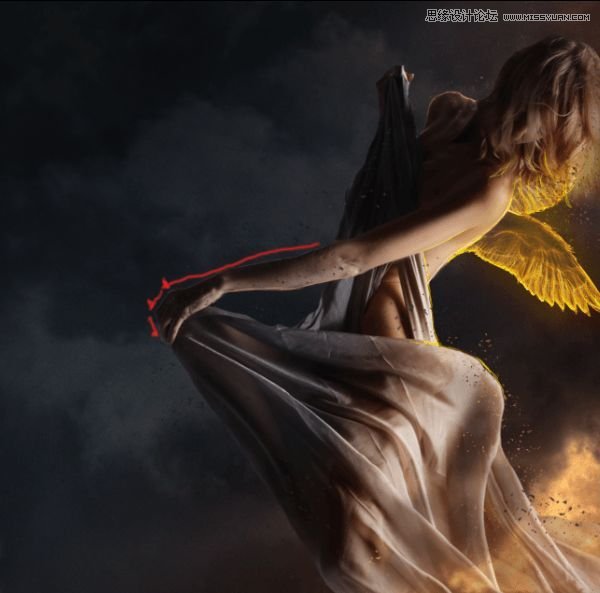
Step 31
Then stroke a little further.
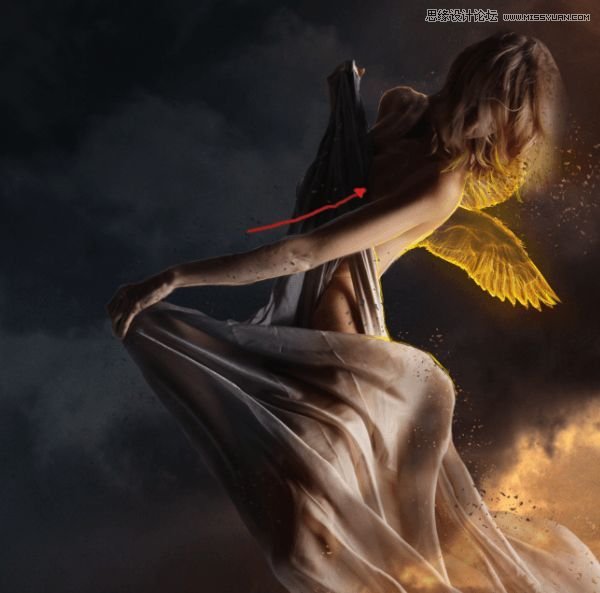
Step 32
Add layer. Again with the same brush, #3e4147 color, draw lights on drapery.
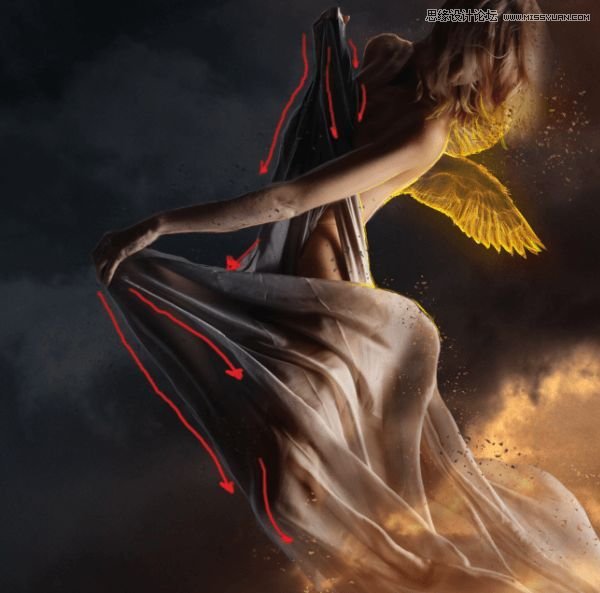
Step 33
Change color to #dc821c and draw orange lights on drapery.
Step 34 – hair
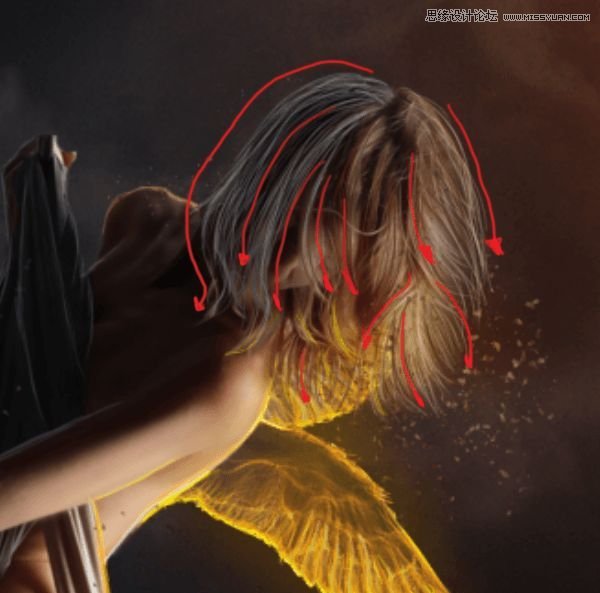
Add new layer. Now it’s time to make hair. Try using long strokes, by taking colors from original hair. I used #726f70, #7a614c, #b39264, #bda078, #1e130f.
Step 35
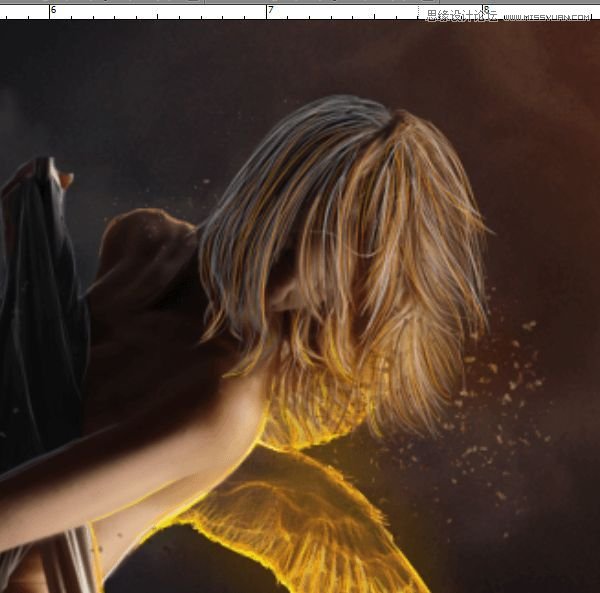
On new layer, draw #ff9b27 strands. It will be looking like lights from wings.
Step 36
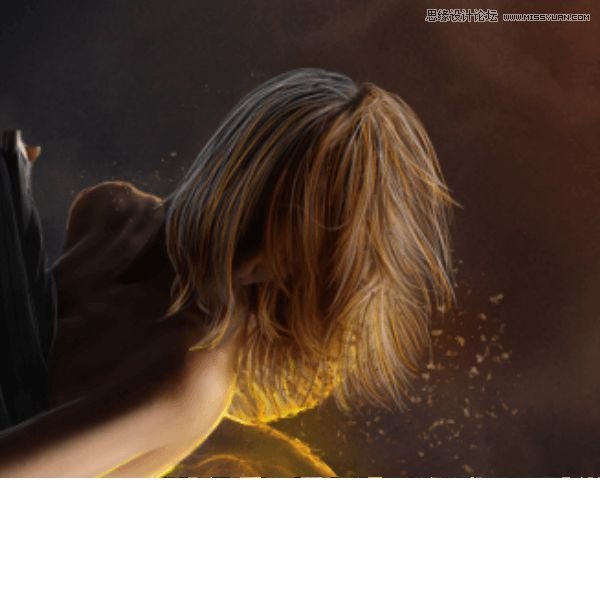
Add layer. Take soft big brush (40px) #290f00 color. Draw some strokes on model’s face and hair. Then change blending mode to multiply.
Step 37
Again you should work on glow. Choose 100px brush #f7941d color (60% opacity) and draw strokes on wings and model’s skin, then change blending mode to linear dodge
Step 38
You will take care about wing’s particles. Choose #f7941d color, Rough round bristles brush and draw on the wings.
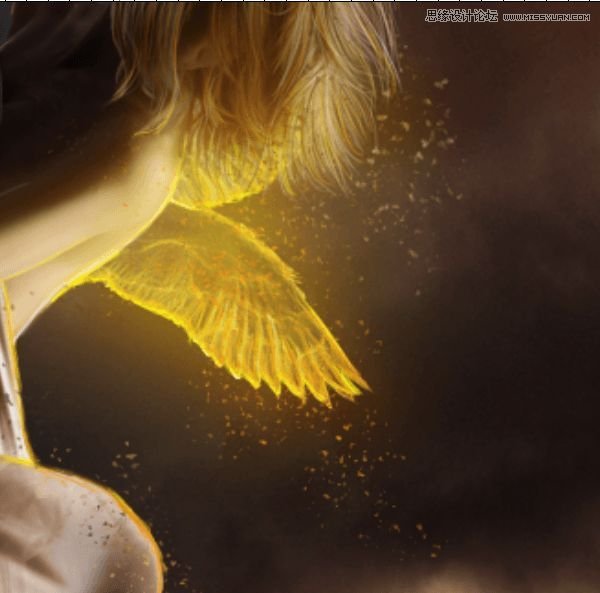
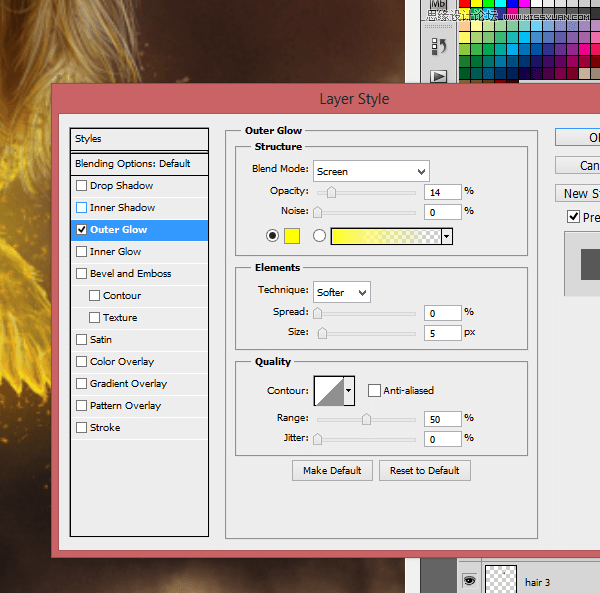
On this layer click RMB and choose Blending options. Choose outer glow.
Step 39
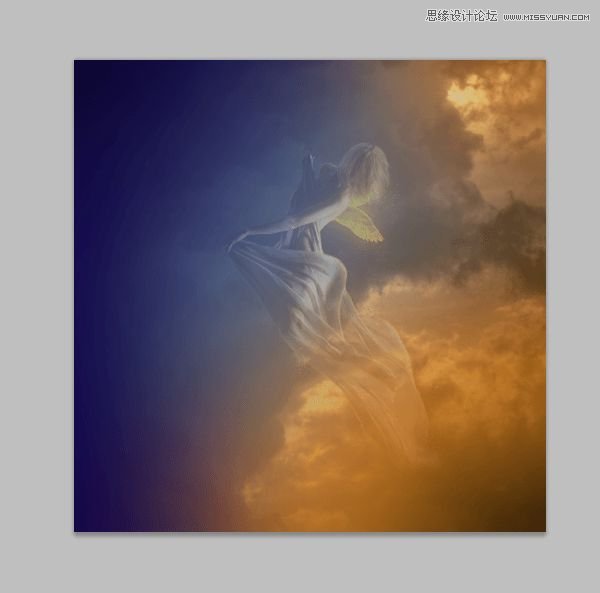
Add new layer and draw some strokes. I used 715px wide brush, #0054a6, #5674b9, #170a4a, #f39b0f. Then blur it (Filter > Gaussian blur: 250px).
Step 40
Then change blending mode to Soft light and opacity to 60%.
Step 41 – optional
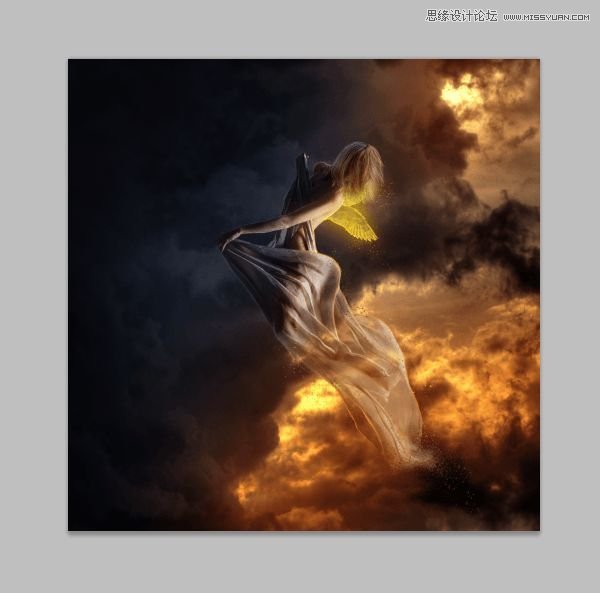
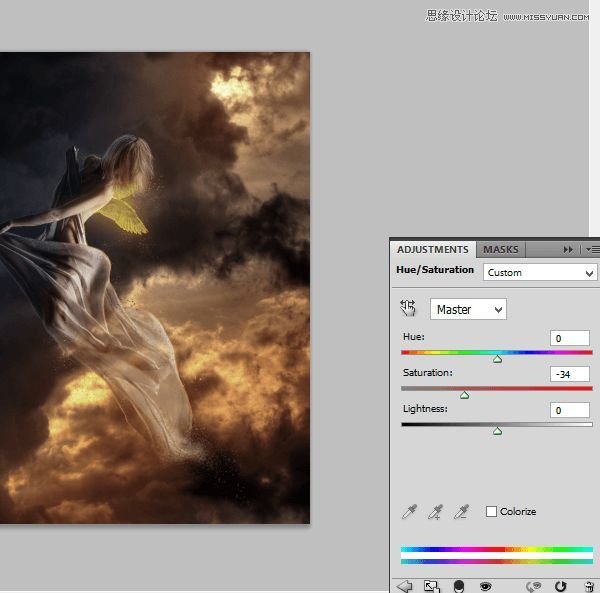
You should change saturation of picture. Add adjustment layer (without clipping) > hue/saturation.
Step 42 – final
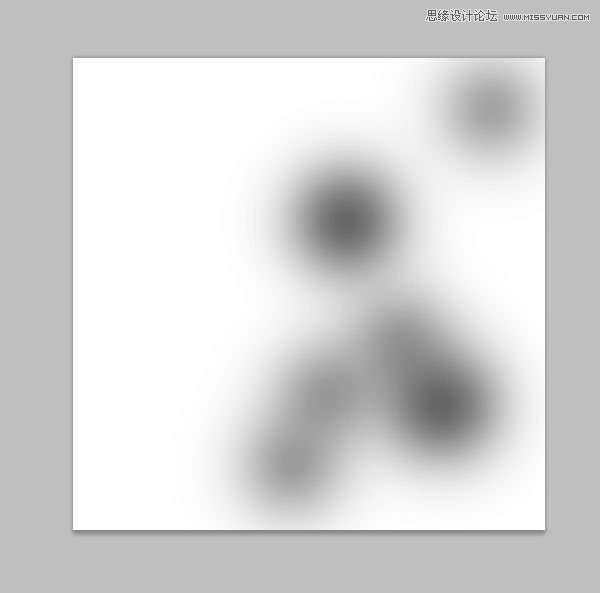
On adjustment layer mask, where is model.
Step 43
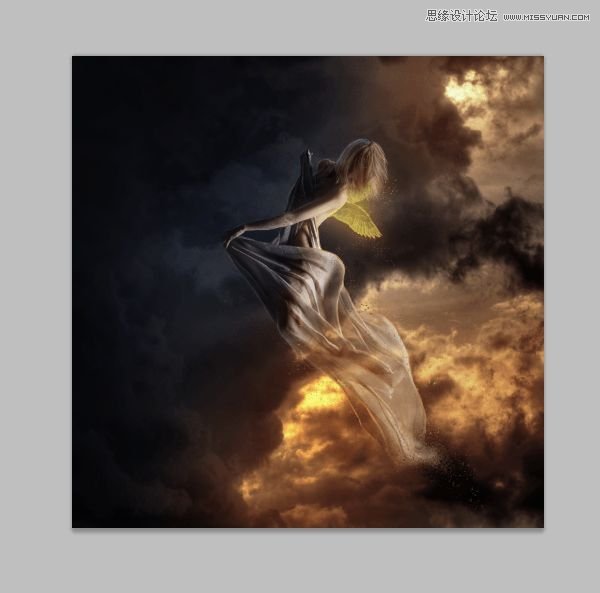
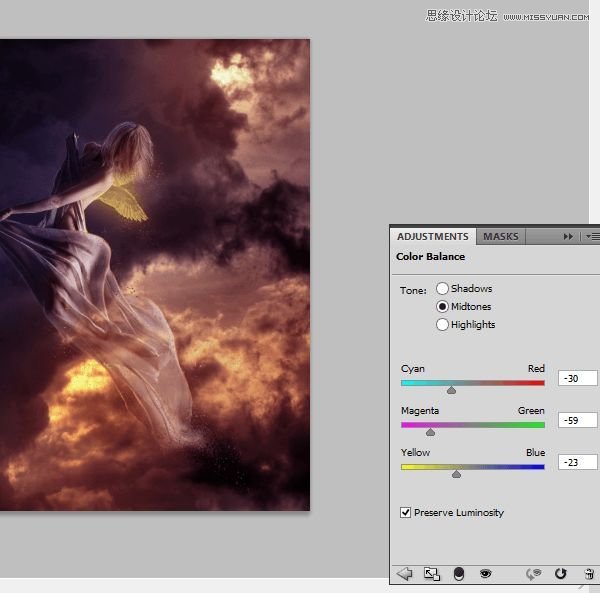
Finally add color balance layer (also without clipping).
Final Results
