Photoshop合成创意的英雄战斗场景教程【待】
来源:photoshoptutorials 作者:photoshoptutorials
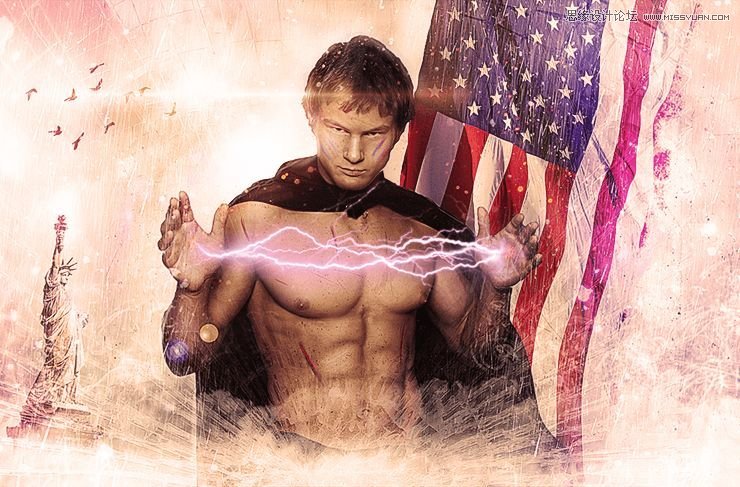
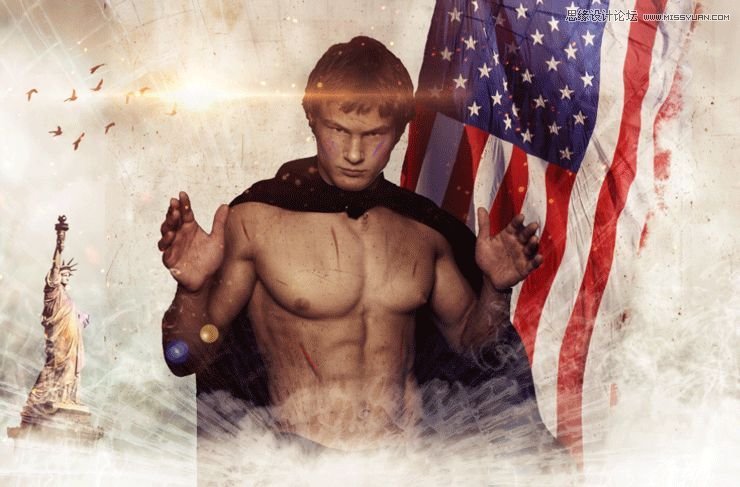
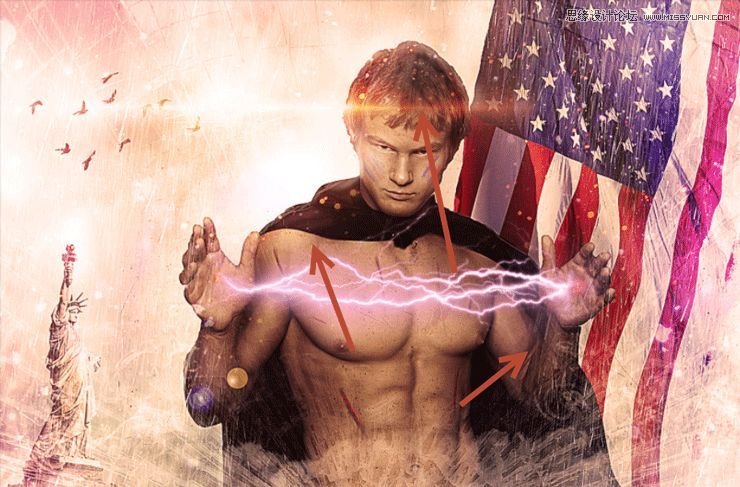
Learn how to create this intense photo manipulation of a guy shooting lightning from his hands. In this tutorial you will learn various blending and lightning techniques.
You will create an intense photo manipulation depicting a guy who has the power of lightning at his fingertips.You will need Photoshop CS5 or newer in order to follow this tutorial.
Step 1
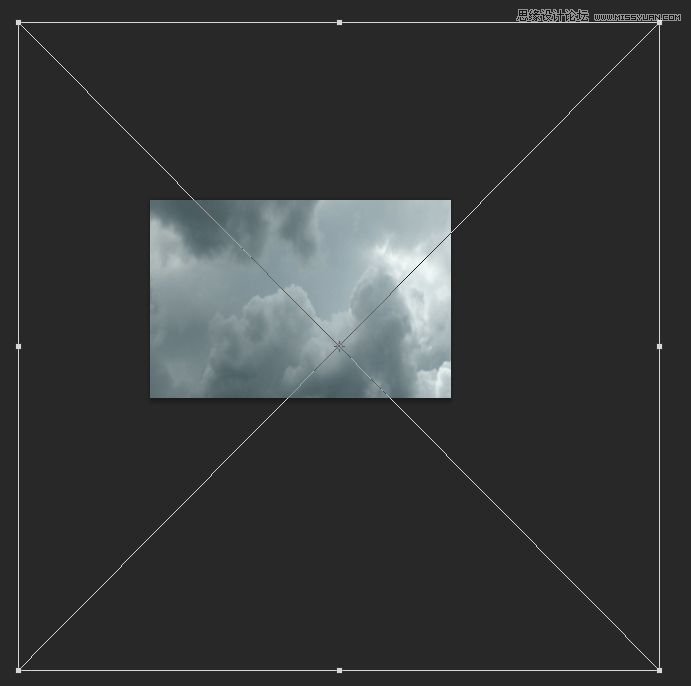
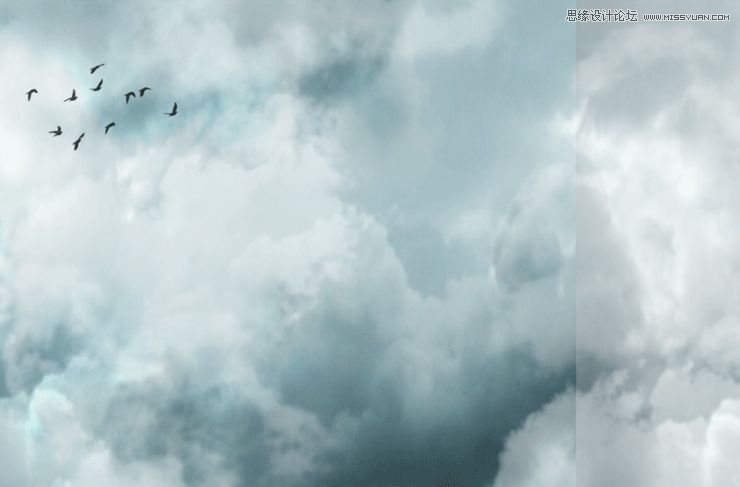
Create a new file 1823×100 pixels. Open the resource “Clouds”. Select all (Ctrl + A) and copy (Ctrl + C). Paste into the newly created file (Ctrl + V). Convert the pasted clouds to a Smart Object by choosing Layer > Smart Objects > Convert To Smart Objects. Resize and place the clouds layer by applying a Free Transform (Ctrl + T).

Step 2
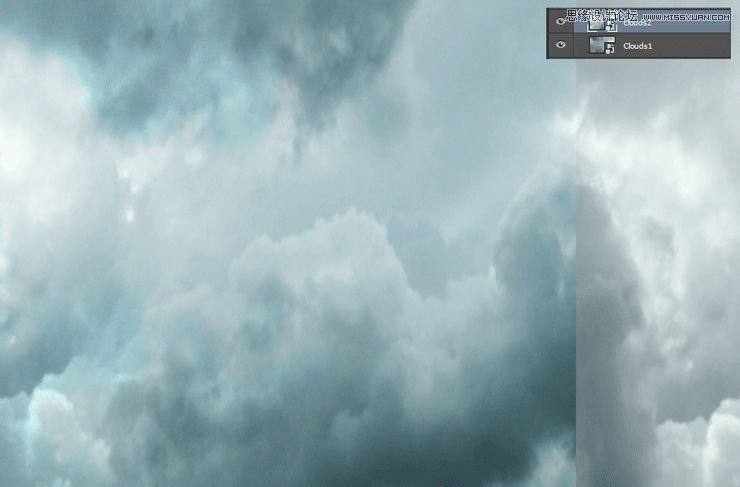
Duplicate the clouds layer (Ctrl + J) and move it to the left. Change the blending mode of the clouds layer to Overlay.
Step 3
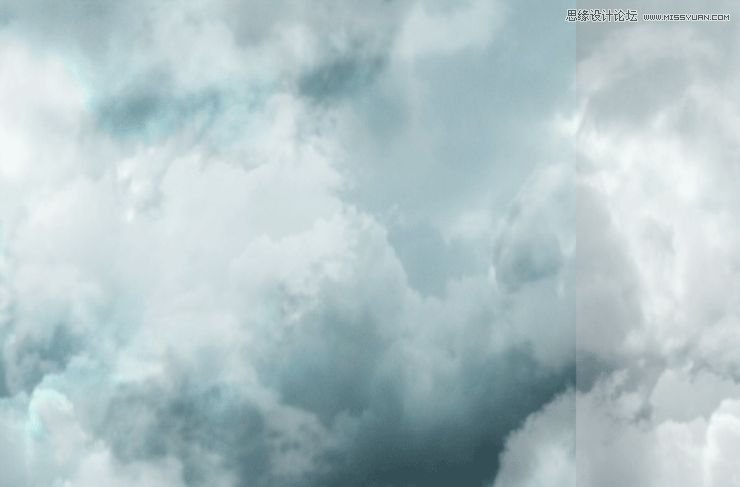
Import the clouds brush (Edit > Presets > Import/Export Presets). Create a new layer (Ctrl + Alt + N) and paint some white clouds on top of our existing clouds.
Step 4
Import the birds brush. On a new layer paint some black birds.
Step 5
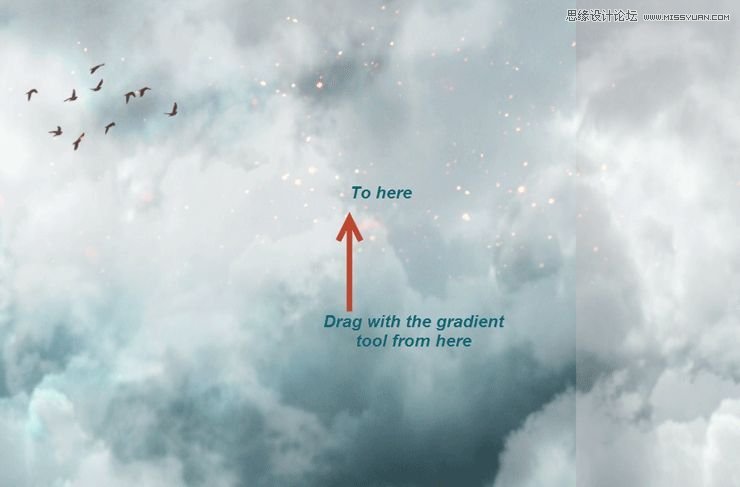
Open the resource “Glitter”. Select all, copy and paste into our working document. Change the blending mode to Screen.

Step 6
Add a layer mask to the “Glitter” layer. You can do that by choosing Layer > Layer Mask > Reveal All. Select the gradient tool (G) and press D to automatically switch to the default colors (black and white). Now click on the layer mask and with the gradient tool drag from the indicated areas while holding shift. By doing this we will hide the lower area of the glitter effect but because we are using the gradient tool there will be no hard edges. Also, painting with black in a layer mask will hide that portion of the layer.
Step 7
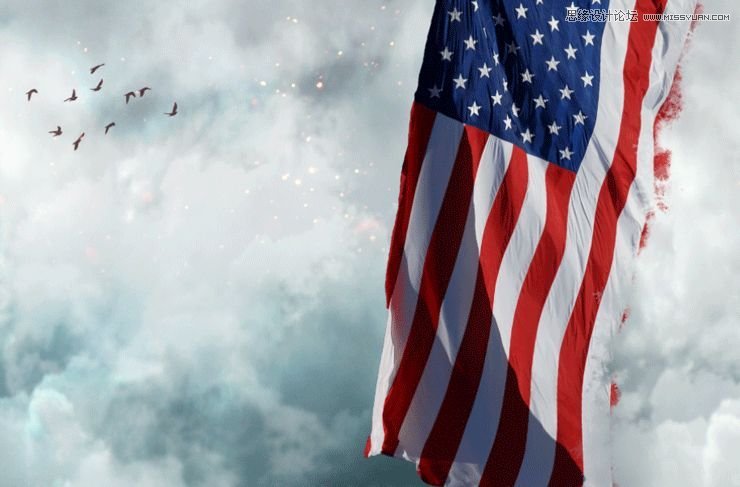
Open the resource “Flag”. Make a selection of the flag using whatever selection tools you’re comfortable with (I mainly use Quick Selection Tool for fast selections). Copy the selection and paste it into our working document. After you’ve converted it to a smart object place is as indicated below.

Step 8
In order to make the flag look shredded add a layer mask and with the standard Chalk Brush paint with black on the right side of the flag. You can see my result indicated below.
Step 9
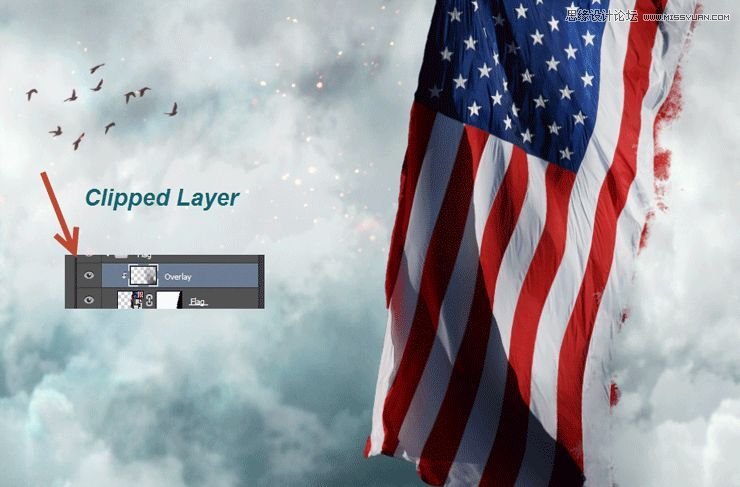
Create a new layer and Alt-click between the new layer and the flag layer. This will clip the new layer to the flag layer. This means that whatever we paint on the new layer will only be visible through the flag layer (the clipped layer). Change the blending mode of the new layer to Overlay and paint with a round soft brush at 40% Opacity with black over the black areas and with white over the already white areas. This step will boost the contrast of the flag and it will make it look better.
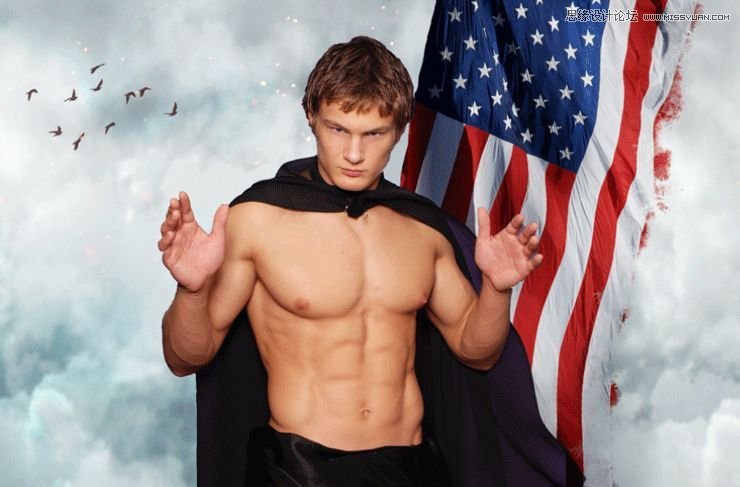
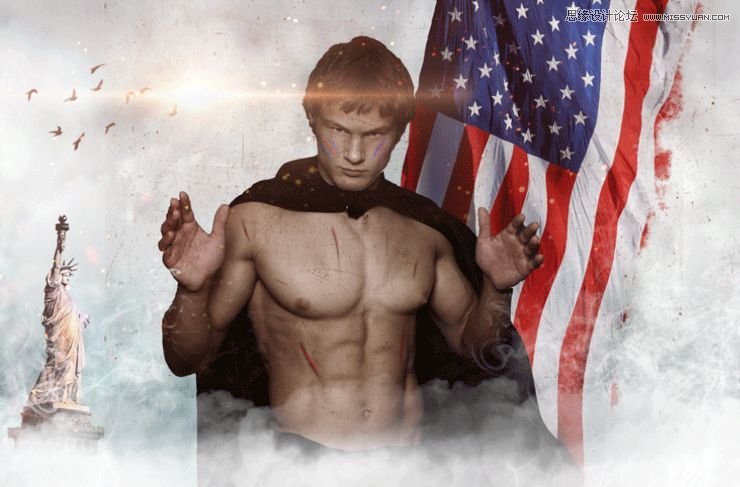
Step 10
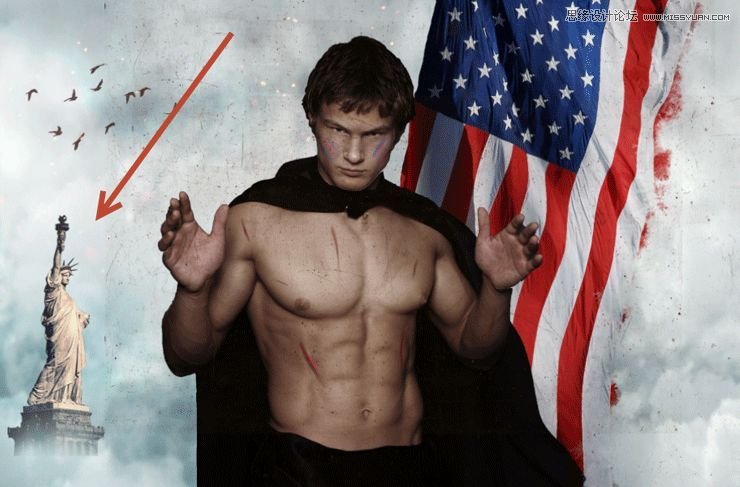
Open the resource “Male”. Make a selection of the person using the Quick Selection tool or if the results are not good you can use the Pen Tool to create a path around the person and then convert the path into a selection (Ctrl + Enter – create a selection from path, Ctrl + Shift + Enter – convert path to selection and add to existing selection, Ctrl + Alt + Enter – convert path to selection and substract from existing selection). Copy and paste the male person into our working document. Convert the pasted layer into a smart object and place it in the middle of the screen as indicated below.
Step 11
Create a new layer and clip it to the male layer. Change the blending mode to Overlay. Use a round soft brush at 30% opacity to paint with white over the chest, abs, palms and face.

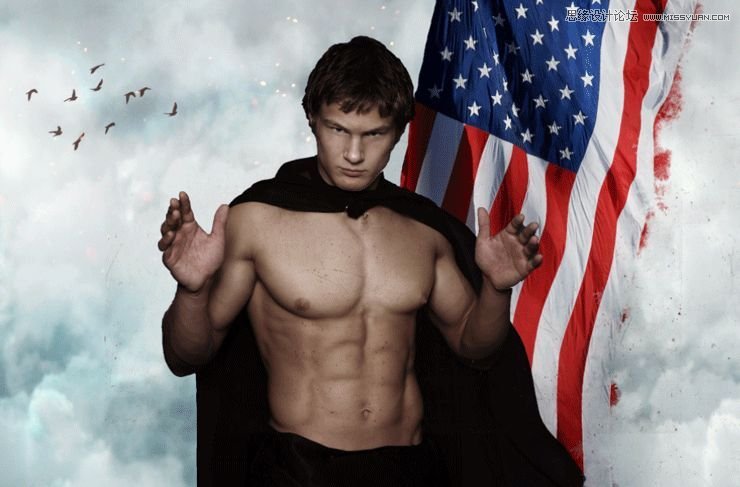
Step 12
Create a Hue/Saturation Adjustment Layer by choosing Layer > New Adjustment Layer > Hue/Saturation. Lower the saturation to -64. Clip the Hue/Saturation layer to the male person layer.

Step 13
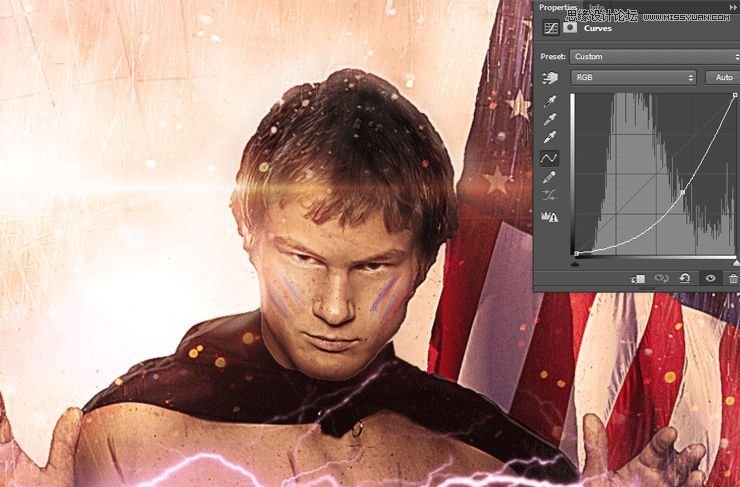
Create a Curves Adjustment layer (Layer > New Adjustment Layer > Curves) and clip it to the male person layer. Click once on the white diagonal line and drag it down to darken. In the layer mask of the curves adjustment layer paint with black over the areas we highlighted at step 11 (face, palms, abs, chest).Create a Curves Adjustment layer (Layer > New Adjustment Layer > Curves) and clip it to the male person layer. Click once on the white diagonal line and drag it down to darken. In the layer mask of the curves adjustment layer paint with black over the areas we highlighted at step 11 (face, palms, abs, chest).Create a Curves Adjustment layer (Layer > New Adjustment Layer > Curves) and clip it to the male person layer. Click once on the white diagonal line and drag it down to darken. In the layer mask of the curves adjustment layer paint with black over the areas we highlighted at step 11 (face, palms, abs, chest).

Step 14
Import the debris brush. Create a new layer and create some debris using black color.

Step 15
Add a layer mask to the debris layer and hide all debris that falls outside our guy by painting with black over the areas you want hidden.
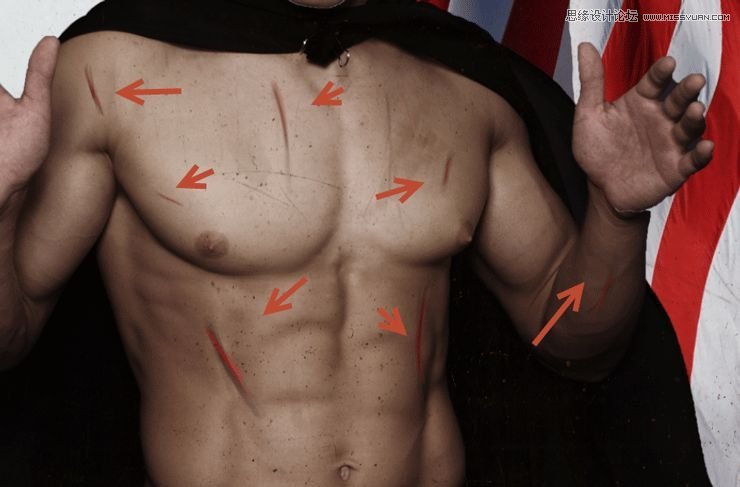
Step 16
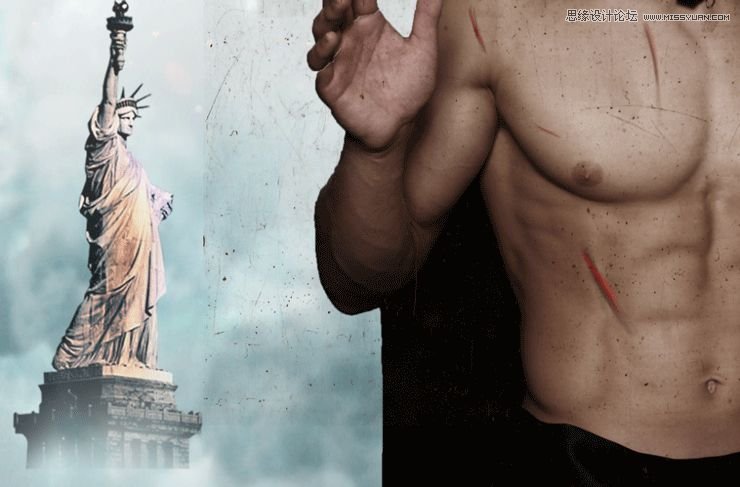
Create a new layer. Choose the standard Chalk Brush and lower its size to 30 pixels. Using red and black paint some wounds on the chest, abs and his left arm. In order to create a wound paint with red a loose line and then gently paint with black around it.
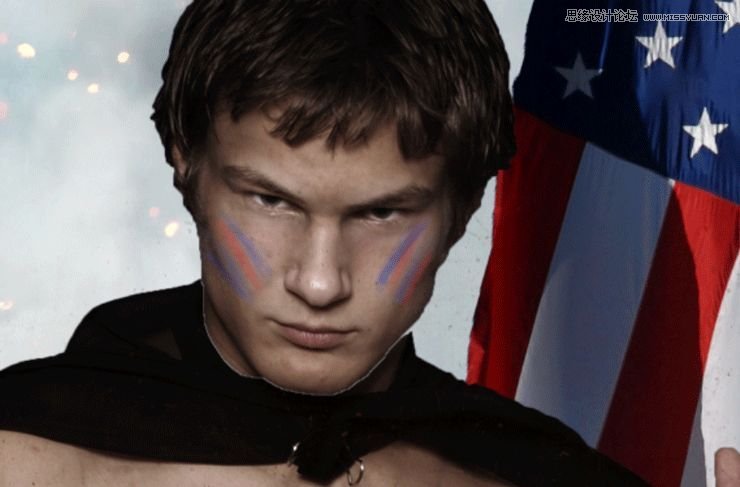
Step 17
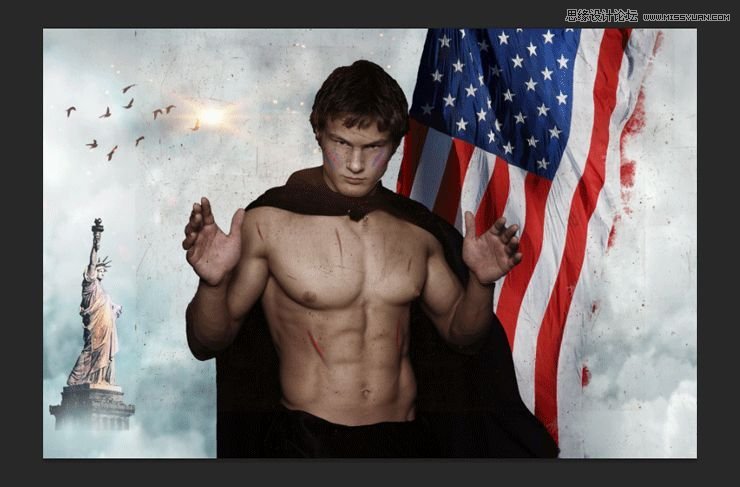
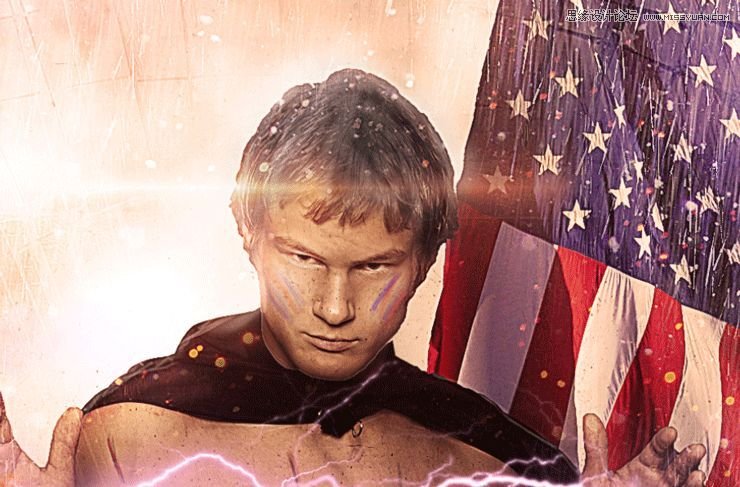
Create a new layer. Use red and blue to paint some war paint on the guy’s cheekbones. I sampled the colors directly from the flag.
Step 18
Open the resource “Statue of Liberty”. Copy and paste the statue into our working document. After you’ve converted the statue layer into a smart object add a layer mask and using a round soft brush paint over the layer mask to hide some of the bottom parts of the statue. This will make the statue blend nicely with the background sky.
Step 19
Make a new layer and clip it to the statue layer. Change the blending mode to Overlay. Paint with some blue sampled from the flag the right side of the statue and with some red paint the left side.
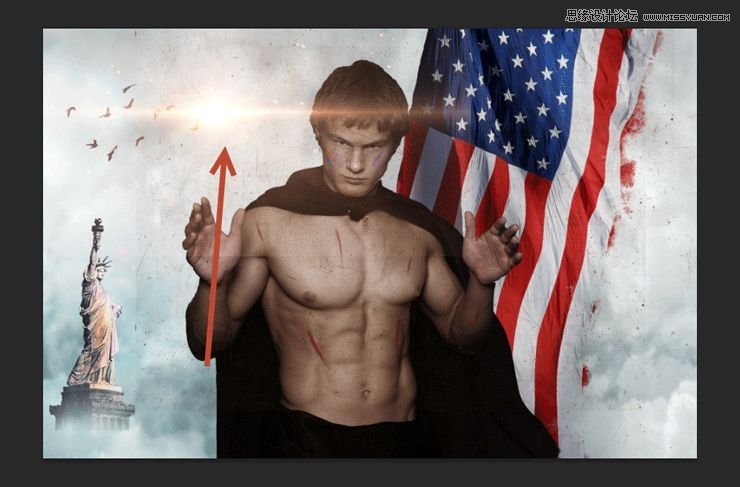
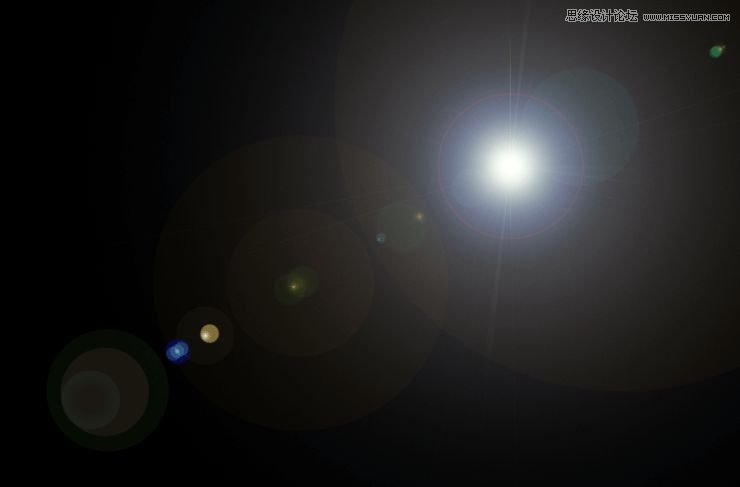
Step 20
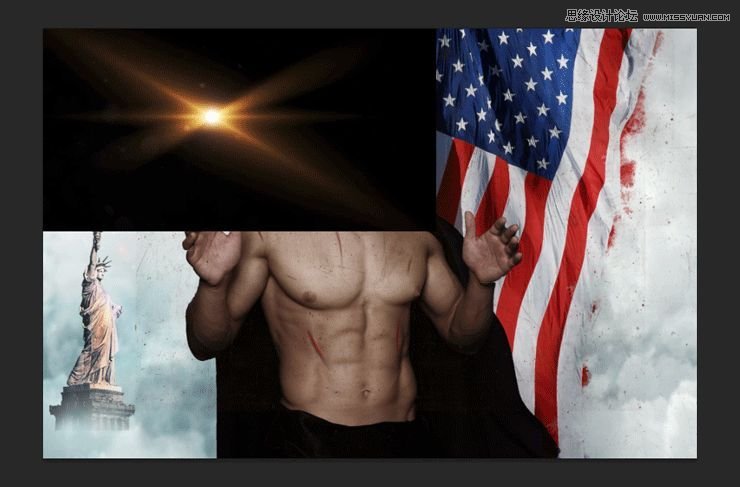
Open the resource “Flare1”. Select the upper left lens flare using the Rectangular Marquee Tool. Copy and paste the flare into our working document and convert it to a smart object. Place it as indicated below.
Step 21
Change the blending mode of the lens flare to screen.
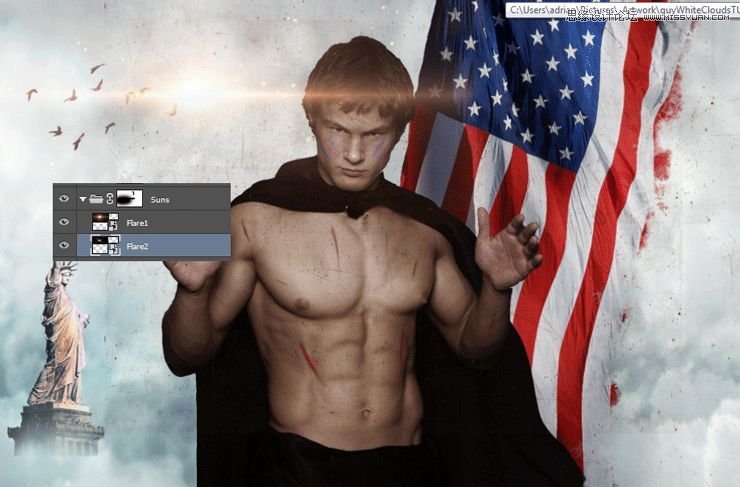
Step 22
Open the resource “Lens Flare2”. Unpack the archive somewhere on your disk. You will see that there are 130 lens flares. Choose lens flare 059 and open it in Photoshop. Copy all and paste into our working document over the already existing flare. Convert the lens flare into a smart object and change the blending mode to screen.
Step 23
You will notice some subtle but visible hard lines around our lens flare. Group the two lens flares together (Shift-click on each and press Ctrl + G). Add a layer mask to the group and using a round soft brush hide the hard edges by painting over them in the layer mask with black.
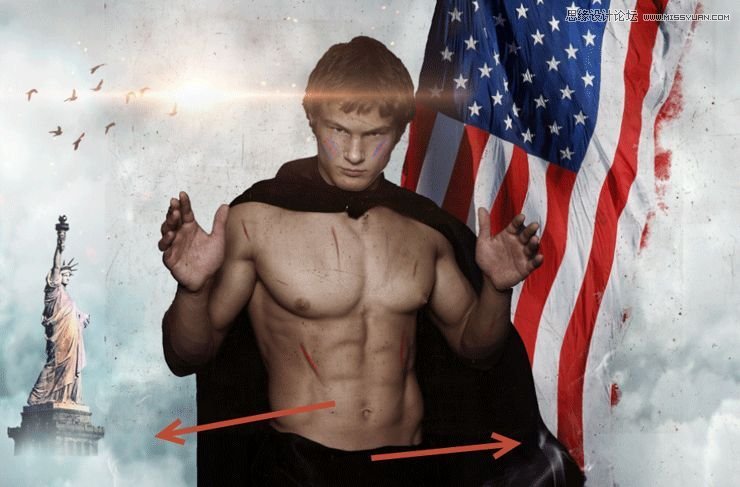
Step 24
Import the smoke brush. On two new layers create two wisps of smoke rising from below.
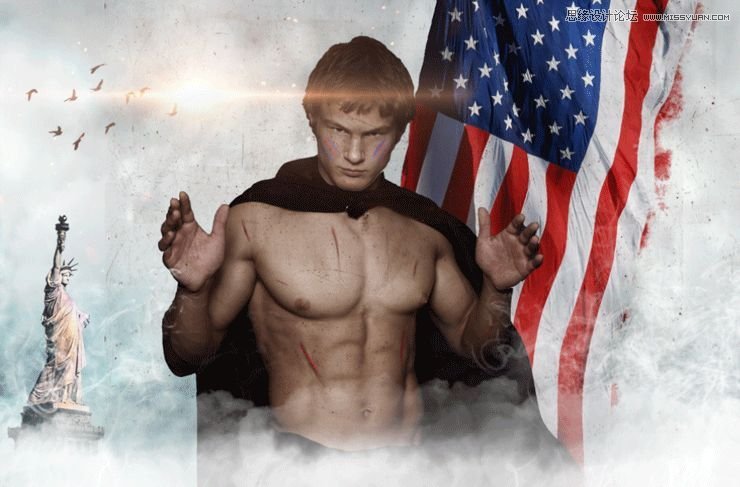
Step 25
Import the clouds brush. On a new layer paint some white clouds covering most of the bottom part of the working document. If you have exaggerated a little with your clouds or smoke (as I did) you can group them together, add a layer mask to the group and hide away the unwanted parts.
Step 26
Open the resource “Glitter” again. Copy and paste it into our working document and after you’ve converted it into a smart object change the blending mode to Screen. Add a layer mask and hide the area that falls over our guy.
Step 27
Create a new layer and fill it with black (press D first to switch to default colors and Alt + backspace afterwards). Render some flares by going to Filter > Render > Lens Flare. Use the 105mm Prime type of lens flare.
Step 28
Now change the lens flare blending mode to Screen and all the black disappears leaving us only with the lens flare. Add a layer mask and hide away all the bright areas leaving only the lower left part of the lens flare.

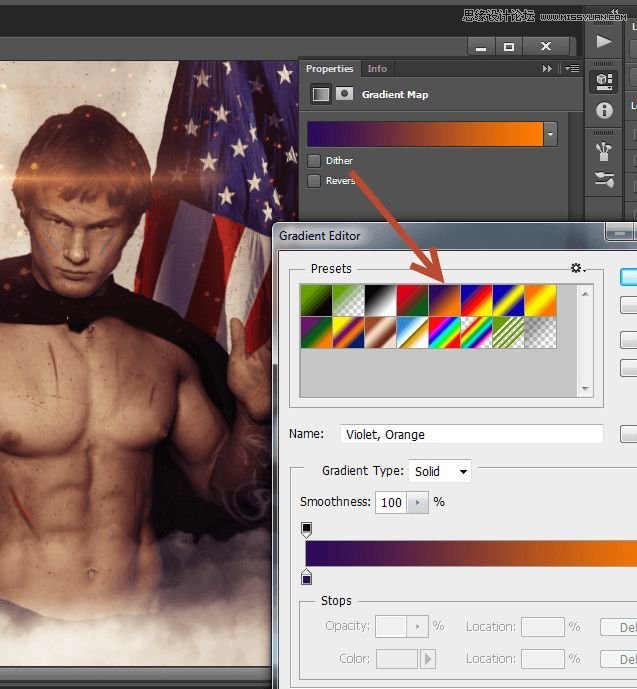
Step 29
Create a Gradient Map adjustment layer (Layer > Adjustment Layers > Gradient Map) and use the settings shown below. Change the blending mode of the gradient layer to Soft Light and lower the Opacity to 59%.
Step 30
Open resource “Broken Glass”. Copy all and paste into our working document. Change the blend mode to Soft Light and convert it to a smart object.
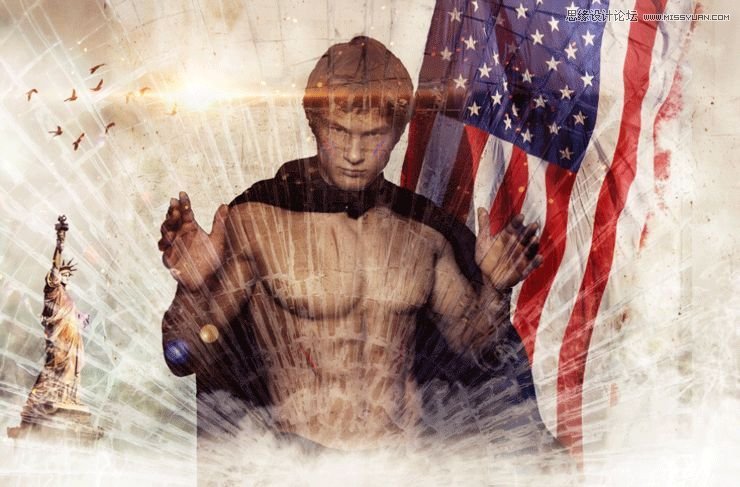
Step 31
Add a layer mask to the broken glass layer and mask away most of the upper areal leaving only the lower areas visible.
Step 32
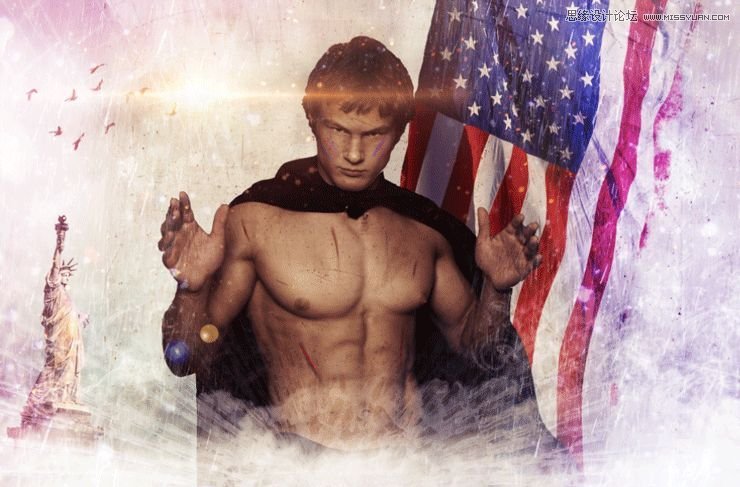
Open resource “Snow”. Copy all and paste into our document. Change the blending mode to Screen. Lower the opacity to 72%.

Step 33
Add a layer mask and hide away the snow that falls on our guy.
Step 34
Import the rain brush. Create a new layer and create some white rain using one of the brushes. Add a layer mask and again mask the rain that falls over the guy.

Step 35
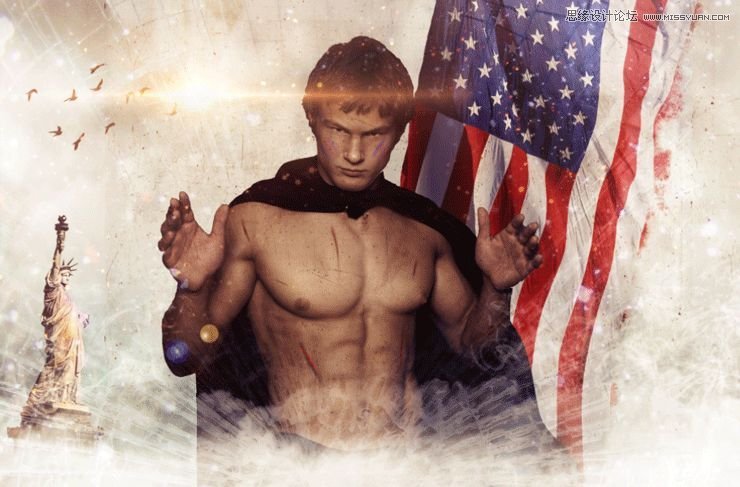
Create a new layer and choose a deep blue color (#2f35b0). Change the layer blend mode to Overlay and paste with deep blue color over the right side of the flag. With magenta (#c691c4) paint over the left side of the document.
Step 36
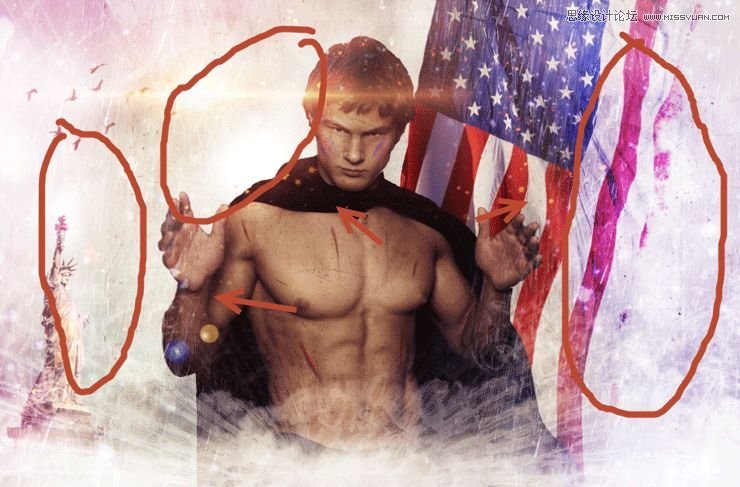
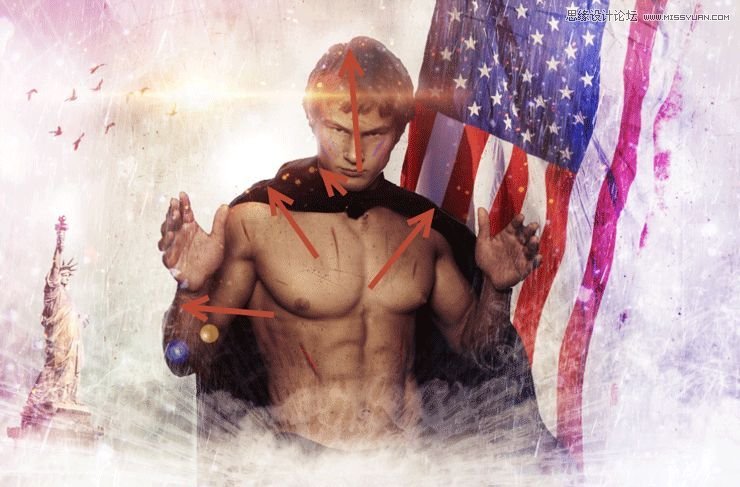
Create a new layer and change the layer blending mode to Overlay. With a round soft brush at 33% Opacity paint with white in the indicated areas in order to put focus on them.
Step 37
Create a new layer and change the blending mode to Overlay. Choose the standard chalk brush and lower the size to 2 pixels. Lower the opacity to 30% and paint a contour over our guy.
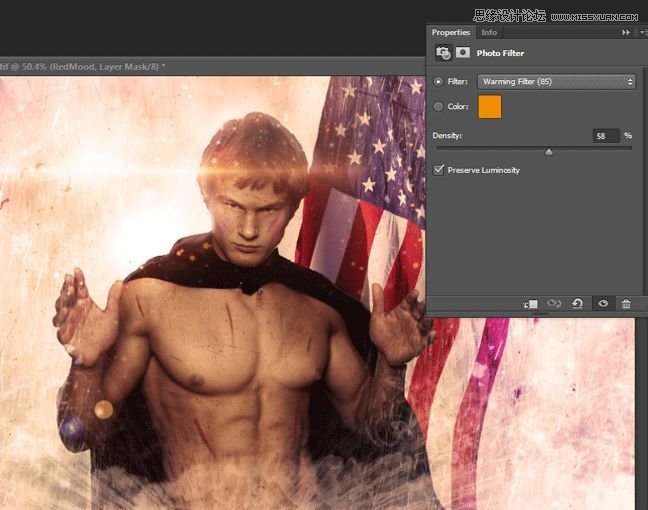
Step 38
Create a Photo Filter adjustment layer by going to Layer > New Adjustment Layer > Photo Filter. From the presets choose Warming Filter 85 and increase the Density to 58%.
Step 39
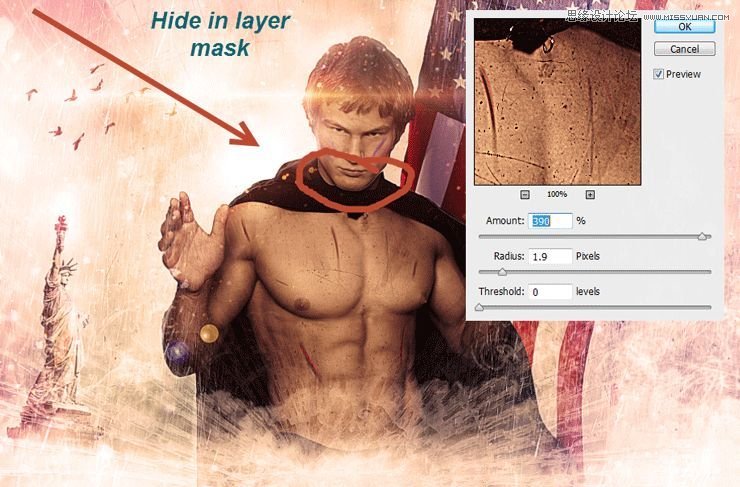
Create a new layer from all the other layers. Apply a Unsharp Mask filter (Filter > Sharpen > Unsharp Mask) with the settings shown below. Add a layer mask and hide the indicated area.
Step 40
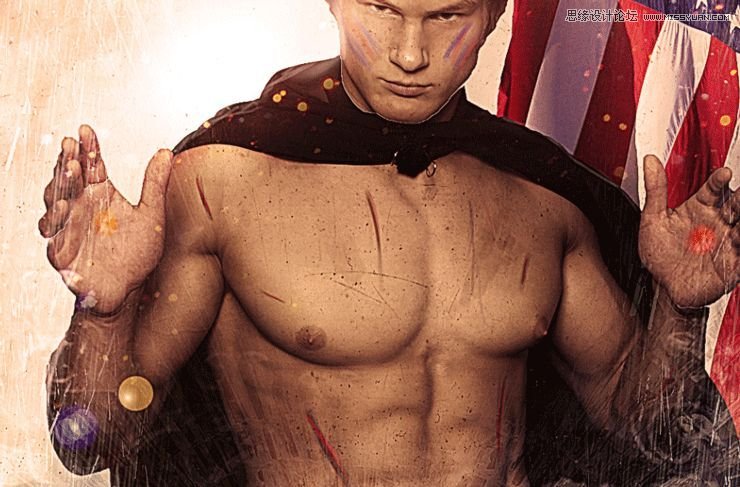
Create a new layer. Sample a red color from the flag (alt-click with the brush tool selected to sample a color) and paint two red dots on each hand symbolizing wounds. Change the blending mode of the layer to Overlay.
Step 41
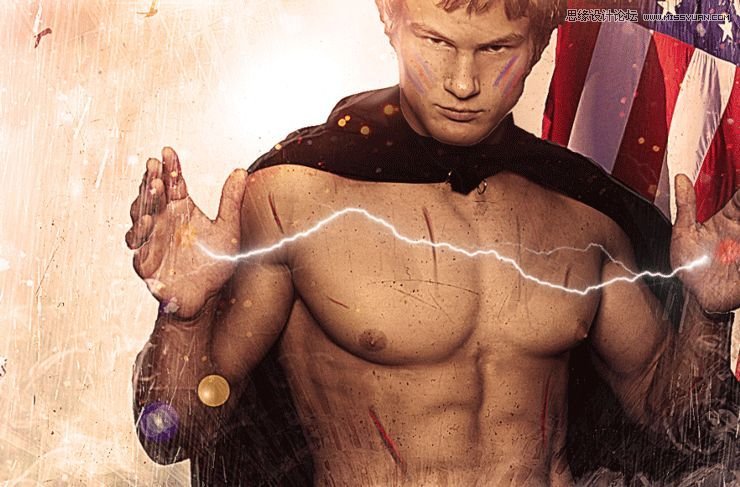
Import the Lightning brush. Create a new layer and make a white lightning between the hands of the our guy. If needed add a layer mask and hide the hard edges that the brush may have.
Step 42
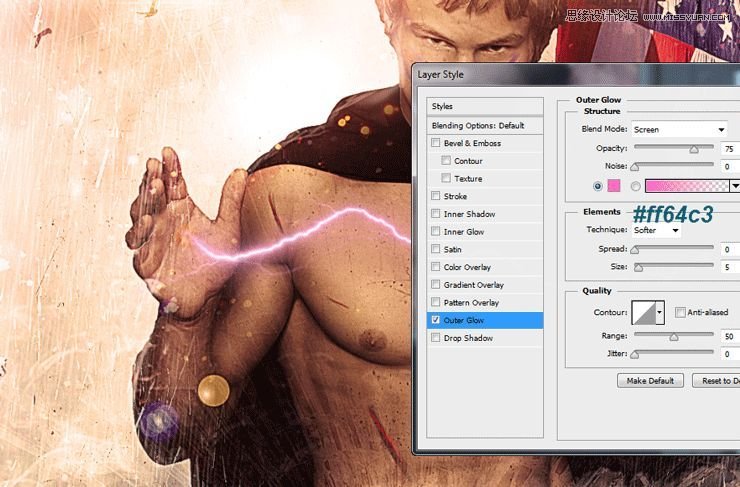
Double click the lightning layer and use the following options for the layer style.
Step 43
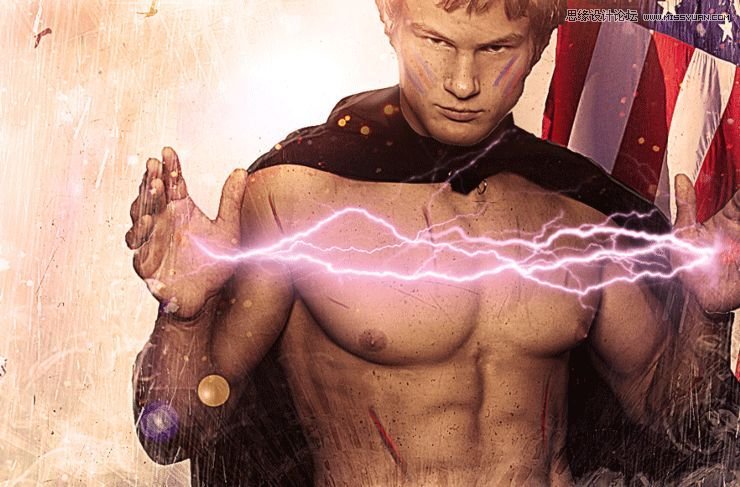
Create three more layers and on each paint a different lightning between the hands of the guy. Apply to each the same layer style as we did in the previous step.
Step 44
Create a new layer and change the blending mode to Overlay. Choose a round soft brush at 30% Opacity and paint a bit of light over the face of our guy.
Step 45
Create a new layer and change the blending mode to Overlay. Choose a standard chalk brush and change the Opacity to 30%. Lower the size to 3 pixels and scribble some details in the areas indicated below.
Step 46
Create a new Hue/Saturation adjustment layer and lower the Saturation to -69. Click on the layer mask of the Hue/Saturation adjustment layer and press D to make the colors default and Alt + Backspace to fill the mask with black. Now with a round soft brush at 100% Opacity paint over the hair to reveal the saturation effect only here.
Step 47
Create a Curves adjustment layer and drag the white curve down to darken. Fill the layer mask with black and again paint with a white brush over the hair. Now we have a nice black hair.

Step 48
Create another new layer and change the blending mode to Overlay. Select a round soft brush and increase the size to 50 pixels. Lower the opacity to 20% and paint a couple of times over the abs (especially over the six pack), biceps, hands and face.
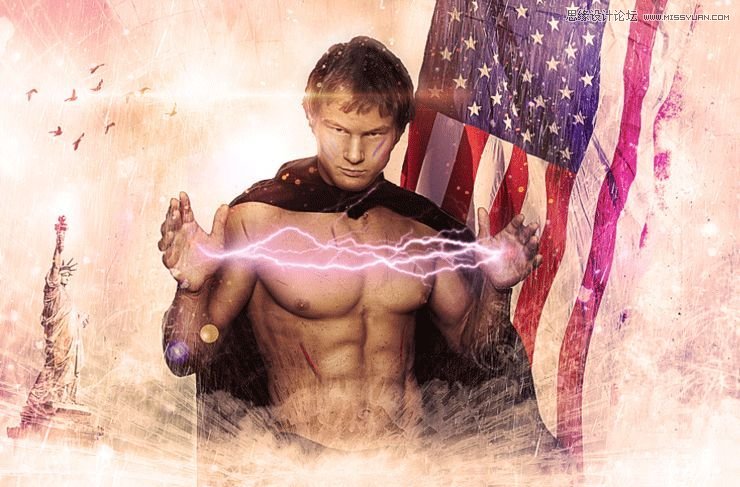
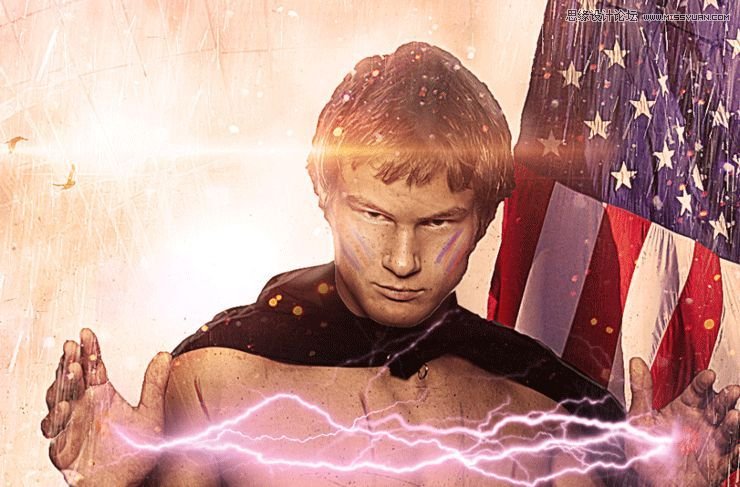
Final Results